Have you ever spent hours baking and decorating beautiful sugar cookies, only to have the icing smudge the moment you touch it? It’s a familiar story for many of us. You create these lovely little works of art, but they are just too delicate to stack, store, or share.
Well, what if I told you there’s a simple way to get that lovely, firm finish you see in bakeries? This recipe for Sugar Cookie Icing That Hardens is exactly what you need. It gives you a smooth surface that sets up nicely, making your cookies easy to handle and gift. Let’s get started!
Jump To:
Why You’ll Love This Recipe
First off, it’s incredibly reliable. The icing dries to a firm, matte finish. This means you can stack your cookies for storage or pack them into gift boxes without worrying about a single smudge. It’s so nice for holiday cookie swaps.
The texture is just right. It flows smoothly to cover the cookie but is thick enough to hold its shape for outlining and detail work. This makes it a great Sugar Cookie Frosting That Hardens for both beginners and experienced decorators.
You only need a few basic ingredients. The key player here is meringue powder, which is easy to find online or in the baking aisle of most craft or grocery stores. It’s a shelf stable and safe alternative to using raw egg whites.
It is also so much fun to customize. You can flavor it with different extracts and use gel food coloring to create any shade you can imagine. This is your chance to get really creative with your cookie designs.
Honestly, this is the Best Icing For Sugar Cookies when you want your designs to last. It creates a protective shell that not only looks good but also helps keep the cookie underneath fresh for a little longer. It’s a win win.
Ingredients
Let’s talk about what you will need. The list is short and simple, which is always great news. The secret to this amazing Sugar Cookie Icing That Hardens is the meringue powder. It’s the ingredient that helps it set so well.
- 4 cups (480g) confectioners’ sugar, sifted, plus more as needed
- 3 Tablespoons meringue powder (not plain egg white powder)
- 9 Tablespoons room temperature water, plus more as needed
- 1 teaspoon pure vanilla extract or 1/2 teaspoon of your favorite flavored extract, such as lemon, coconut, or peppermint (optional)
- optional for decorating: gel food coloring
A quick note on the sugar. Sifting your confectioners’ sugar is a really important step. It removes any clumps and makes your icing super smooth. Nobody wants lumpy icing, right?
Step By Step Instructions
Making this icing is much easier than you might think. Just follow these simple steps, and you will have a perfect batch of Sugar Cookie Frosting That Hardens ready for all your decorating projects.
Step 1: Mix The Dry Ingredients
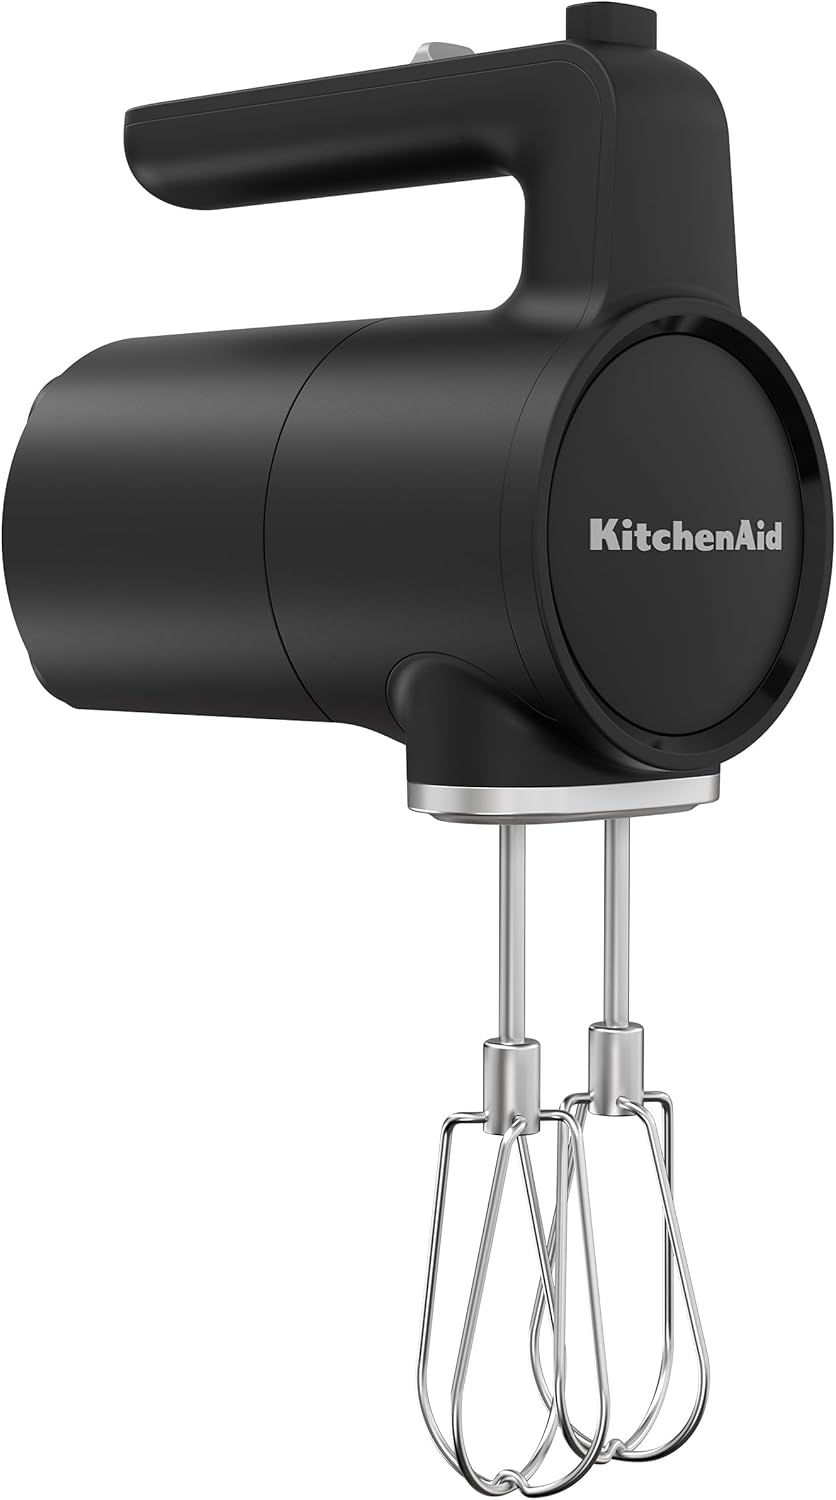
Grab a large bowl. If you are using a stand mixer, fit it with the whisk attachment. If you have a handheld mixer, that works just as well. Combine your sifted confectioners’ sugar and the meringue powder in the bowl. Give them a quick mix to combine everything evenly.
Step 2: Add The Wet Ingredients And Whip
Now it’s time to add the water and your chosen flavoring, if you are using any. Pour them into the bowl with the dry ingredients. Start whipping everything together on high speed. You will want to let it mix for about one and a half to two minutes.
You will see it transform into a glossy, white icing. This is where the magic happens. Whipping introduces air, which helps create the right texture for our Cookie Glaze That Hardens.
Step 3: Check The Consistency
This is the most important part of making Sugar Cookie Icing That Hardens. You need to check the consistency. Lift the whisk out of the icing and let it drizzle back into the bowl. The drizzle should disappear back into the surface in about five to ten seconds.
If your icing is too thick, add a bit more water, one tablespoon at a time, until it’s just right. On dry days, you might need more water. I find that I usually end up using about ten tablespoons in total.
If the icing is too thin, you can do one of two things. You can either keep whipping it to make it thicker, or you can add a little more sifted confectioners’ sugar. Just add it slowly until you get that five to ten second consistency.
Step 4: Color Your Icing
Now for the fun part. If you want to color your icing, divide it into smaller bowls for each color you want to make. I highly recommend using gel food coloring. It’s very concentrated, so you don’t need much, and it won’t water down your icing.
Use a toothpick to add a tiny dot of gel color to the icing. Stir it in completely. You can always add more to get a deeper color. Remember that stirring can thicken the icing, so if it gets too stiff, just add a few drops of water to thin it back out.
Step 5: Decorate And Let It Dry
Once your icing is the right consistency and color, you can transfer it to piping bags or squeeze bottles to decorate your cookies. When you apply this icing in a thin layer, it should dry completely in about two hours at room temperature.
If your icing is a bit thin or you have applied a very thick layer, it will take longer to dry. For layered designs where you need the icing to set quickly, you can place the cookies in the refrigerator for a few minutes to speed things up.
How To Store Leftovers
What do you do if you have leftover icing? Don’t throw it away. This Sugar Cookie Icing That Hardens stores really well. You can place it in an airtight container. Press a piece of plastic wrap directly onto the surface of the icing before putting the lid on. This prevents a crust from forming.
You can keep it in the refrigerator for up to two weeks. When you are ready to use it again, you might notice some separation. That’s totally normal. Just give it a good stir or a quick whip with your mixer to bring it back to the right consistency. You may need to add a tiny bit of water.
As for your decorated cookies, once the icing is completely hard, you can store them in an airtight container at room temperature for up to a week. They stack beautifully, which makes storage so much easier.
Tips
Here are a few extra tips to make sure you get the Best Icing For Sugar Cookies every single time. Always start with sifted confectioners’ sugar. It really does make a difference in achieving that silky smooth texture.
When adjusting the consistency, go slowly. It’s easier to add more water than it is to take it away. A small amount of liquid can make a big difference, so add it drop by drop if you are getting close.
Gel food coloring is your best friend for vibrant colors. Liquid food coloring can make your icing too runny, so it’s best to stick with gels for this particular recipe.
If you are new to decorating, practice on a piece of parchment paper first. This helps you get a feel for the icing consistency and pressure needed without messing up a cookie. It’s a great way to build confidence.
Work in a clean, grease free environment. Any trace of oil or grease can prevent the icing from whipping up properly. Make sure your bowls and attachments are sparkling clean before you begin.
Conclusion
And there you have it. A straightforward and dependable recipe for Sugar Cookie Icing That Hardens. It’s the key to making beautiful, professional looking cookies right in your own kitchen. No more smudges, no more messy stacking. Just lovely, delicious cookies that are ready to be shared.
I hope you give this recipe a try. It truly makes cookie decorating so much more enjoyable and rewarding. Happy baking!
FAQ
Can I Use Fresh Egg Whites Instead Of Meringue Powder?
While traditional royal icing uses fresh egg whites, this recipe specifically calls for meringue powder for a few reasons. Meringue powder is pasteurized, making it a safer option. It’s also very stable and gives the Sugar Cookie Icing That Hardens a consistent result every time.
How Long Does It Take For This Icing To Dry Completely?
Generally, a thin layer of this icing will be completely dry and hard to the touch in about two hours at room temperature. Thicker applications or very humid weather can extend the drying time. If you are in a hurry, placing the cookies in the fridge can help speed it up.
What Is The Best Way To Apply This Icing?
The best way depends on your design. For outlining and fine details, a piping bag with a small round tip works great. For flooding or covering the whole cookie, you can use a wider tip or a squeeze bottle. A toothpick is also handy for spreading the icing into tight corners.
My Icing Is Too Thick Or Thin, What Happened?
The consistency of this Cookie Glaze That Hardens is all about the ratio of sugar to water. If it is too thick, simply whip in more water, a tiny bit at a time. If it’s too thin, you can continue whipping it to incorporate more air, or you can mix in more sifted confectioners’ sugar to thicken it up.
Easy Sugar Cookie Icing That Hardens
Achieve bakery-quality sugar cookies with this reliable icing that dries to a firm, smooth, and smudge-proof finish. Perfect for stacking, gifting, and detailed decorating, requiring only a few basic ingredients.
Requirements
Ingredients
Instructions
- In a large bowl, combine the sifted confectioners’ sugar and meringue powder. Mix them briefly to ensure they are evenly combined.
- Add the water and your chosen flavoring (if using) to the bowl. Using a stand mixer with a whisk attachment or a handheld mixer, whip the ingredients on high speed for 1.5 to 2 minutes until the icing becomes glossy and white.
- Check the consistency: lift the whisk, and the drizzle of icing should disappear back into the surface within 5 to 10 seconds. If too thick, add water one tablespoon at a time. If too thin, continue whipping or add more sifted confectioners’ sugar slowly.
- If coloring, divide the icing into smaller bowls. Use gel food coloring (a tiny dot at a time) and stir completely. Add a few drops of water if stirring thickens the icing too much.
- Transfer the colored icing to piping bags or squeeze bottles. Decorate your cookies. A thin layer will dry completely in about two hours at room temperature. For faster drying, place cookies in the refrigerator for a few minutes.
Notes
Store leftover icing in an airtight container. Press plastic wrap directly onto the surface to prevent a crust. Refrigerate for up to two weeks. Stir or whip and add water if separation occurs.
Once decorated cookies are completely hard, store them in an airtight container at room temperature for up to a week. They stack beautifully.
Always start with sifted confectioners’ sugar for a silky smooth texture.
When adjusting consistency, add water slowly, drop by drop.
Use gel food coloring for vibrant colors; liquid food coloring can thin the icing too much.
Practice decorating on parchment paper first to build confidence.
Work in a clean, grease-free environment; any trace of oil or grease prevents proper whipping.
Nutrition
Calories
Sugar
Fat
Carbs


