Unlock the secret to the creamiest, dreamiest Ninja Creami vanilla ice cream you’ve ever tasted—all without a drop of cream cheese. If you’ve been searching for that perfect ninja creami vanilla ice cream recipe without cream cheese, you know the struggle can be real. So many recipes rely on it for texture, but honestly? You just don’t need it. This recipe is your new go-to for a ridiculously smooth, flavorful, and simple homemade ice cream that will have everyone asking for seconds.
Whether you’re a brand new Ninja Creami owner or a seasoned pro, this guide is packed with everything you need. We’re talking simple ingredients, step-by-step instructions, and all the little tricks to get that perfect scoop shop texture right in your own kitchen.
Jump To:
Why You’ll Love This Ninja Creami Vanilla Ice Cream
 13")
Honestly, what’s not to love? First off, it’s incredibly easy. We’re talking about a recipe that requires just a few minutes of hands-on time before letting the freezer and the Creami do all the heavy lifting. It’s the perfect base for literally any mix-in you can dream of, from chocolate chips to fresh berries.
But the real magic is the texture. It’s rich, it’s creamy, and it has that classic, nostalgic vanilla flavor that brings you right back to childhood summers. Plus, since you’re making it at home, you have total control over the ingredients. No weird preservatives or additives here! It’s just pure, simple, deliciousness.
Recommended Tools
 14")
Ninja NC501 CREAMi Deluxe Machine
Buy 15")
Silicone Spatula 3-piece Set
Buy 16")
Stainless Steel Measuring Cups & Spoons Set
Buy 17")
Glass Meal Prep StorageContainers
BuyAs an Amazon Associate, I earn from qualifying purchases.
 18")
Ninja Creami Vanilla Ice Cream Recipe (Without Cream Cheese)
With less than 10 minutes of hands-on time, you can create Ninja Creami Vanilla Ice Cream using simple ingredients that are probably already in your fridge and pantry. Best of all, there is no cooking required to make this sweet treat; just a 24-hour freeze of the ice cream base and a quick whirl in your Ninja Creami ice cream maker.
- Total Time: 24 hours 10 minutes
- Yield: 4 1x
Ingredients
Instructions
1. Place the half and half, sugar, vanilla extract, and salt in a blender. Process until smooth. (Alternatively, you can place the ingredients in a bowl or in your Ninja Creami pint and use an immersion blender to combine.)
2. Transfer to a ninja creami pint container and freeze for 24 hours.
3. After 24 hours, remove the lid from the container and place in the outer bowl of the CREAMi. Install the creamerizer paddle to the lid of the outer bowl. Rotate the lid to lock and place on the unit.
4. Press the ice cream button and process according to the manufacturer’s instructions.
Notes
Don’t Rush the Freezing Process: It might be tempting to process your ice cream base before the 24 hours are up, but patience is key here.
Experiment with Mix-Ins: Once you’ve mastered the basic vanilla recipe, get creative with add-ins like chocolate chips, crumbled brownies, or fruit sauce.
Re-Spin If Necessary: If you don’t love the texture after the first spin, just give it a quick respin.
- Prep Time: 10 minutes
- Cook Time: 0 minutes
- Category: Dessert
- Method: Frozen
- Cuisine: American
Nutrition
- Serving Size: 1 serving
- Calories: 192
- Sugar: 21g
- Sodium: 128mg
- Fat: 10g
- Saturated Fat: 6g
- Unsaturated Fat: 4g
- Trans Fat: 0g
- Carbohydrates: 21g
- Fiber: 0g
- Protein: 3g
- Cholesterol: 32mg
Ingredients You’ll Need
 19")
Let’s get everything in order. The beauty of this recipe is its simplicity. You probably have most of what you need already.
Equipment
- Ninja Creami Machine: This is the star of the show, of course!
- Ninja Creami Pint: You’ll need at least one, but having a few extra on hand is always a good idea for when inspiration strikes.
- Microwave or Small Saucepan: For gently warming the milk.
- Whisk or Blender: To make sure your ice cream base is perfectly smooth. An immersion blender works great, too.
Main Ingredients
 20")
- Whole Milk: This forms the foundation of our ice cream base. The fat content is important for a creamy result.
- Heavy Cream: Here’s where the richness comes from. Don’t skimp on this! It’s essential for that luxurious mouthfeel.
- Granulated Sugar (WHO): For sweetness. You can adjust this to your liking, but the amount in the recipe is a great starting point.
- Vanilla Extract: The heart of our flavor. A good quality vanilla extract makes a world of difference. We’ll talk more about different types of vanilla later on!
- A Pinch of Salt: This might seem odd, but a tiny bit of salt actually enhances the sweetness and rounds out the flavor profile. Trust me on this one.
 21")
 22")
 23")
How to Make Vanilla Ice Cream in a Ninja Creami
 24")
Alright, let’s get down to business. Making this is a simple three-step process: mix, freeze, and spin.
Step 1: Create the Ice Cream Base
First things first, we need to create our delicious vanilla ice cream base. In a medium bowl, combine the granulated sugar and the pinch of salt.
Gently warm the whole milk in the microwave or a small saucepan on the stove. You don’t want it to boil—just warm enough to help the sugar dissolve completely. Pour the warm milk into the bowl with the sugar and whisk until every last crystal has melted away. This step is key to avoiding a grainy texture later.
Once the sugar is dissolved, slowly whisk in the heavy cream and the vanilla extract. Keep mixing until the base is uniform and smooth. That’s it! Your base is ready.
Step 2: Freeze the Mixture
Now, pour your freshly mixed base into the Ninja Creami pint. Be careful not to fill it past the max fill line. Secure the lid tightly and pop it into the freezer.
Here’s the hard part: you have to wait. The base needs to be frozen solid, which takes at least 24 hours. I know, patience is tough, but a properly frozen base is non-negotiable for a creamy result. Make sure your freezer is set to a cold temperature and that the pint is sitting on a flat, level surface.
Step 3: Process in the Ninja Creami
It’s go-time! Take your frozen pint out of the freezer. Remove the lid and place the pint into the outer bowl of your Ninja Creami machine. Secure the outer bowl lid, place it on the machine base, and twist it into position.
Select the “ICE CREAM” setting and let the machine work its magic. It’s loud, but it’s a beautiful noise!
After the first spin, your ice cream might look a little crumbly or powdery. Don’t panic! This is totally normal. Just add a tablespoon of milk or heavy cream, put it back on the machine, and hit the “RE-SPIN” button. Sometimes it takes two re-spins to get it perfectly smooth, but the result is always worth it.
Once it’s smooth and creamy, it’s ready to serve!
Tips for the Perfect Creamy Texture
Getting that perfect, silky texture is the ultimate goal. Here are a few pro tips and a little troubleshooting guide to help you get there every single time.
- Don’t Rush the Freeze: I can’t say this enough. A 24-hour freeze is essential. If the base isn’t frozen solid, the machine can’t do its job properly.
- Use Full-Fat Ingredients: The fat in the whole milk and heavy cream is what creates that rich, creamy consistency. Swapping for lower-fat alternatives will result in a more icy texture.
- The Re-Spin is Your Best Friend: Seriously, don’t be afraid to use the re-spin button. That second or even third spin is often what transforms a crumbly base into a scoopable dream.
- Pre-Chill Your Serving Bowls: Serving your freshly spun ice cream in a chilled bowl will help it stay frozen longer, giving you more time to enjoy it.
Troubleshooting Common Issues
- Why is my ice cream icy or powdery? This is the most common issue and it usually has a simple fix. It means the fat and sugar crystals are still a bit too separated. The solution is almost always a re-spin. Add a splash of milk or cream (about 1 tablespoon) and run the “RE-SPIN” cycle. This extra liquid and agitation help the mixture emulsify into a creamier state.
- My ice cream is too soft after spinning. If it’s a bit softer than you’d like, you can pop the pint back in the freezer for 30-60 minutes to let it firm up a bit before scooping.
- Why does my ice cream freeze rock solid after I put it back in the freezer? Homemade ice cream lacks the stabilizers found in store-bought versions. When you re-freeze it, it will get very hard. The good news is you can just pop it back in the Ninja Creami and re-spin it whenever you want to eat it again!
Flavor Variations and Mix-In Ideas
This vanilla recipe is your blank canvas. Once you’ve mastered the base, the possibilities are endless! Here’s where you can get really creative.
After the initial spin, use the “MIX-IN” function to add your favorite goodies. Just create a small well in the center of the ice cream, drop in your mix-ins, and let the machine gently fold them in.
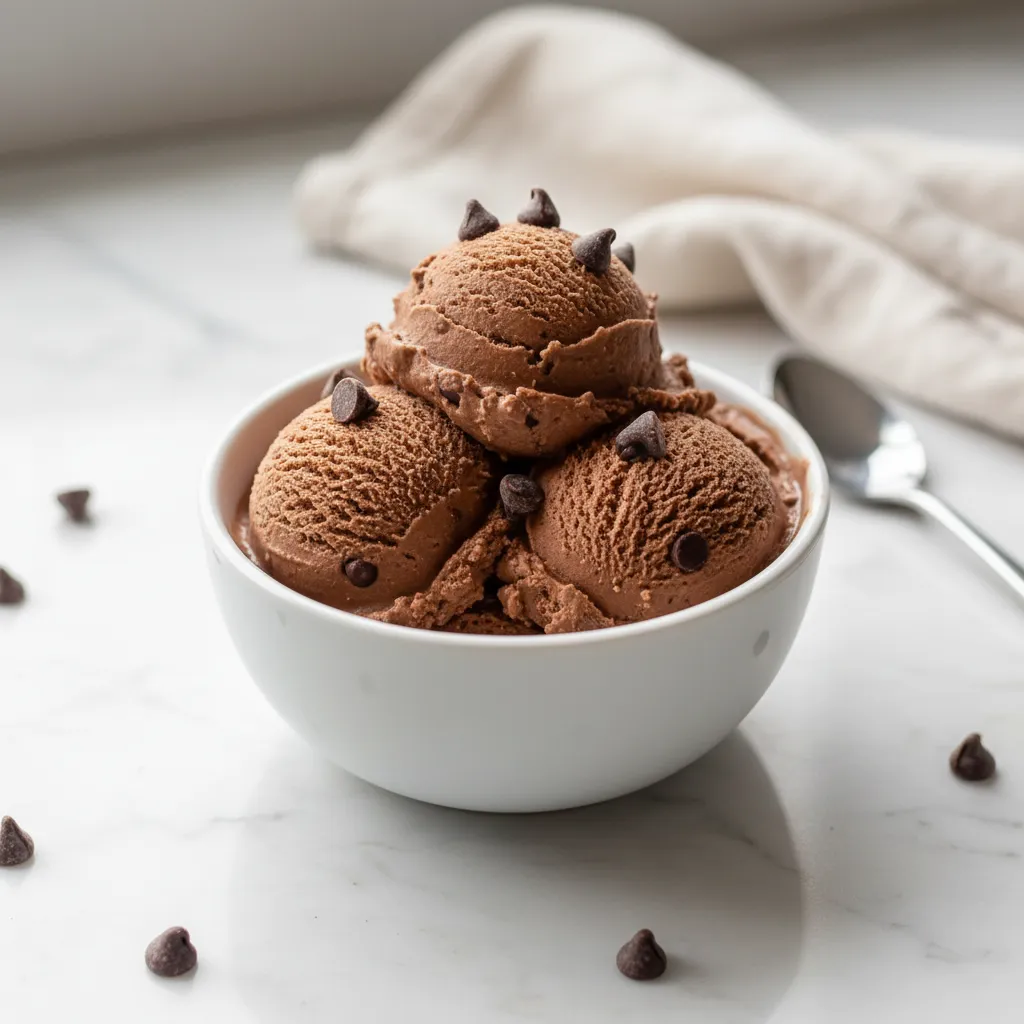
- For the Chocolate Lover: Add a handful of mini chocolate chips, chopped brownie bites, or a swirl of fudge. If you’re looking for a great chocolate base, you should try my decadent chocolate Ninja Creami recipe.
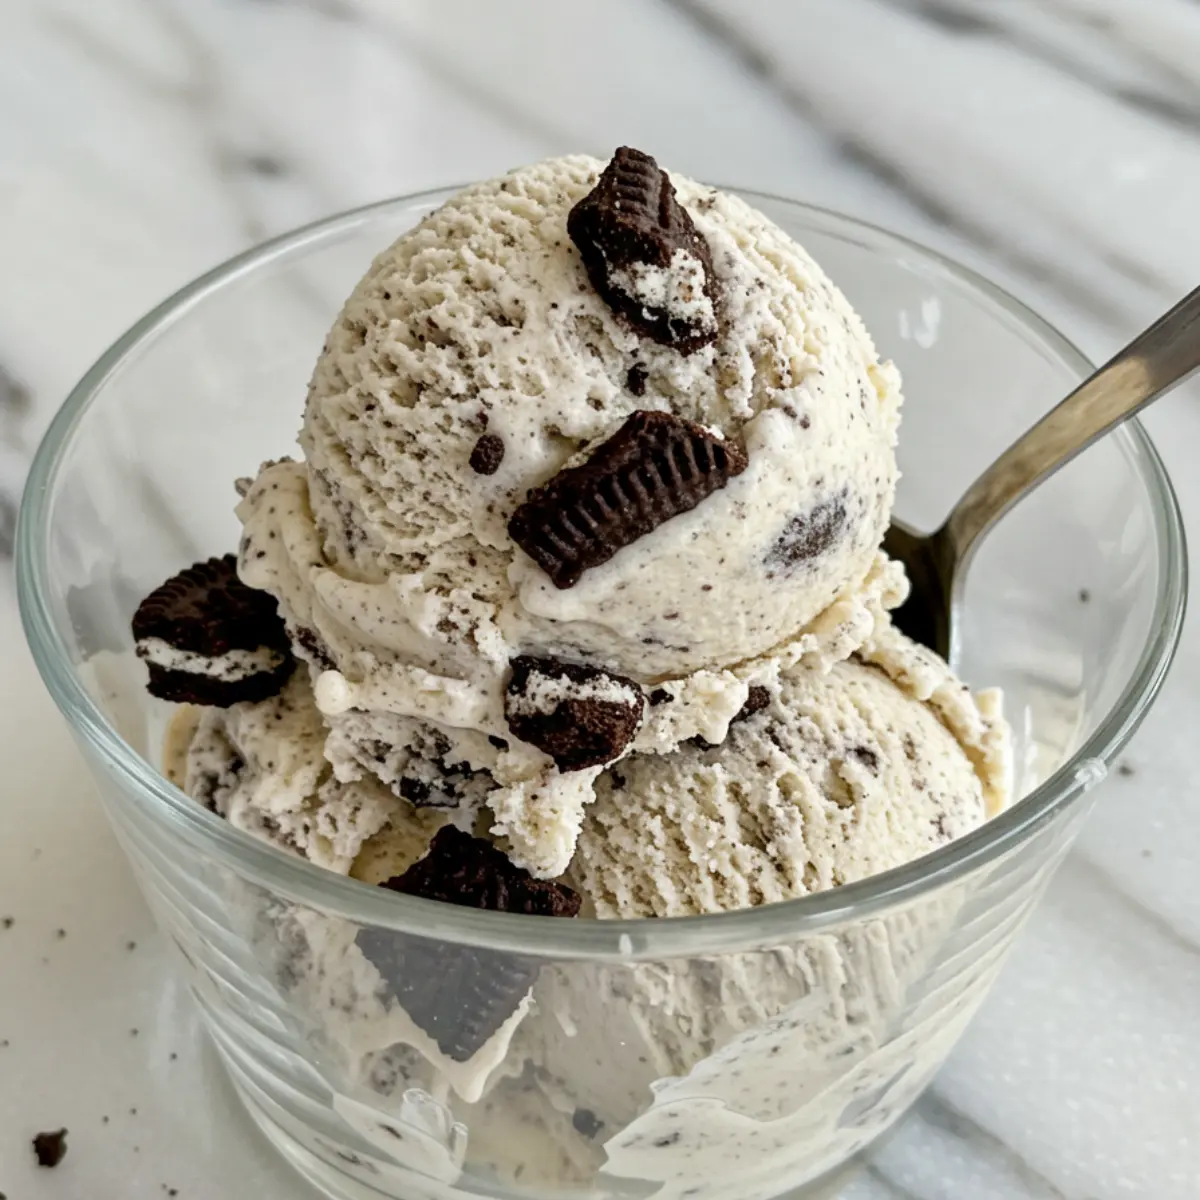
- Cookies and Cream: Crush up about 4-5 of your favorite sandwich cookies (Oreos are a classic for a reason!) and mix them in for a timeless favorite.
- Fruity and Fresh: A swirl of strawberry jam or some fresh blueberries can brighten up the vanilla base beautifully. For a lighter treat, you might also love this refreshing strawberry sorbet.
- Seasonal Sensations: Think outside the box! In the fall, a teaspoon of pumpkin spice and some candied pecans would be amazing. Around the holidays, try adding crushed peppermint candies.
- Coffee Break: Add a teaspoon of instant espresso powder to the base before you freeze it for a delicious coffee-flavored treat.
Common Substitutions
- Can I use a different kind of milk? You can, but it will change the texture. Using 2% milk will result in a less creamy, more ice-milk-like consistency. Plant-based milks like oat or coconut milk can work, but be sure to use the full-fat versions for the best results.
- What about sugar substitutes? You can experiment with sweeteners like erythritol or allulose, but they can sometimes affect the freezing process and final texture. It might take a bit of trial and error to get it just right.
- Can I make it a protein ice cream? Absolutely! Add a scoop of your favorite vanilla protein powder to the base before freezing. You might need to add an extra splash of milk when you re-spin to get the consistency right.