There is something truly magical about a homemade birthday cake. It is the centerpiece of the party. It is the moment everyone waits for. You dim the lights. You sing the song. You make a wish.
But sometimes you want something different. You want a cake that stands out. You want a dessert that reflects a little bit of mystery and a whole lot of fun. That is where this mystical witchy cake comes in.
Jump To:
Why You’ll Love This Recipe
You will love how customizable this recipe is. You can lean into a dark goth aesthetic with black frosting. Or you can go for a cute modern vibe with a pink cauldron look. The choice is yours.
It saves you money. Ordering Custom Birthday Cakes from a bakery can be very expensive. Making one at home allows you to control the budget. You get a high quality look for a fraction of the price.
The flavor is unbeatable. We use a rich chocolate base. It is moist and decadent. It satisfies that deep chocolate craving we all get. No dry crumbs here. Just pure chocolate goodness.
It is incredibly photogenic. In the age of social media, we all want food that looks good on camera. This cake delivers. The contrast of colors makes it pop in photos. It is ready for its close up.
You can get creative with decorations. This recipe invites you to play with fondant and icing. You can try your hand at Decoración De Pasteles De Cumpleaños without pressure. Imperfections just add to the rustic charm.
It brings people together. Decorating this cake can be a group activity. Get the kids involved. Let them shape the fondant moons. It turns baking into a fun family event.
Finally, it is unique. Most parties have standard sheet cakes. This birthday cake makes a statement. It shows you put thought and care into the celebration. It makes the birthday person feel truly special.
Ingredients
Gathering your ingredients is the first step to magic. You likely have some of these staples in your pantry already. For the specialty items, a quick trip to the craft store or grocery store will do.
- Deep Dark Chocolate Cake Mix or Ingredients: You need a robust base. Choose a high quality cocoa powder or a trusted box mix to ensure the flavor is chocolate to the core.
- Black Food Coloring: Gel coloring works best here. It gives you a true black without watering down your frosting. Liquid drops often turn gray.
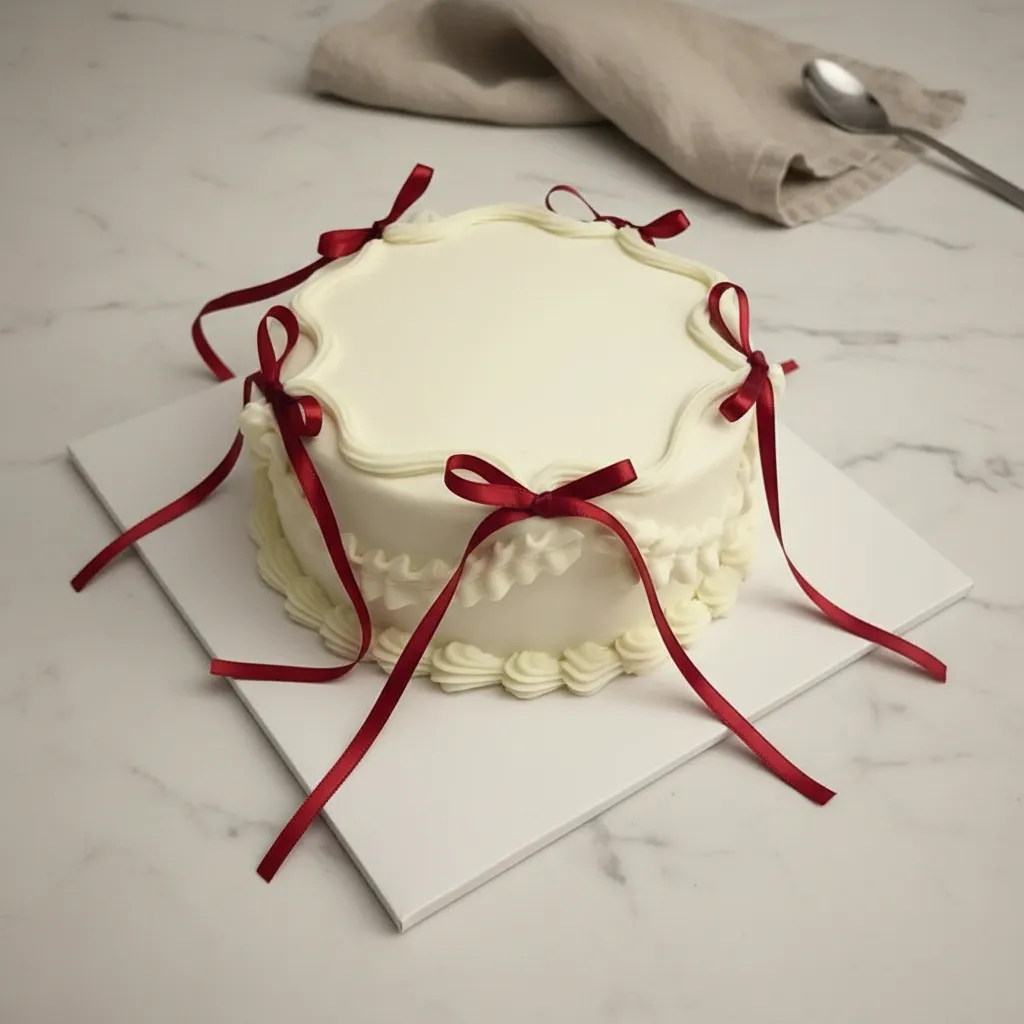
- Red Food Coloring: This creates a bold contrast. It is perfect for writing or adding striking details against the dark background.
- Pink Frosting: If you are going for the cauldron look, this is essential. It adds a pop of color that softens the spooky vibe.
- Fondant: You will use this for the mystical symbols. White fondant is versatile because you can paint it or dye it any color you need.
- Moon Shaped Decorations: You can buy these as sprinkles or make them out of fondant. They reflect the connection to the night and magic.
- Witch Hat Cake Topper: This is the crowning glory. It instantly tells everyone what the theme is. You can make one from paper or buy a plastic one.
Step-By-Step Instructions
Let us get baking. Follow these simple steps to create your masterpiece. Take your time and enjoy the process. Baking should be relaxing and fun.
Step 1: Bake The Base
Start by preparing your chocolate cake batter. Follow the instructions on your box or recipe card. You want a rich chocolate base. This ensures a deep flavor that is chocolate to the core.
Pour the batter into your greased pans. Bake until a toothpick comes out clean. Let the cakes cool completely. This is crucial. If you frost a warm cake, the icing will melt and slide right off.
Step 2: Prepare The Colors
While the cakes cool, mix your frosting colors. Divide your frosting into bowls. Use the black food coloring to create a deep, dark hue for the base layer if you want a moody look.
If you prefer the playful cauldron look, tint your frosting pink. Use the red and black coloring for accents. This is where you utilize a black and red color palette to create a bold and striking presentation.
Step 3: Frost And Smooth
Stack your cake layers with frosting in between. Coat the outside of the cake with your chosen base color. Use a spatula to smooth it out. It does not have to be perfect.
If you want a rustic texture, swirl the frosting. This adds character. For the pink cauldron design, you might want the frosting to look like bubbling potion at the top.
Step 4: Add Mystical Symbols
Now comes the fun part. Roll out your fondant. Cut out shapes like stars or moons. Decorate with your favorite mystical symbols using fondant or icing.
Place these items gently on the cake. Incorporate moon imagery to reflect a connection to the night and magic. You can press them into the side of the cake or place them on top.
Step 5: The Final Touches
It is time for the topper. For a cute and perfect aesthetic, top the cake with a miniature witch hat. Place it right in the center or slightly off to the side.
If desired, design the cake as a pink cauldron for a playful and modern look. Add sprinkles or edible glitter for extra sparkle. Assemble the cake with mystical elements that celebrate your inner power and magic.


How To Store Leftovers
You might have leftovers after the party. That is a good thing. This birthday cake tastes just as good the next day. You just need to store it properly to keep it moist.
If the cake is uncut, you can leave it on the counter for a day. Cover it with a cake dome. This protects the frosting from dust and pet hair. It also keeps the air out.
Once you cut the cake, the exposed sponge can dry out. Press a piece of plastic wrap directly against the cut side. This creates a seal. Then place the whole thing in the fridge.
Buttercream frosting can get hard in the fridge. Before you eat a slice, let it sit on the counter for twenty minutes. This brings the frosting back to a creamy texture. It makes the chocolate taste better too.
You can also freeze slices. Wrap individual slices in plastic wrap and then foil. They will last for up to three months. It is a nice treat to have ready for a rainy day.
Tips
Here are some helpful hints to ensure your birthday cake is a success. These small details make a big difference. They help you avoid common baking pitfalls.
Use room temperature ingredients. Your eggs and butter should not be cold. Room temperature ingredients mix together much better. They create a smoother batter and a fluffier cake.
Invest in good gel food coloring. Liquid food coloring adds water to your frosting. This can make it runny and hard to pipe. Gel colors are concentrated. You only need a tiny drop to get vibrant colors.
If you are nervous about Cake Writing, practice on a plate first. Pipe your message on a dinner plate. If you mess up, just wipe it off and try again. Once you feel confident, move to the cake.
For a vintage vibe, try piping ruffles. Vintage Birthday Cakes are very trendy right now. Use a star tip to pipe borders around the top and bottom. It adds a classic, elegant touch to the witchy theme.
Do not rush the cooling process. We mentioned this before, but it bears repeating. A warm cake melts frosting. If you are in a hurry, pop the cake layers in the fridge to speed things up.
Consider making Small Birthday Cakes instead of one big one. You can use this same batter to make cupcakes or mini tiers. This is great for portion control and easy serving.
Conclusion
Making a unique birthday cake is a rewarding experience. It allows you to express your creativity. It lets you share something handmade with the people you love. This mystical witchy cake is sure to be a hit.
The combination of rich chocolate and fun decorations is a winner. Whether you go for the dark moody look or the pink cauldron vibe, it will taste amazing. The visual impact creates memories that last long after the last slice is eaten.
So grab your apron. Preheat your oven. Get ready to bake some magic. Serve and celebrate your birthday with a design that is both mysterious and elegant. You have got this.
FAQ
You might have a few questions before you start. Here are some common answers to help you out. We want your baking day to be stress free.
Can I Make This Gluten Free?
Yes, absolutely. You can swap the regular flour for a high quality gluten free flour blend. Many stores sell gluten free chocolate cake mixes too. Just check the labels on your food coloring and sprinkles to be safe.
Is This Suitable For A 16 Birthday Cake?
This design is perfect for a 16 Birthday Cake. It is trendy and cool without being childish. The mystical aesthetic is very popular with teens right now. It looks great on social media.
How Do I Make Funny Birthday Cakes With This Theme?
To make Funny Birthday Cakes, add a humorous message. You can use Cake Writing to pipe a funny spell or a joke about aging. You could also add a fondant frog or a melting witch for a laugh.
Can I Turn This Into Mini Cakes Birthday Treats?
Yes, you can make Mini Cakes Birthday style. Use a muffin tin or small ramekins. Reduce the baking time since they are smaller. Decorate each one with a tiny moon or star. They make adorable individual servings.
Mystical Witchy Birthday Cake
Discover how to make a stunning Mystical Witchy Birthday Cake with deep chocolate flavors, bold red and black colors, and magical decorations. Perfect for any celebration, this unique cake is easy to make and sure to impress! Whether you want a dark goth aesthetic or a cute pink cauldron look, this customizable recipe saves money and creates unforgettable memories.
Requirements


Ingredients
Instructions
- Start by preparing your chocolate cake batter. Follow the instructions on your box or recipe card. You want a rich chocolate base. This ensures a deep flavor that is chocolate to the core. Pour the batter into your greased pans. Bake until a toothpick comes out clean. Let the cakes cool completely. This is crucial. If you frost a warm cake, the icing will melt and slide right off.
- While the cakes cool, mix your frosting colors. Divide your frosting into bowls. Use the black food coloring to create a deep, dark hue for the base layer if you want a moody look. If you prefer the playful cauldron look, tint your frosting pink. Use the red and black coloring for accents. This is where you utilize a black and red color palette to create a bold and striking presentation.
- Stack your cake layers with frosting in between. Coat the outside of the cake with your chosen base color. Use a spatula to smooth it out. It does not have to be perfect. If you want a rustic texture, swirl the frosting. This adds character. For the pink cauldron design, you might want the frosting to look like bubbling potion at the top.
- Now comes the fun part. Roll out your fondant. Cut out shapes like stars or moons. Decorate with your favorite mystical symbols using fondant or icing. Place these items gently on the cake. Incorporate moon imagery to reflect a connection to the night and magic. You can press them into the side of the cake or place them on top.
- It is time for the topper. For a cute and perfect aesthetic, top the cake with a miniature witch hat. Place it right in the center or slightly off to the side. If desired, design the cake as a pink cauldron for a playful and modern look. Add sprinkles or edible glitter for extra sparkle. Assemble the cake with mystical elements that celebrate your inner power and magic.
Notes
If the cake is uncut, you can leave it on the counter for a day. Cover it with a cake dome. This protects the frosting from dust and pet hair. It also keeps the air out.
Once you cut the cake, the exposed sponge can dry out. Press a piece of plastic wrap directly against the cut side. This creates a seal. Then place the whole thing in the fridge.
Buttercream frosting can get hard in the fridge. Before you eat a slice, let it sit on the counter for twenty minutes. This brings the frosting back to a creamy texture. It makes the chocolate taste better too.
You can also freeze slices. Wrap individual slices in plastic wrap and then foil. They will last for up to three months. It is a nice treat to have ready for a rainy day.
Use room temperature ingredients. Your eggs and butter should not be cold. Room temperature ingredients mix together much better. They create a smoother batter and a fluffier cake.
Invest in good gel food coloring. Liquid food coloring adds water to your frosting. This can make it runny and hard to pipe. Gel colors are concentrated. You only need a tiny drop to get vibrant colors.
If you are nervous about Cake Writing, practice on a plate first. Pipe your message on a dinner plate. If you mess up, just wipe it off and try again. Once you feel confident, move to the cake.
For a vintage vibe, try piping ruffles. Vintage Birthday Cakes are very trendy right now. Use a star tip to pipe borders around the top and bottom. It adds a classic, elegant touch to the witchy theme.
Do not rush the cooling process. A warm cake melts frosting. If you are in a hurry, pop the cake layers in the fridge to speed things up.
Consider making Small Birthday Cakes instead of one big one. You can use this same batter to make cupcakes or mini tiers. This is great for portion control and easy serving.
Nutrition
Calories
Sugar
Fat
Carbs