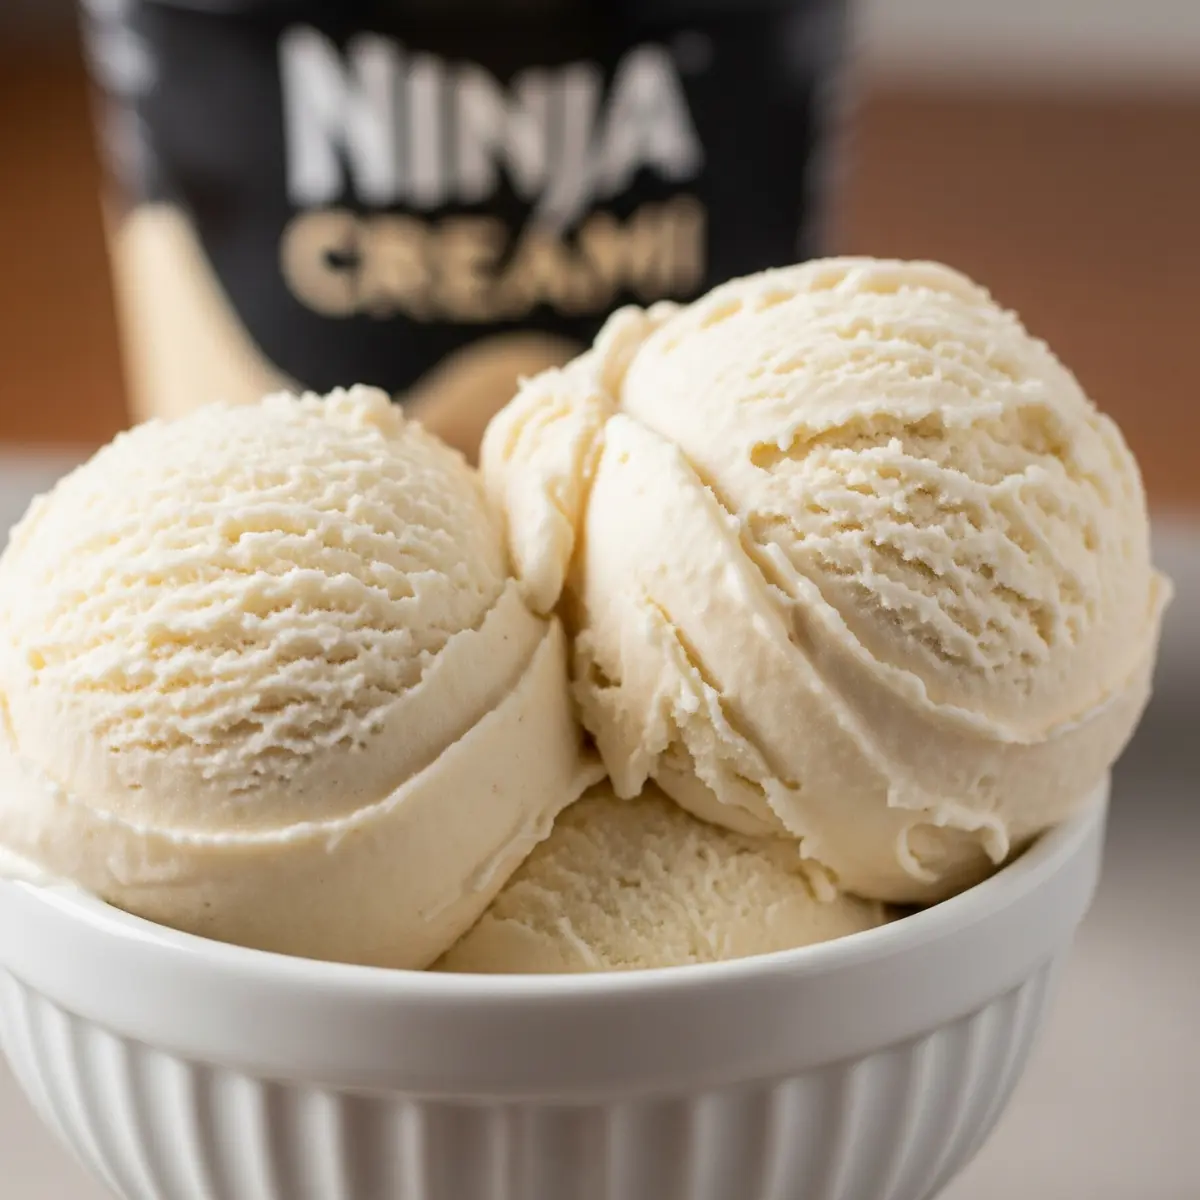
What if you could make rich, creamy, and secretly healthy ice cream at home in just a few minutes? If you’re the proud owner of a Ninja Creami, you’re already halfway there. Forget those icy, disappointing store-bought vegan pints. We’re about to walk through everything you need to know to create amazing vegan ninja creami recipes that are practically foolproof. Whether you’re a beginner or just looking for some new ideas, you’ve come to the right place.
This is your ultimate guide to making perfect plant-based ice cream every single time. Let’s get to it.
Jump To:
Why You’ll Love These Vegan Ninja Creami Recipes
 17")
Honestly, what’s not to love? First off, the flavor is completely in your hands. You get to control the sweetness, the ingredients, and the mix-ins, which is a massive win for anyone with dietary restrictions or just a specific taste. Plus, making homemade ice cream is way more budget-friendly than buying expensive pints from the store. A carton of oat milk and a few pantry staples can go a long way.
These recipes are also incredibly simple. The Ninja Creami does most of the heavy lifting. Your job is just to mix a few things, freeze it, and press a button. It’s the perfect entry point for anyone who wants to get creative in the kitchen without a ton of complicated steps. You can whip up a batch on Sunday and have a delicious, guilt-free dessert ready for the whole week.
Recommended Tools
 18")
Ninja NC501 CREAMi Deluxe Machine
Buy 19")
Silicone Spatula 3-piece Set
Buy 20")
Stainless Steel Measuring Cups & Spoons Set
Buy 21")
Glass Meal Prep StorageContainers
BuyAs an Amazon Associate, I earn from qualifying purchases.
 22")
Vegan Pistachio Ice Cream (Ninja Creami Method)
An ultra-creamy, vegan pistachio ice cream bursting with nutty flavor, made using a Ninja Creami. This dairy-free and refined sugar-free recipe requires no bananas or coconut milk.
- Total Time: 8 hours 10 minutes
- Yield: 3–4 servings 1x
Ingredients
1 1/2 cups milk (*see notes)
3/4 cup raw, shelled pistachios
1/3 cup raw cashews
1/4–1/3 cup honey or maple syrup
1/3 cup THICK coconut yogurt or greek yogurt (*don’t use fat-free)
1 tsp vanilla extract
1 tbsp lemon juice (*Optional!)
1/8–1/4 tsp almond extract (*Optional! Gives that traditional pistachio ice cream taste!)
3/4 tsp sea salt
Instructions
1. Note: If making ice cream with the Ninja Creami, the ice cream mixture will need to be frozen over-night. Just keep that in mind incase you’re planning on enjoying it at a certain time!
2. Blend all of the ice cream ingredients in a high powered blender until smooth. You can taste the mixture & add extra sweetener, if needed (keep in mind the mixture tastes more sweet before freezing/making into ice cream).
3. Pour the mixture into a Ninja Creami pint and freeze over-night or for 8ish hours until completely solid. Then use your Ninja Creami on the Lite Ice Cream setting. I like to run mine twice to get it extra creamy.
Notes
*For the creamiest, most ice cream-like texture, opt for full-fat canned coconut milk. However, this still turns out delicious with other milk varieties!
*Want to add extra protein to the recipe? Blend in a scoop of your favorite vanilla protein!
- Prep Time: 10 minutes
- Cook Time: 0 minutes
- Category: Dessert
- Method: Frozen, Ninja Creami
- Cuisine: American
Nutrition
- Serving Size: 1 serving
- Calories: 350
- Sugar: 15g
- Sodium: 450mg
- Fat: 25g
- Saturated Fat: 8g
- Unsaturated Fat: 15g
- Trans Fat: 0g
- Carbohydrates: 20g
- Fiber: 4g
- Protein: 9g
- Cholesterol: 0mg
Key Ingredients for the Perfect Vegan Creami
 23")
Before we get into the recipes, let’s talk about the building blocks. Getting the base right is the secret to a super creamy, dairy-free dessert. It really comes down to two things: your non-dairy milk and the stuff you use to make it thick and smooth.
The Best Non-Dairy Milks (and Their Results)
You know what? Not all plant-based milks are created equal, especially when it comes to making ice cream. The fat and protein content in your milk will make a huge difference in the final texture. Here’s the thing: higher fat and protein usually means a creamier result.
Oat Milk vs. Soy Milk vs. Almond Milk vs. Cashew Milk
Let’s break down the most popular options so you can choose the best one for your creami recipe.
- Full-Fat Canned Coconut Milk (USDA): This is the undisputed champion for creaminess. Its high-fat content makes for an incredibly rich and decadent ice cream that’s the closest you’ll get to traditional dairy. It does have a mild coconut flavor, but in most recipes, it’s a welcome addition. For a truly rich chocolate or vanilla ice cream, this is your go-to.
- Oat Milk: A fantastic all-rounder. It’s naturally creamy and has a neutral flavor, so it won’t overpower your other ingredients. Look for a full-fat or “barista blend” version if you can find it, as it will give you an even smoother texture. It’s a great choice for just about any flavor.
- Soy Milk: The protein powerhouse! Soy milk is high in protein, which helps create a stable and smooth ice cream. It’s got a slightly beany flavor that some people notice, but it’s usually masked well by stronger flavors like chocolate or coffee.
- Cashew Milk: This is another top-tier option for creaminess. Cashew milk (especially homemade from soaked cashews) is rich and has a fairly neutral flavor profile. It performs beautifully in the Ninja Creami, creating a lovely, smooth texture.
- Almond Milk: Honestly, almond milk is probably the least ideal for this job. It has a lower fat and protein content, which often leads to a more icy, less creamy result. If it’s all you have, you can definitely make it work, but you’ll need to rely more heavily on thickeners to get a good texture.
 24")
Quick Comparison Table
| Non-Dairy Milk | Creaminess Level | Flavor Profile | Best For… |
| Canned Coconut | Very High | Mildly Sweet, Coconut | Rich, decadent desserts |
| Oat Milk | High | Neutral, Slightly Sweet | All-purpose recipes |
| Cashew Milk | High | Neutral, Creamy | All-purpose recipes |
| Soy Milk | Medium-High | Neutral, Slightly Beany | Flavors like chocolate/coffee |
| Almond Milk | Low | Neutral, Slightly Nutty | Sorbets, lighter treats |
Essential Thickeners and Emulsifiers
 25")
Okay, so you’ve picked your milk. Now, how do you guarantee it won’t turn into a block of ice? You need a little help from thickeners and emulsifiers. These are the secret ingredients that prevent large ice crystals from forming.
- Vegan Protein Powder: This is a fantastic multi-tasker. It adds protein, which contributes to a smoother texture, and it also acts as a stabilizer. A scoop of vanilla or chocolate protein powder can also boost the flavor.
- Cornstarch or Arrowroot Starch: A little bit of starch can work wonders. Making a quick slurry and heating it with your milk base before freezing helps create a much thicker, scoopable ice cream.
- Guar Gum or Xanthan Gum (FDA): Don’t be intimidated by the names. These are plant-based thickeners you can find in most grocery stores. You only need a tiny amount (like 1/4 teaspoon for a whole pint) to make a huge difference in preventing iciness.
- Nut Butter or Coconut Cream: Adding a spoonful of cashew butter, almond butter, or the thick cream from the top of a can of coconut milk adds fat and creaminess. It’s a simple trick that pays off big time.
 26")
 27")
 28")
How to Make Vegan Ninja Creami Ice Cream (Step-by-Step)
Ready for the magic? The process is ridiculously easy.
- Blend Your Base: In a blender, combine your non-dairy milk, sweetener (like maple syrup or agave), vanilla extract, a pinch of salt, and any thickeners you’re using (like protein powder or a cornstarch slurry). Blend until everything is completely smooth.
- Freeze It Solid: Pour the mixture into your Ninja Creami pint container and fill it up to the max fill line. Secure the lid and freeze it on a level surface for at least 24 hours. It has to be frozen solid—no cheating!
- Process It: Once it’s frozen solid, remove the pint from the freezer, take off the lid, and place it in the outer bowl of the Ninja Creami. Secure the processing lid, lock it into the machine, and select the “Lite Ice Cream” or “Sorbet” function, depending on your base.
- Re-Spin if Needed: After the first spin, your ice cream might look a little crumbly. That’s totally normal! Just add a tablespoon of non-dairy milk, put it back in the machine, and hit the “Re-Spin” button. Sometimes it takes two re-spins to get that perfect, creamy consistency.
- Add Mix-Ins: If you want to add things like chocolate chips, cookie chunks, or nuts, now’s the time. Make a well in the center of your ice cream, add your goodies, and use the “Mix-In” function to distribute them evenly.
And that’s it! You’ve just made incredible homemade vegan ice cream (The Vegan Society).
Our Top 5 Vegan Ninja Creami Recipes
Here are a few of our favorite vegan ninja creami recipes to get you started. Feel free to use these as a jumping-off point for your own creations!
1. Classic Vegan Vanilla Bean
You can’t go wrong with a classic. This is the perfect base for any mix-in you can dream of.
- 1 can (13.5 oz) full-fat coconut milk
- 1/4 cup maple syrup
- 1 tsp vanilla extract
- 1 tbsp vegan vanilla protein powder (optional)
- Pinch of salt Blend, freeze, and process. Re-spin with a splash of coconut milk.
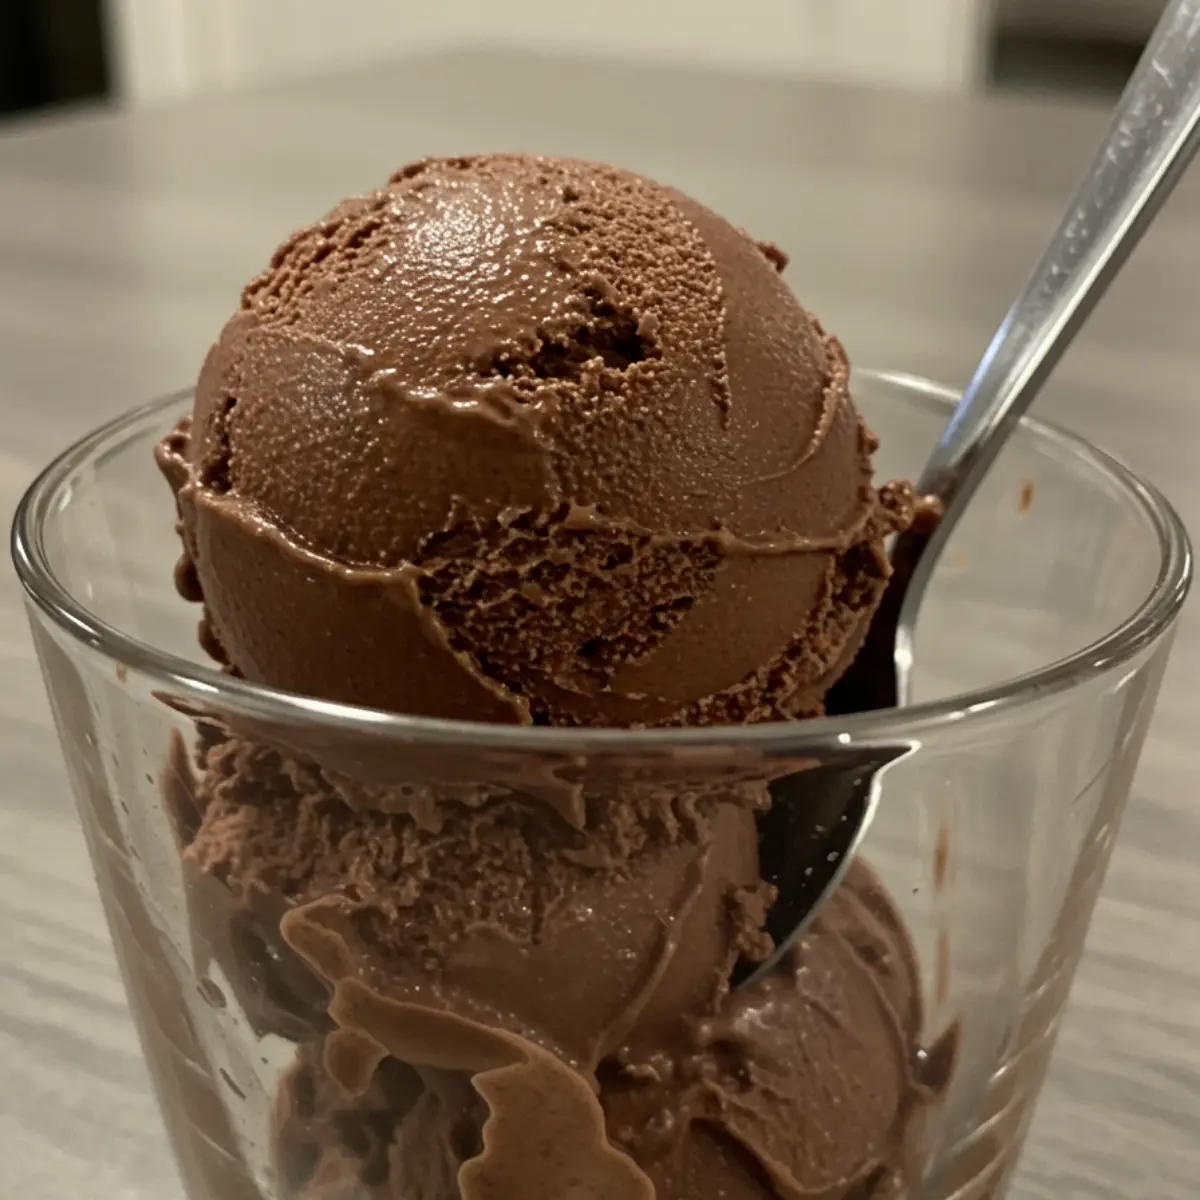
2. Rich & Creamy Vegan Chocolate
For the chocolate lovers out there. This one’s for you.
- 1 can (13.5 oz) full-fat coconut milk
- 1/3 cup maple syrup
- 1/4 cup unsweetened cocoa powder
- 1 tsp vanilla extract
- Pinch of salt Blend until smooth, freeze, and process. For an even richer flavor, check out our dedicated Vegan Chocolate Ice Cream guide.
3. Dairy-Free Cookies and Cream
A timeless favorite, now completely plant-based.
- 1 1/2 cups full-fat oat milk
- 1/4 cup agave nectar
- 1 tsp vanilla extract
- 1/4 tsp guar gum
- Pinch of salt
- 1/2 cup crushed vegan chocolate sandwich cookies (like Oreos) Blend the base ingredients, freeze, and process. Use the “Mix-In” function to add the cookie pieces at the end.
4. Refreshing Vegan Pistachio
A sophisticated and delicious flavor that feels super fancy but is a breeze to make.
- 1 1/2 cups unsweetened cashew milk
- 1/3 cup maple syrup
- 1/2 cup raw, unsalted pistachios, soaked for at least 4 hours
- 1/2 tsp vanilla extract
- Pinch of salt Drain the soaked pistachios and blend them with all other ingredients until completely smooth. Freeze and process.
5. Easy Vegan Strawberry Sorbet
Looking for something a little lighter? This strawberry sorbet is perfect, especially during the warmer months of June and July when strawberries are in season.
- 1 lb fresh or frozen strawberries, hulled
- 1/4 cup light agave or maple syrup
- Juice of 1/2 a lemon
- Pinch of salt If using fresh strawberries, blend all ingredients until smooth. If using frozen, let them thaw slightly before blending. Freeze in the Creami pint, then process using the “Sorbet” function.
Troubleshooting Common Issues
Sometimes things don’t go perfectly, and that’s okay. Here’s how to fix the most common problems.
My Ninja Creami is Icy – What Did I Do Wrong?
Iciness is almost always caused by a base that doesn’t have enough fat, protein, or sugar. Let me explain. These components are what keep the ice crystals small and prevent the mixture from freezing into a solid block of ice.
If your base comes out icy, it likely means you used a low-fat milk (like almond milk) without adding a thickener. The fix? Try adding a scoop of protein powder, a tablespoon of cashew butter, or 1/4 teaspoon of guar gum to your base next time before you freeze it.
How to Get a Creamier Texture
The secret to ultimate creaminess is the re-spin! Seriously, don’t skip this step. That first spin breaks up the frozen base, but the re-spin is what whips air into it and gives it that classic ice cream texture. Adding a splash of liquid before the re-spin is crucial.
Another tip is to make sure your base ingredients are fully blended. Any un-blended bits can create a weird texture. Finally, using a higher-fat milk like canned coconut milk or oat milk will give you a huge head start on creaminess.
Ninja Creami Tips and Tricks for Perfect Vegan Ice Cream
- Freeze on a Flat Surface: This ensures the top of your frozen base is level, which helps the machine process it evenly.
- Don’t Overfill: Never fill your pint past the max fill line. The mixture will expand a bit as it freezes.
- Patience is Key: Let your base freeze for a full 24 hours. If it’s not completely solid, it won’t spin correctly.
- Warm the Pint: Before you serve, you can run the outside of the pint under warm water for a minute. This makes it a little easier to scoop.