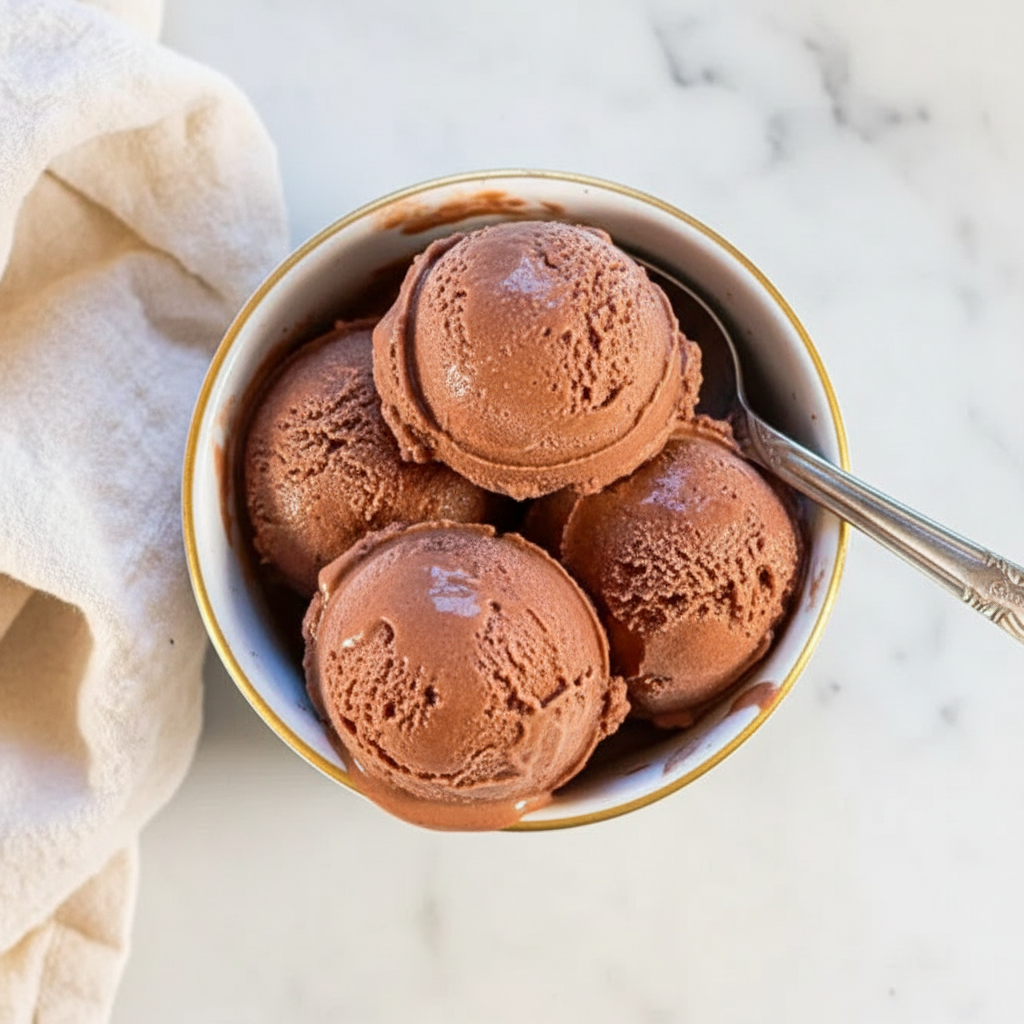
Have you ever craved a big bowl of ice cream but wanted to stick with your health goals? It feels like a common problem, right? You want something sweet, cold, and creamy, but not all the extra stuff that comes with it. Well, I have some great news for you.
Your Ninja Creami is about to become your favorite kitchen gadget. We are going to make some of the easiest Protein Ice Cream Ninja Creami Recipes you have ever seen. Seriously, it’s so simple you’ll wonder why you didn’t try it sooner. Let’s get started.
Jump To:
Why You’ll Love This Recipe
First off, the simplicity is unmatched. You need one main ingredient. That’s it. Just your favorite protein shake. There’s no complicated list of items to buy or measure. It’s a pour, freeze, and spin situation. Anyone can do this.
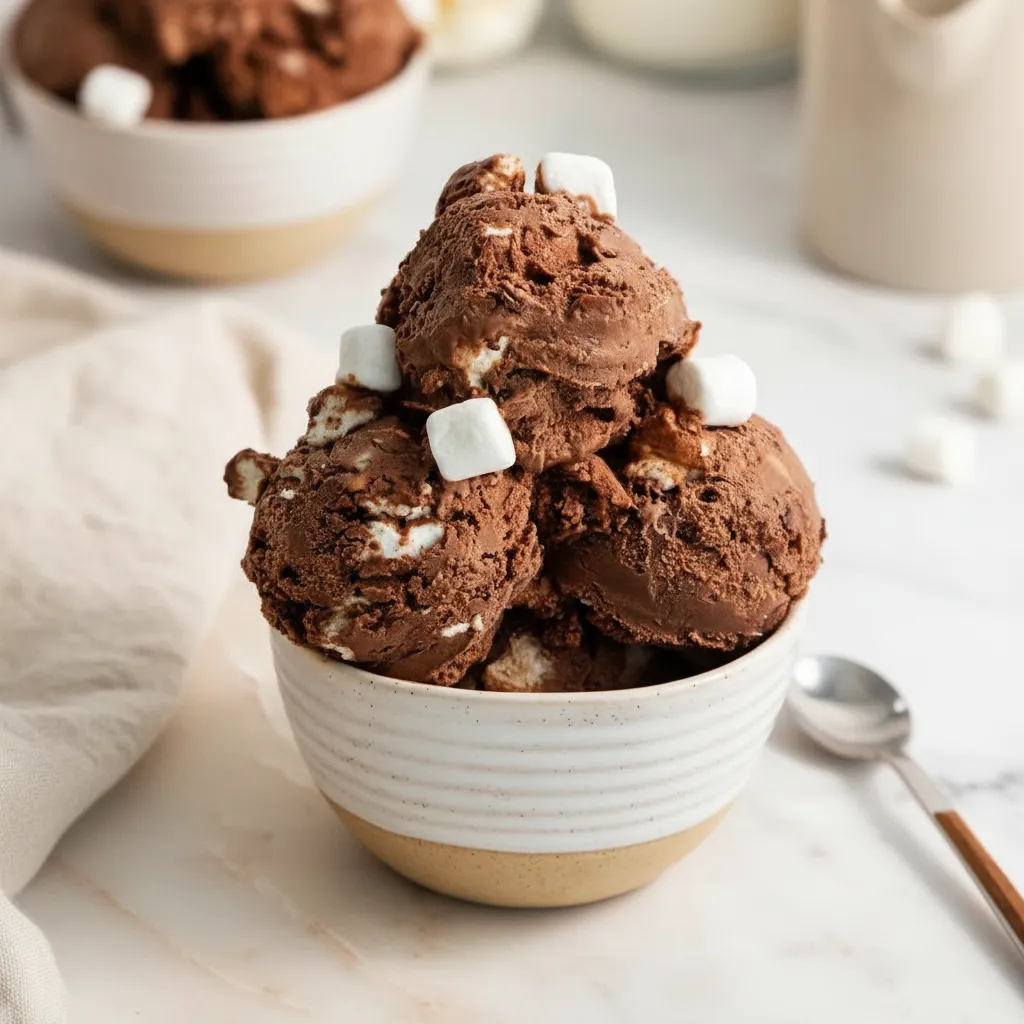
The texture is another huge win. The Ninja Creami works its magic, turning a frozen block into a smooth, scoopable treat. It’s not an icy slush like you might get from a blender. This is real deal creamy goodness.
Plus, the customization is endless. Whatever flavor of protein shake you enjoy can become ice cream. This means you can have chocolate, strawberry, or even a tasty salted caramel whenever you want. It’s a great way to satisfy your sweet tooth.
And of course, it’s a healthier option. You are in complete control of the ingredients. You get a delicious dessert that also helps you meet your protein goals for the day. It’s a win win situation for home food lovers.
Ingredients
Making this incredible Ninja Creamier Protein Ice Cream requires very little. Here is what you will need to get started. It’s one of the Best Ninja Creami Recipes for a reason.
- 16 ounce protein shake of your choice
- Optional: Additional sweetener to taste
- Optional: 1/4 cup mix ins of your choice
The protein shake is the star of the show. Make sure you pick a flavor you genuinely love. If you enjoy vanilla, making a Vanilla Protein Ice Cream Ninja Creami is a great place to start. The final taste will depend entirely on your shake.
Step-By-Step Instructions
Ready to see how these Protein Ice Cream Ninja Creami Recipes come to life? It’s a very straightforward process. Just follow along and you’ll be enjoying your treat in no time. Let’s walk through it together.
Step 1: Prep and Freeze the Pint
First, grab your Ninja Creami pint container. Pour your chosen protein shake into it. Be careful not to go past the max fill line marked on the side. This is really important for the machine to work correctly.
If you feel your shake isn’t sweet enough, now is the time to add a little extra sweetener. You can use sugar, monk fruit, or maple syrup. Stir it well until it completely dissolves into the liquid.
Once everything is mixed, secure the lid on the pint. Place it on a flat, level surface inside your freezer. Let it freeze for a full 24 hours. This long freeze time is critical for getting the right texture later on.
Step 2: Process With the Ninja Creami
After 24 hours, it’s time for the fun part. Take the pint out of the freezer and remove the lid. You’ll see a solid, frozen block. Don’t worry, that’s exactly what you want. This is key to all good Protein Ice Cream Ninja Creami Recipes.
Place the pint into the outer bowl apparatus that came with your machine. Snap the outer bowl lid into place until it locks. You’ll hear a click. Then, secure the entire bowl assembly into the Ninja Creami machine itself.
Press the Lite Ice Cream button. The machine will start to work its magic, shaving the frozen block into a creamy dessert. It’s a bit loud, but the results are worth it. The process is pretty quick.
Step 3: Check and Respin if Needed
Once the cycle is finished, remove the pint from the machine. Take a look at the texture. Sometimes, especially with lower fat or sugar bases, the result can look a bit crumbly or powdery. This is totally normal.
If it does look crumbly, just put the pint back into the machine. This time, press the Re-spin button. This second cycle usually smooths everything out into a perfect, creamy consistency. It really helps the Ninja Creamier Protein Ice Cream.
Still a little crumbly after the first respin? No problem. Add about a tablespoon of milk or a little more of your protein shake. Then, run the Re-spin cycle one more time. This almost always does the trick.
Step 4: Add Mix Ins (Optional)
If you want to add some extra texture and flavor, this is the time. Use a spoon to create a small well in the center of your ice cream. Make it about half an inch wide and reach all the way to the bottom.
Add your chosen mix ins, like chocolate chips, crushed cookies, or nuts, into the well. Place the pint back into the machine one last time and press the Mix-in button. The machine will gently fold them into your ice cream.


How To Store Leftovers
If you have any leftover Ninja Creamier Protein Ice Cream, storing it is simple. Just smooth the top of the ice cream in the pint container to make it level. Place the lid back on securely.
Put the pint back into the freezer. It will freeze solid again, just like it did initially. This is completely normal for homemade ice creams that don’t have commercial stabilizers in them.
When you want to eat the leftovers, you can’t just scoop it out. It will be too hard. You will need to put the pint back into the Ninja Creami and run a processing cycle again, like Lite Ice Cream or Re-spin, to make it creamy.
Tips
Want to make the Best Ninja Creami Recipes possible? Here are a few simple tips to help you get great results every single time. Little things can make a big difference with these creations.
Choose your protein shake wisely. Since it’s the main flavor, use one you love drinking on its own. Also, check the label. The shake should have some sugar or fat in it. Shakes that are both sugar free and fat free don’t work as well.
Make sure your freezer is set to a cold temperature and that you freeze the pint on a level surface. A full 24 hours is best. This ensures the base is frozen completely solid, which is what the Creami needs to work properly.
Never overfill the pint container. The machine needs space to do its job. Filling past the line can cause the mixture to expand and damage the machine or create a messy situation. It’s better to be safe than sorry.
Don’t be afraid to boost the flavor. Freezing can dull sweetness. Adding a little sweetener, a teaspoon of vanilla extract, or even a dash of cinnamon before freezing can make your Protein Ice Cream Ninja Creami Recipes even tastier.
Get creative with your mix ins. The possibilities are endless. Crushed chocolate sandwich cookies, mini peanut butter cups, chopped nuts, or even fresh berries are all great options to add some fun and texture to your dessert.
Conclusion
And there you have it. You now know how to create some of the most simple and satisfying Protein Ice Cream Ninja Creami Recipes right in your own kitchen. It’s a fantastic way to enjoy a guilt free dessert.
The beauty of this method is its flexibility. You can try a new flavor every week. From a classic Vanilla Protein Ice Cream Ninja Creami to a decadent chocolate fudge brownie, the choice is yours. Have fun with it.
I hope you love this easy approach to homemade protein ice cream. It’s truly one of the Best Ninja Creami Recipes for anyone looking for a simple, healthy, and delicious treat. Let us know what amazing flavor combinations you come up with.
FAQ
Can I Use Any Protein Shake?
Yes, you can use almost any protein shake you like. The flavor of the shake will be the flavor of your ice cream. However, it’s best to avoid shakes that are both completely sugar free and fat free. A little bit of either helps create a creamier texture.
Why Is My Protein Ice Cream Powdery or Crumbly?
This is very common with low sugar and low fat bases. The ice crystals are very fine and don’t bind together well on the first spin. Running the Re-spin cycle, sometimes with a splash of liquid, helps create a smoother, creamier final product.
Do I Really Have to Wait 24 Hours?
Yes, this is a crucial step. The Ninja Creami is designed to shave down a completely solid block. If the base is not frozen all the way through, you will get a soupy or icy result instead of creamy ice cream. Patience is key for great texture.
What Are Some Good Mix In Ideas?
There are so many great options. Some popular choices include crushed cookies, mini chocolate chips, chopped candy bars, nuts, brownie pieces, or even a swirl of peanut butter or caramel sauce. Get creative and have fun with your favorite treats.
Can I Make This Without a Ninja Creami?
Unfortunately, no. These Protein Ice Cream Ninja Creami Recipes are specifically developed for the unique way this machine works. It shaves and processes a frozen block, which is different from how traditional ice cream makers or blenders function.
Easy Ninja Creami Protein Ice Cream
Craving a sweet, creamy treat without straying from your health goals? This simple Ninja Creami protein ice cream recipe uses just one main ingredient for a delicious, high-protein dessert.
Ingredients
Instructions
- Pour your chosen protein shake into the Ninja Creami pint container. If desired, stir in any additional sweetener until dissolved. Do not fill past the max fill line.
- Secure the lid on the pint and place it on a level surface in your freezer. Freeze for at least 24 hours until completely solid.
- Remove the pint from the freezer, take off the lid, and place it into the outer bowl assembly. Lock the outer bowl lid in place.
- Secure the assembly in the Ninja Creami machine and press the ‘Lite Ice Cream’ button to process.
- After the first spin, check the texture. If it appears crumbly or powdery, place it back in the machine and press the ‘Re-spin’ button. If it’s still crumbly, add 1 tablespoon of milk or protein shake and re-spin again.
- If using mix-ins, create a small well in the center of the ice cream, add your ingredients, and process using the ‘Mix-in’ button.
- Serve immediately for the best texture.
Notes
Choose a protein shake you genuinely enjoy, as its flavor will be the star of the ice cream.
A full 24-hour freeze time on a level surface is critical for achieving the right creamy texture.
Never overfill the pint container. Adhering to the max fill line prevents messes and allows the machine to work properly.
Nutrition
Calories
Sugar
Fat
Carbs