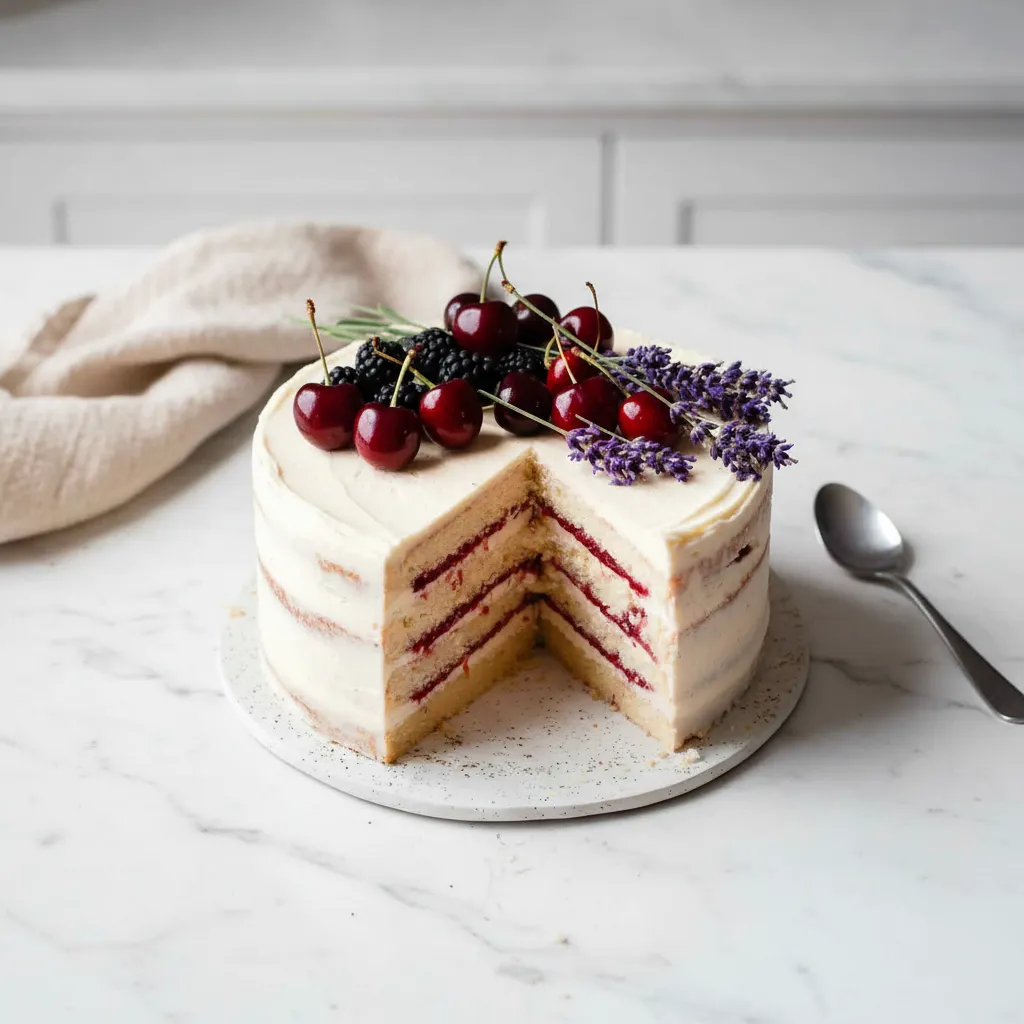
We have all been there, scrolling through social media and stopping dead in our tracks at a photo of a stunning cake. It looks effortless yet intricate, charming yet modern. That is the power of the Birthday Cake Aesthetic. It is more than just a dessert; it is a vibe. It is a centerpiece that sets the tone for the entire celebration.
You might think achieving that level of beauty requires a professional pastry degree or expensive equipment. Honestly? It really does not. With a few simple tools and the right approach, you can create Pretty Birthday Cakes right in your own kitchen.
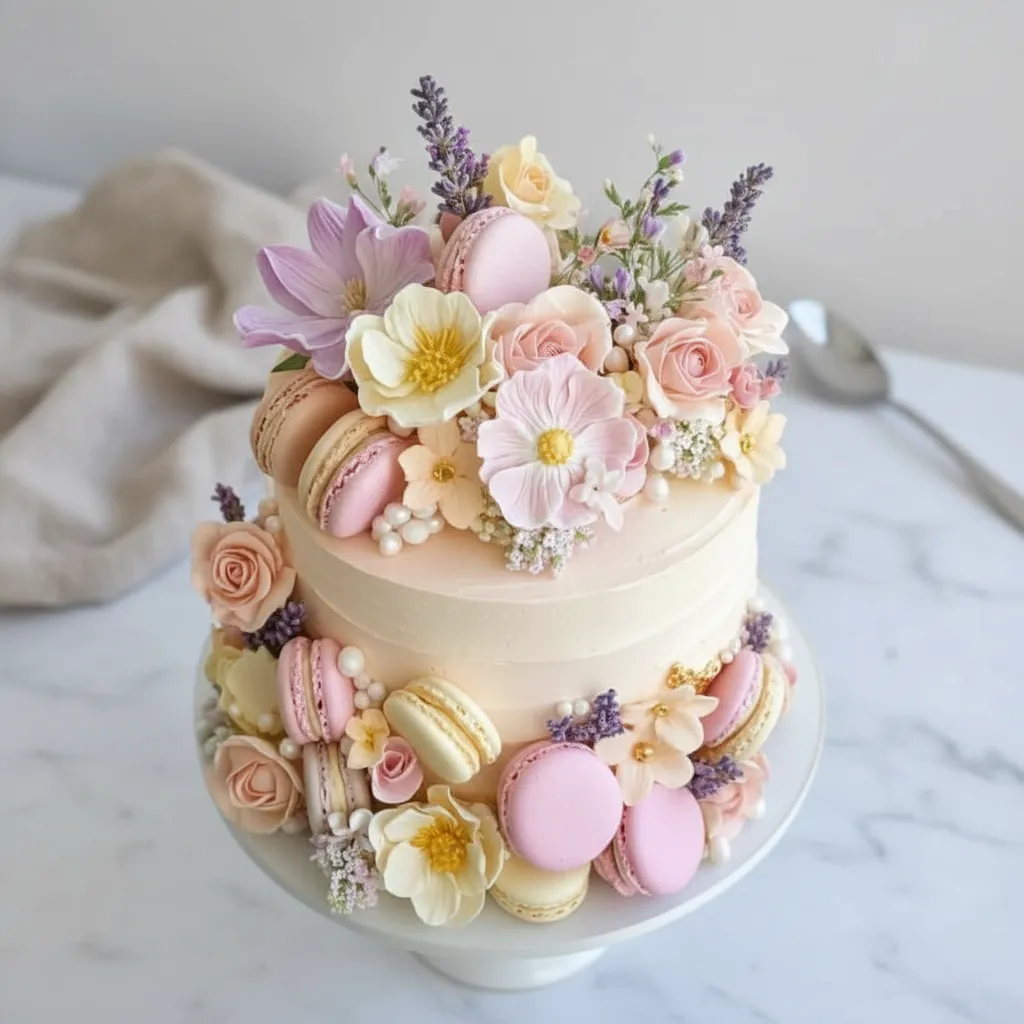
This guide focuses on achieving that dreamy, garden inspired look. We are talking about smooth frosting, cascading flowers, and textures that mimic nature. Whether you want a Minimalist Bday Cake or something lush and detailed, this method works for everyone.
Jump To:
Why You’ll Love This Recipe
First off, this approach allows for total creativity. You are not just following a rigid set of rules. You are building a Birthday Cake Aesthetic that matches your personal style. You can go big with the flowers or keep it simple and sweet.
Another reason you will adore this is the cost savings. Have you seen the prices for custom Aesthetic Cake Designs lately? They can be shocking. By making this at home, you save a significant amount of money while still getting that high end look.
It is also incredibly satisfying. There is something magical about placing that final flower or getting that drip just right. It turns baking into a relaxing art project. Plus, the look on your friends’ faces when you tell them you made it? Priceless.
Finally, this recipe is flexible. We have swapped out some tricky ingredients for easier ones. For instance, we use vanilla extract for painting instead of alcohol, and agar agar instead of gelatin. This makes the process more accessible for everyone.
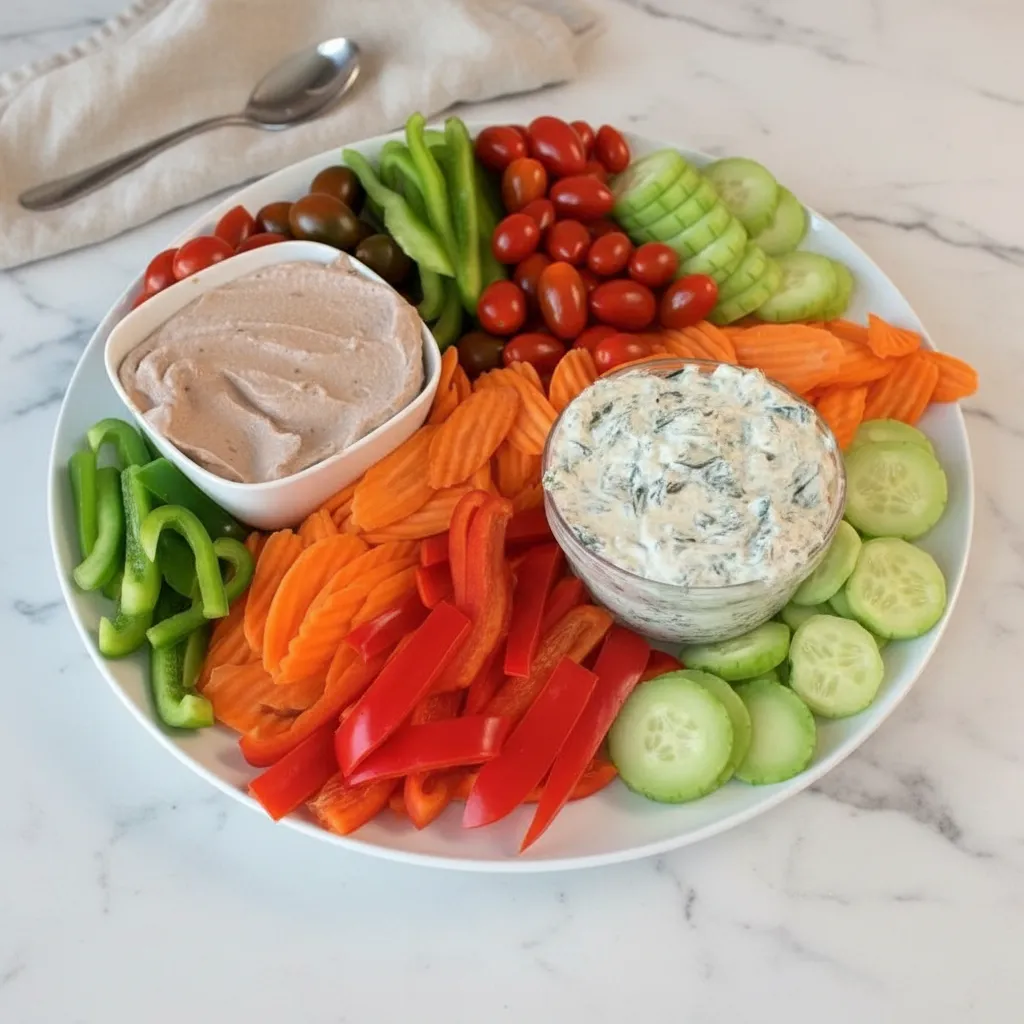
Ingredients
To build your perfect Birthday Cake Aesthetic, you need the right building blocks. Here is everything required to get started.
- Cake layers (your choice of flavor)
- Smooth buttercream frosting
- Fondant
- Edible fresh flowers (such as roses, peonies, and daisies)
- Food coloring
- Vanilla extract
- Agar agar
- Sugar paste
- Royal icing
- Macarons
- Crushed chocolate cookies (for texture)
- Icing for drips
Step By Step Instructions
Creating Pretty Birthday Cakes is a journey. Take your time with each step to ensure the final result is exactly what you envisioned.
Step 1: Build the Foundation
Start by baking your preferred cake layers. You can use any flavor you like, from classic vanilla to rich chocolate. The key here is structural integrity.
Once baked and cooled, stack your layers. Use a little frosting between each layer to act as glue. This creates a solid base for your Birthday Cake Aesthetic design.
Step 2: Create a Smooth Canvas
Apply a smooth coat of buttercream frosting over the entire cake. A bench scraper is your best friend here. You want flat sides and a sharp top edge.
Alternatively, you can cover the cake in a layer of fondant if you prefer that matte finish often seen in Aesthetic Cake Designs.
Step 3: Add the Drip
To create a drip effect, carefully pour icing over the top edge of the cake. Do not dump it all in the center. Work your way around the perimeter.
Allow it to flow naturally down the sides. You can tint the icing in a pastel hue for a soft look or a vibrant color for contrast.
Step 4: Pipe Buttercream Blooms
Use various piping tips to create buttercream flowers directly onto the cake surface. Roses and daisies are classic choices that fit the Birthday Cake Aesthetic perfectly.
Vary the size of your flowers. A mix of large focal blooms and smaller filler flowers creates a more natural, organic look.
Step 5: Sculpt with Fondant
Shape and layer individual petals from fondant or sugar paste. This allows you to craft realistic blooms such as peonies or hibiscus.
These stiff petals add a 3D element that buttercream alone cannot achieve. It elevates the cake from homemade to artisanal in seconds.
Step 6: Paint with Vanilla
For hand painted floral designs, we have a special trick. Dilute your food coloring with vanilla extract instead of clear alcohol.
Use a fine brush to apply the color to fondant surfaces. The vanilla evaporates quickly, leaving behind vibrant color without making the fondant soggy.
Step 7: Arrange the Scene
Arrange your floral elements. You can place them in a cascading pattern down the sides for a dramatic effect.
Alternatively, try a wreath around the top or dense clusters as focal points. This composition is crucial for that Minimalist Bday Cake vibe.
Step 8: Add Texture
Incorporate decorative accents like macarons for a pop of smooth texture. They add elegance and are delicious to eat.
Use crushed chocolate cookies to mimic the appearance of garden soil or moss. Sprinkle this around the base of your flowers for an earthy contrast.
Step 9: The Jelly Effect
If you want to make transparent floral layers, use agar agar as a gelling agent. We use this instead of gelatin for a better texture.
This sets the clear medium perfectly. You can embed delicate edible blossoms within it for a stunning 3D effect that looks like a glass paperweight.


How To Store Leftovers
Preserving your beautiful creation is important. If your cake has fresh cream or soft fillings, it needs to be in the fridge.
However, buttercream protects the cake well. You can often leave it on the counter for a day or two if the room is cool. Just cover it with a cake dome.
For longer storage, slice the cake and wrap individual pieces in plastic wrap. Place them in an airtight container in the freezer. They will stay good for up to a month.
Tips
Temperature is everything when frosting. Make sure your cake layers are completely cool before you start. If they are warm, your frosting will melt and slide right off.
When using fresh flowers, ensure they are edible and organic. You do not want pesticides on your dessert. Wrap the stems in a little floral tape before inserting them into the cake.
For that true Birthday Cake Aesthetic, less is often more. Do not overcrowd the cake. Leave some negative space to let the design breathe.
If you are new to piping, practice on a piece of parchment paper first. You can scrape the frosting back into the bowl and try again until you feel confident.
When using agar agar, work quickly. It sets faster than gelatin. Have your molds and flowers ready to go before you start heating the mixture.
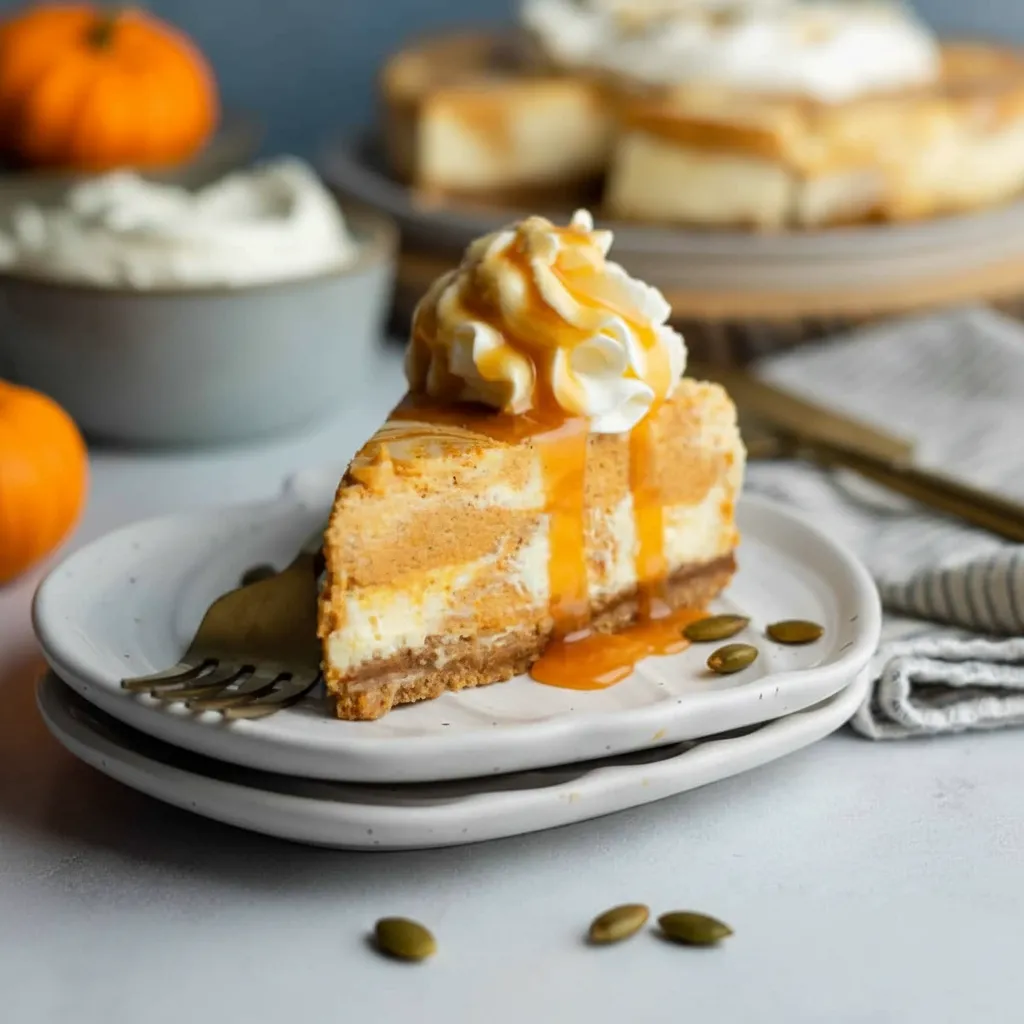
Conclusion
Creating a cake with a stunning Birthday Cake Aesthetic is a rewarding project. It allows you to express your creativity and make something truly special for the people you love.
Whether you go for a Minimalist Bday Cake or a lush garden design, the effort is worth it. You get a delicious dessert and a centerpiece that will be remembered long after the party ends.
So grab your spatula and get started. Do not be afraid to experiment with Aesthetic Cake Designs. The most beautiful cakes are often the ones made with the most joy.
FAQ
Can I Make This Gluten Free?
Absolutely. You can use any cake base you like. A high quality gluten free flour blend works wonders for the layers. Just ensure your other ingredients like baking powder are also certified gluten free.
How Long Does It Take To Decorate?
It depends on the complexity. A simple Birthday Cake Aesthetic might take an hour. A complex design with hand painted fondant and agar agar layers could take three to four hours. Plan accordingly.
Can I Use Store Bought Cake?
Yes, you can. You can buy plain, unfrosted cake layers from many bakeries. This saves time and lets you focus entirely on the decorating process to achieve that perfect aesthetic.
Aesthetic Birthday Cake Decorating Guide
Learn how to create stunning, aesthetic birthday cakes right in your own kitchen. This no-fuss guide focuses on simple techniques for smooth frosting, floral arrangements, and textures to achieve a beautiful, modern look without expensive equipment.
Requirements


Ingredients
Instructions
- Build the Foundation: Bake and cool your cake layers. Stack them with a thin layer of frosting in between to create a solid base.
- Create a Smooth Canvas: Apply a smooth coat of buttercream frosting over the entire cake using a bench scraper for flat sides and a sharp top edge. Alternatively, cover with fondant for a matte finish.
- Add the Drip: Carefully pour icing around the top edge of the cake, allowing it to flow naturally down the sides.
- Pipe Buttercream Blooms: Use various piping tips to create buttercream flowers like roses and daisies directly on the cake. Vary the sizes for a natural look.
- Sculpt with Fondant: Shape individual petals from fondant or sugar paste to craft realistic 3D flowers like peonies.
- Paint with Vanilla: For hand-painted designs, dilute food coloring with vanilla extract. Use a fine brush to paint onto fondant surfaces.
- Arrange the Scene: Arrange your floral elements in a cascading pattern, a wreath, or dense clusters as focal points.
- Add Texture: Incorporate macarons for a pop of smooth texture and use crushed chocolate cookies to mimic garden soil around the base of flowers.
- The Jelly Effect: Use agar agar as a gelling agent to create transparent floral layers, embedding edible blossoms within for a stunning 3D effect.
Notes
Ensure cake layers are completely cool before frosting to prevent melting.
When using fresh flowers, confirm they are edible and organic. Wrap stems in floral tape before inserting them into the cake.
Less is often more. Leave some negative space on the cake to let the design breathe.
Practice piping on parchment paper first if you’re new to it. You can scrape the frosting back into the bowl and reuse it.
Nutrition
Calories
Sugar
Fat
Carbs