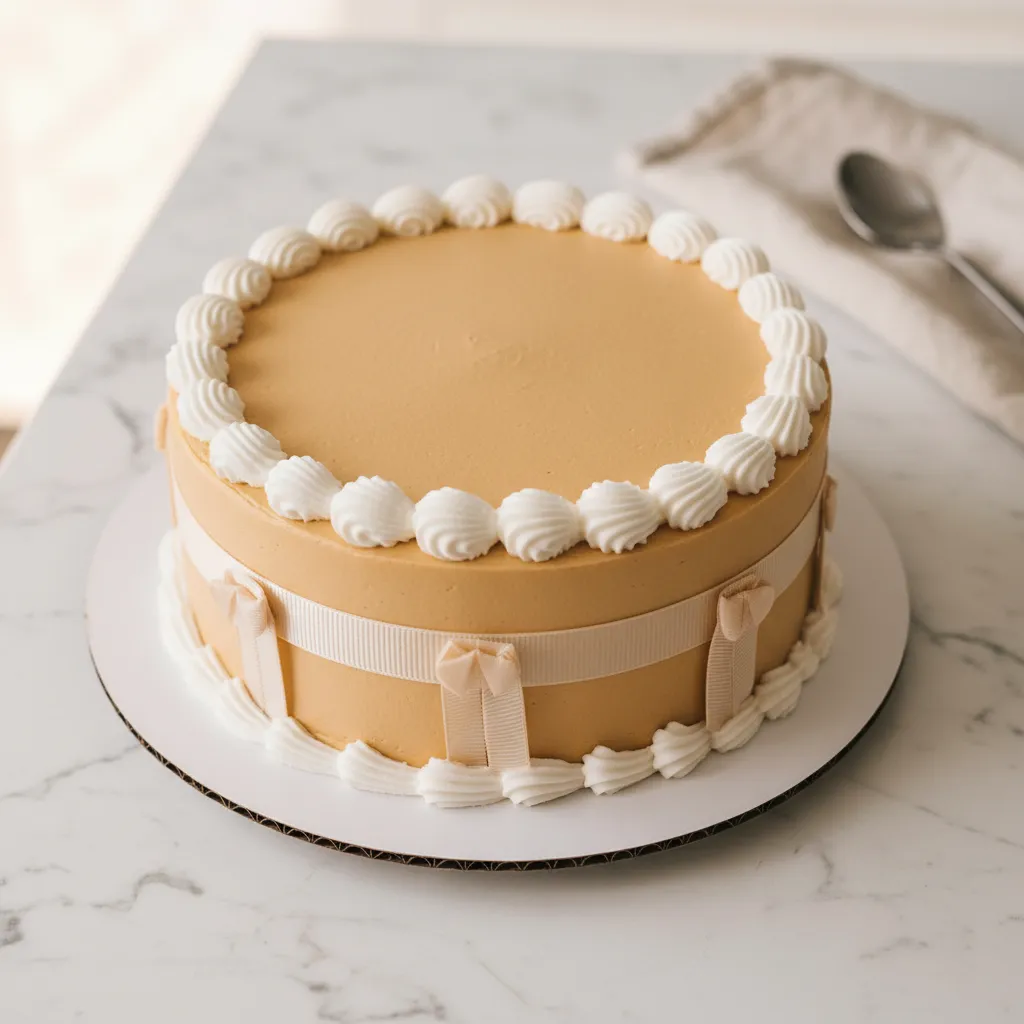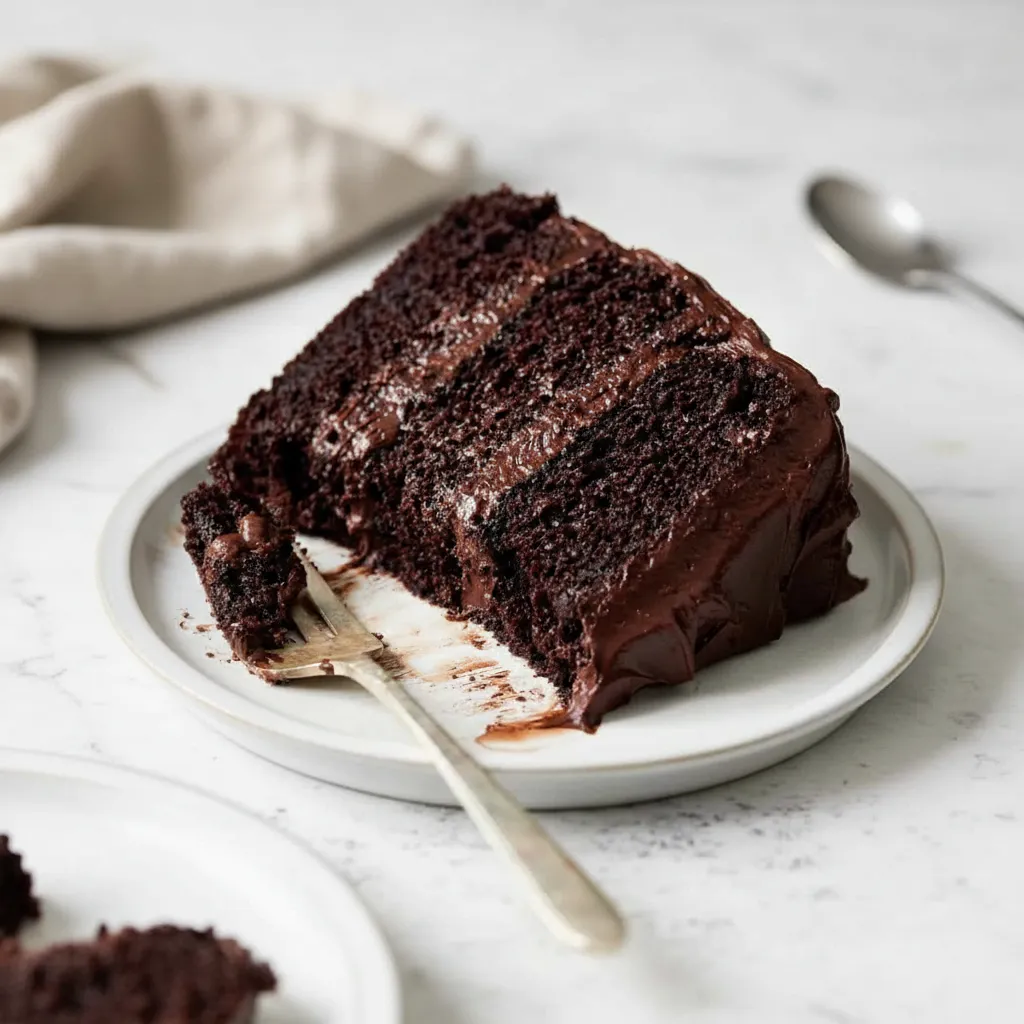
There is nothing quite like a homemade chocolate cake to lift your spirits. Whether you are celebrating a birthday or just need a sweet pick me up on a Tuesday, this dessert is the answer. It is rich, dark, and incredibly satisfying.
Many people feel intimidated by baking from scratch. You might worry about dry layers or sinking centers. But this recipe is designed to be foolproof. You do not need to be a professional baker to get bakery quality results right in your own kitchen.
Jump To:
Why You’ll Love This Recipe
This cake is going to become a staple in your recipe box for so many reasons. First, the texture is unbeatable. Thanks to the buttermilk and oil, the crumb stays moist for days. You will never have to worry about serving a dry slice to your guests.
It is also surprisingly easy to throw together. You do not need a fancy mixer for the batter. A couple of bowls and a whisk will do the job perfectly. This makes cleanup a breeze, which is something every home cook can appreciate.
Finally, the flavor is deep and complex. The addition of hot coffee blooms the cocoa powder. It does not make the dessert taste like coffee, but it makes the chocolate taste more intense. It is a simple trick that makes a huge difference.
Ingredients
You likely have most of these items in your pantry already. Here is what you need to get started.
For The Cake
- 2 cups all purpose flour
- 1 1/3 cups granulated sugar
- 1 cup brown sugar
- 1 cup cocoa powder
- 2 1/2 tsp baking soda
- 2 tsp baking powder
- 1 tsp salt
- 1 1/4 cups buttermilk (room temperature)
- 3/4 cup coffee (room temperature)
- 2/3 cup vegetable oil
- 3 eggs (room temperature)
- 1 tbsp vanilla extract
For The Chocolate Fudge Frosting
- 2 cups unsalted butter (room temperature)
- 2 cups powdered sugar
- 1 cup cocoa powder
- 1/2 tsp salt
- 2 cups chocolate chips
- 1/4 cup honey
- 1/4 cup heavy cream
- 1 tsp vanilla extract
Step By Step Instructions
Step 1: Prep The Oven And Pans
Start by preheating your oven to 350°F (175°C). This ensures the oven is at the right temperature when you are ready to bake. Grease three 8 inch round pans thoroughly. Line the bottoms with parchment paper to guarantee the layers release easily later.
Step 2: Whisk Dry Ingredients
Grab a large mixing bowl. Add the flour, granulated sugar, brown sugar, cocoa powder, baking soda, baking powder, and salt. Whisk everything together until it is uniform. You want to break up any large clumps of cocoa powder or brown sugar at this stage.
Step 3: Mix Wet Ingredients
In a separate bowl, combine the buttermilk, coffee, vegetable oil, eggs, and vanilla extract. Whisk these wet ingredients until the eggs are fully broken down and the mixture looks smooth. Using room temperature ingredients helps them emulsify better.
Step 4: Combine And Bake
Pour the wet mixture into the dry ingredients. Stir gently until just combined. Be careful not to overmix, or the cake might become tough. Divide the batter evenly between the three prepared pans. Tap the pans on the counter to release air bubbles.
Bake for 25 to 30 minutes. Test for doneness by inserting a toothpick into the center. It should come out with just a few moist crumbs attached.
Step 5: Cool The Layers
Remove the pans from the oven. Let them sit on a wire rack for about 10 minutes. This rest period helps the structure set. After 10 minutes, carefully flip them out onto the wire racks to cool completely before frosting.
Step 6: Make The Frosting
Melt the chocolate chips, honey, and heavy cream in a microwave safe bowl or double boiler. Stir until smooth and let it cool slightly. In a large bowl, beat the room temperature butter until it is creamy and smooth.
Add the powdered sugar, cocoa powder, and salt to the butter. Beat until combined. Finally, pour in the melted chocolate mixture and vanilla extract. Beat everything together until you have a smooth, fluffy frosting.
Step 7: Assemble The Cake
Place one cooled layer on your serving platter. Spread a generous amount of frosting over the top. Add the second layer and repeat. Top with the final layer and use the remaining frosting to cover the top and sides. Decorate with sprinkles if you like.
 1")
 2")
 3")
How To Store Leftovers
If you have leftovers, you want to keep them fresh. Wrap any remaining cake tightly in plastic wrap or place it in an airtight container. It will stay good in the refrigerator for up to a week.
You can also freeze this dessert. Place the uncovered dessert in the freezer for one hour to set the frosting. Then, wrap it in plastic wrap followed by aluminum foil. It can be frozen for up to three months. Thaw it in the fridge overnight before eating.
Tips
Use room temperature ingredients. This is crucial. Cold eggs or buttermilk can cause the batter to curdle or bake unevenly. Set your ingredients out on the counter about an hour before you plan to start baking.
Do not skip the coffee. You might be tempted to use water instead, but coffee adds a depth of flavor that water cannot match. If you are worried about caffeine, decaf works just as well.
If you are looking for a Chocolate Dairy Free Cake, you will need to make some swaps. This original recipe is rich in dairy, but you can experiment. For a No Dairy Chocolate Cake, try using almond milk with vinegar instead of buttermilk, and use a vegan butter alternative.
For those needing a Lactose Free Chocolate Cake, ensure your chocolate chips and butter substitute are certified lactose free. While the texture might change slightly, it is a great way to adapt the recipe if you need a Chocolate Cake Dairy Free style treat.
Conclusion
Making a bakery style cake at home does not have to be stressful. With simple ingredients and a little patience, you can create a dessert that looks and tastes amazing. This recipe is perfect for beginners and seasoned bakers alike.
So, preheat that oven and get your mixing bowls ready. Your kitchen is about to smell incredible, and your family is going to thank you. Enjoy every bite of this delicious creation!
FAQ
Can I Make This A No Dairy Cake?
Yes, you can adapt this. To make a No Dairy Cake, replace the buttermilk with a plant based milk mixed with a teaspoon of vinegar. Swap the butter in the frosting for a high quality vegan butter stick. This allows you to enjoy a Non Dairy Chocolate Cake without losing too much richness.
Is This A Healthy Chocolate Cake Option?
This recipe is an indulgent treat rather than a health food. However, making it from scratch means you avoid preservatives found in box mixes. If you want a Healthy Chocolate Cake Option, you could try substituting some sugar for coconut sugar, but it will change the texture.
Can I Use This For Nondairy Cake Recipes?
This base recipe is very versatile. By swapping the dairy items for plant based alternatives, it fits well into a collection of Nondairy Cake Recipes. It is a great starting point for an Easy Dairy Free Chocolate Cake experiment.
Rich Homemade Chocolate Cake
This rich, dark, and incredibly satisfying homemade chocolate cake is surprisingly easy to make. No fancy mixer needed for the batter, and the addition of hot coffee deepens the chocolate flavor. Perfect for any celebration or a sweet weeknight treat.
Requirements
 4")
 5")
 6")
 7")
 8")
 9")
Ingredients
Instructions
- Preheat your oven to 350°F (175°C). Grease three 8 inch round pans thoroughly. Line the bottoms with parchment paper to guarantee the layers release easily later.
- Grab a large mixing bowl. Add the flour, granulated sugar, brown sugar, cocoa powder, baking soda, baking powder, and salt. Whisk everything together until it is uniform. You want to break up any large clumps of cocoa powder or brown sugar at this stage.
- In a separate bowl, combine the buttermilk, coffee, vegetable oil, eggs, and vanilla extract. Whisk these wet ingredients until the eggs are fully broken down and the mixture looks smooth. Using room temperature ingredients helps them emulsify better.
- Pour the wet mixture into the dry ingredients. Stir gently until just combined. Be careful not to overmix, or the cake might become tough. Divide the batter evenly between the three prepared pans. Tap the pans on the counter to release air bubbles. Bake for 25 to 30 minutes. Test for doneness by inserting a toothpick into the center. It should come out with just a few moist crumbs attached.
- Remove the pans from the oven. Let them sit on a wire rack for about 10 minutes. This rest period helps the structure set. After 10 minutes, carefully flip them out onto the wire racks to cool completely before frosting.
- Melt the chocolate chips, honey, and heavy cream in a microwave safe bowl or double boiler. Stir until smooth and let it cool slightly. In a large bowl, beat the room temperature butter until it is creamy and smooth. Add the powdered sugar, cocoa powder, and salt to the butter. Beat until combined. Finally, pour in the melted chocolate mixture and vanilla extract. Beat everything together until you have a smooth, fluffy frosting.
- Place one cooled layer on your serving platter. Spread a generous amount of frosting over the top. Add the second layer and repeat. Top with the final layer and use the remaining frosting to cover the top and sides. Decorate with sprinkles if you like.
Notes
Use room temperature ingredients. This is crucial. Cold eggs or buttermilk can cause the batter to curdle or bake unevenly. Set your ingredients out on the counter about an hour before you plan to start baking.
Do not skip the coffee. You might be tempted to use water instead, but coffee adds a depth of flavor that water cannot match. If you are worried about caffeine, decaf works just as well.
For a dairy-free option, use plant-based milk with vinegar instead of buttermilk, and a vegan butter alternative.
Store leftovers wrapped tightly in plastic wrap or an airtight container in the refrigerator for up to a week.
To freeze, set frosting in freezer for an hour, then wrap in plastic wrap and aluminum foil. Freeze for up to three months. Thaw in fridge overnight.
Nutrition
Calories
Sugar
Fat
Carbs