What if you could make perfectly creamy, healthy frozen yogurt in your Ninja Creami with almost zero effort? If you’ve ever been disappointed by an icy, chalky homemade frozen treat, you know the struggle is real. You bought this magical machine with dreams of endless ice cream flavors, but the results can sometimes be… well, less than dreamy.
That’s where this Ninja Creami frozen yogurt recipe comes in. Forget everything you thought you knew about homemade desserts. This isn’t just another recipe; it’s a blueprint for the creamiest, most satisfying frozen yogurt you’ve ever had, made right in your own kitchen. It’s high in protein, endlessly customizable, and so ridiculously easy you’ll wonder why you ever bought store-bought again. We’re talking about a treat that’s both delicious and genuinely good for you.
So, grab your pint container and let’s get to it. Your dessert game is about to change forever.
Jump To:
Why You’ll Love This Ninja Creami Frozen Yogurt
 13")
Honestly, what’s not to love? This recipe has quickly become a staple in my house, and I’m pretty sure it will in yours, too.
- It’s Incredibly Easy: You literally mix a few ingredients in the pint, freeze it (USDA), and let the machine do the work. It’s a game-changer for busy weeknights.
- Super Creamy Texture: We’re using a few simple tricks to avoid that dreaded icy texture. The result is a smooth, scoopable, high-protein ice cream that feels super indulgent.
- Healthy & Guilt-Free: Packed with protein and low in sugar, this is a dessert you can feel great about eating. It satisfies cravings without derailing your health goals.
- Endlessly Customizable: This base recipe is your canvas! From chocolate chips to fresh fruit to a swirl of peanut butter, the mix-in possibilities are limitless.
Recommended Tools
 14")
Ninja NC501 CREAMi Deluxe Machine
Buy 15")
Silicone Spatula 3-piece Set
Buy 16")
Stainless Steel Measuring Cups & Spoons Set
Buy 17")
Glass Meal Prep StorageContainers
BuyAs an Amazon Associate, I earn from qualifying purchases.
 18")
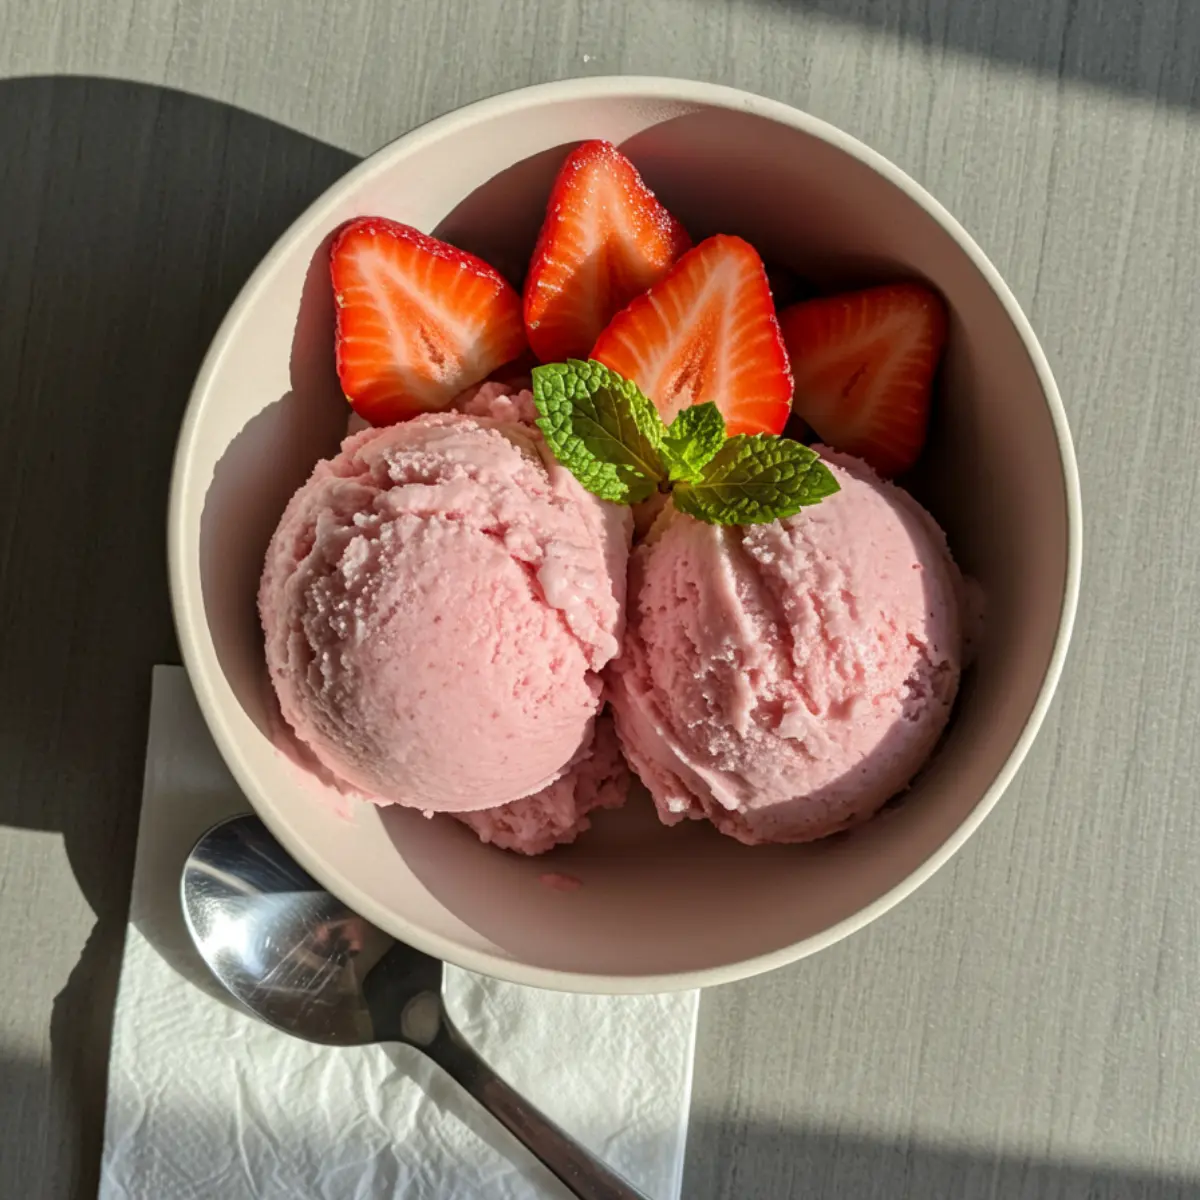
Ninja Creami Frozen Yogurt Recipe
A creamy, protein-packed frozen yogurt made with yogurt, peanut butter, honey, and banana. This simple and delicious Ninja Creami recipe is a perfect breakfast or sweet treat.
- Total Time: 24 hours 5 minutes
- Yield: 2 1x
Ingredients
1 cup vanilla yogurt
1 banana
¼ cup peanut butter
2 tbsp honey
1 tbsp milk (any kind)
Instructions
1. Blend: Combine yogurt, banana, peanut butter, and honey in a blender. Blend until smooth.
2. Pour: Transfer mixture to Ninja Creami container up to the fill line.
3. Freeze: Freeze upright for 24 hours.
4. Mix: Insert container into Ninja Creami and press the Light Ice Cream button.
5. Add Milk: Make a hole in the center with a butter knife. Add 1 tbsp milk.
6. Respin: Put it back in the Ninja Creami and hit the Re-spin button.
7. Enjoy!
Notes
Feel free to use greek yogurt if you would like, the only difference is that it may be a touch more sour.
Adjust sweetness by adding more honey if desired.
- Prep Time: 5 minutes
- Cook Time: 0 minutes
- Category: Dessert, Breakfast
- Method: Frozen
- Cuisine: American
Nutrition
- Serving Size: 1 container
- Calories: 418
- Sugar: 45g
- Sodium: 223mg
- Fat: 18g
- Saturated Fat: 4g
- Unsaturated Fat: 13g
- Trans Fat: 0g
- Carbohydrates: 55g
- Fiber: 3g
- Protein: 14g
- Cholesterol: 7mg
Ingredients You’ll Need
 19")
The beauty of this recipe is its simplicity. You don’t need a long list of complicated ingredients to make amazing homemade ice cream.
- Greek Yogurt: This is the star of the show. It provides the protein and the tangy flavor base.
- Sweetener of Choice: Maple syrup, honey, or a sugar-free alternative like monk fruit all work beautifully. You can adjust the amount to your liking.
- Vanilla Extract: A splash of good quality vanilla extract adds that classic, aromatic flavor that makes it taste like a premium dessert.
- A Pinch of Salt: Don’t skip this! A tiny bit of salt enhances the sweetness and balances the flavors. It’s a small thing that makes a big difference.
Choosing The Best Yogurt (Greek vs. Regular)
 20")
Here’s the thing, not all yogurts are created equal when it comes to the Ninja Creami. The type of yogurt you choose will have a massive impact on the final texture and flavor of your frozen yogurt. After testing dozens of batches, I’ve broken down the pros and cons for you.
| Yogurt Type | Texture | Protein Content | Flavor | Best For |
| Full-Fat Greek Yogurt | Ultra-creamy and rich. The higher fat content freezes into a smoother, less icy texture that mimics traditional ice cream almost perfectly. | Highest | Tangy and rich. It provides a classic frozen yogurt taste. | The absolute creamiest, most decadent experience. |
| Low-Fat/Non-Fat Greek Yogurt | Still very creamy, but slightly less rich. It might need an extra re-spin to get perfectly smooth. | High | A bit tangier and lighter than the full-fat version. | A healthier, high-protein ice cream that’s still delicious. |
| Regular Yogurt (Plain) | Can be icy. The higher water content in regular yogurt tends to form larger ice crystals, resulting in a less creamy final product. | Lower | Milder and less tangy. | If you’re in a pinch, but be prepared for a less-than-perfect texture. |
 21")
My Verdict? For the best possible Ninja Creami frozen yogurt recipe, go with full-fat Greek yogurt. The fat is your friend here—it’s what prevents those pesky ice crystals and gives you that glorious, velvety texture. If you’re focused on a lower-calorie, high-protein ice cream, non-fat Greek yogurt is a fantastic runner-up.
 22")
 23")
 24")
How to Make Frozen Yogurt in a Ninja Creami
This is where the magic happens. The process is so simple, it almost feels like cheating.
Step 1: Mix and Freeze
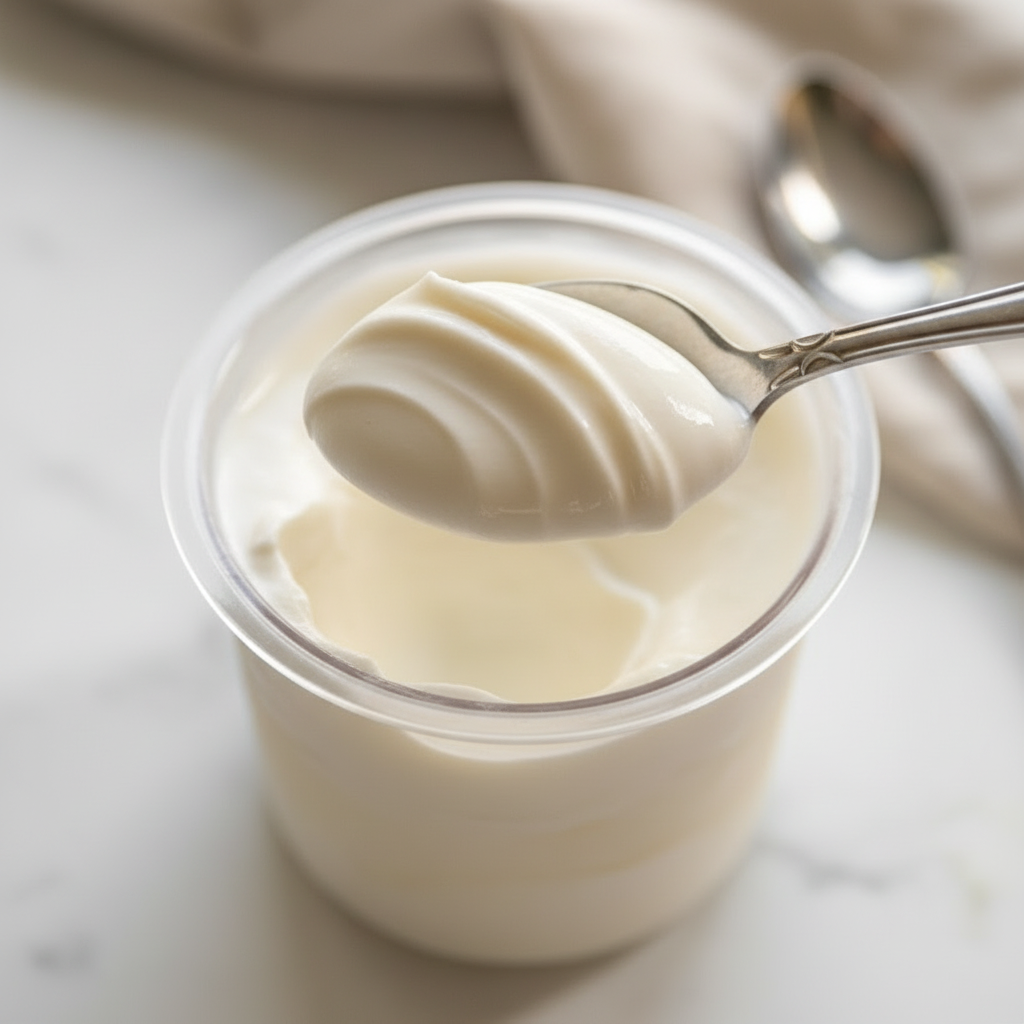
First things first, grab your Ninja Creami pint container. Add the Greek yogurt, your sweetener of choice, vanilla extract, and that tiny pinch of salt directly into the pint.
Now, give it a good stir. I like to use a small whisk or a fork to make sure everything is completely combined and smooth. You don’t want any streaks of vanilla or clumps of sweetener left behind. Scrape down the sides to ensure it’s all incorporated.
Once it’s mixed, pop the lid on the pint and place it in the freezer. Here’s a crucial tip: make sure you place it on a level surface! A tilted pint will freeze unevenly and can potentially damage the machine’s blade. Let it freeze for a full 24 hours. I know, waiting is the hardest part, but this step is non-negotiable for getting the right consistency.
Step 2: Spin in the Creami
After 24 long hours, it’s time to spin! Take the pint out of the freezer and remove the lid. Place the pint into the outer bowl, snap on the processing lid, and lock it into your Ninja Creami machine.
Now, which button to press? For this recipe, you’ll want to select the “Lite Ice Cream” function. This setting is specifically designed for low-fat, low-sugar bases like this one, and in my experience, it produces a much creamier result than the standard “Ice Cream” button for this type of recipe.
Let the machine work its magic. It’ll be loud—that’s normal! Once the cycle is finished, take it out and check the texture. Often, on the first spin, it will look a little crumbly or powdery. Don’t panic! This is completely normal.
If it is crumbly, simply put it back in the machine and press the “Re-spin” button. Sometimes it takes two re-spins to get it perfectly smooth and creamy. Be patient here; it’s worth it.
Step 3: Add Your Mix-Ins
This is the fun part! Once your frozen yogurt is smooth and creamy, it’s time to add your favorite mix-ins.
Use a spoon to create a small tunnel down the center of the pint, about an inch wide. Drop your chosen goodies into that tunnel—chocolate chips, crushed cookies, fresh berries, you name it.
Place the pint back into the machine and press the “Mix-In” button. This cycle is much shorter and is designed to gently fold your additions into the frozen yogurt without pulverizing them.
And that’s it! You now have a pint of perfect, homemade frozen yogurt.
Expert Tips for the Creamiest Texture
Over the years, I’ve learned a few tricks to guarantee the best possible texture. If you’re struggling with icy or chalky results, this section is for you.
- Don’t Rush the Freeze: I can’t stress this enough. A full 24-hour freeze on a flat surface is the most important step. An improperly frozen base is the #1 cause of texture problems.
- The Power of the Re-Spin: The “Re-spin” button is your best friend. It’s very rare for a low-fat base to be perfect on the first spin. Don’t be afraid to re-spin it two or even three times.
- Add a Splash of Liquid: If your base is still crumbly after a couple of re-spins, add a tablespoon of milk (or a dairy-free alternative) or a little more yogurt. This adds just enough moisture to help it blend into a creamy consistency on the next spin.
- A Tiny Bit of Guar Gum: This is my secret weapon for foolproof creaminess. Adding just a ¼ teaspoon of guar gum to your base before freezing helps prevent ice crystals from forming. It’s a natural thickener and a little goes a long way. You can find it online or in many health food stores.
- Make Sure Your Freezer is Cold Enough: The Ninja Creami works best with a base that is frozen solid. If your freezer is on a warmer setting, it can affect the final texture. Aim for a temperature around 0°F (-18°C).
Flavor Variations & Mix-In Ideas
The base recipe is fantastic on its own, but it’s also the perfect starting point for endless creativity.
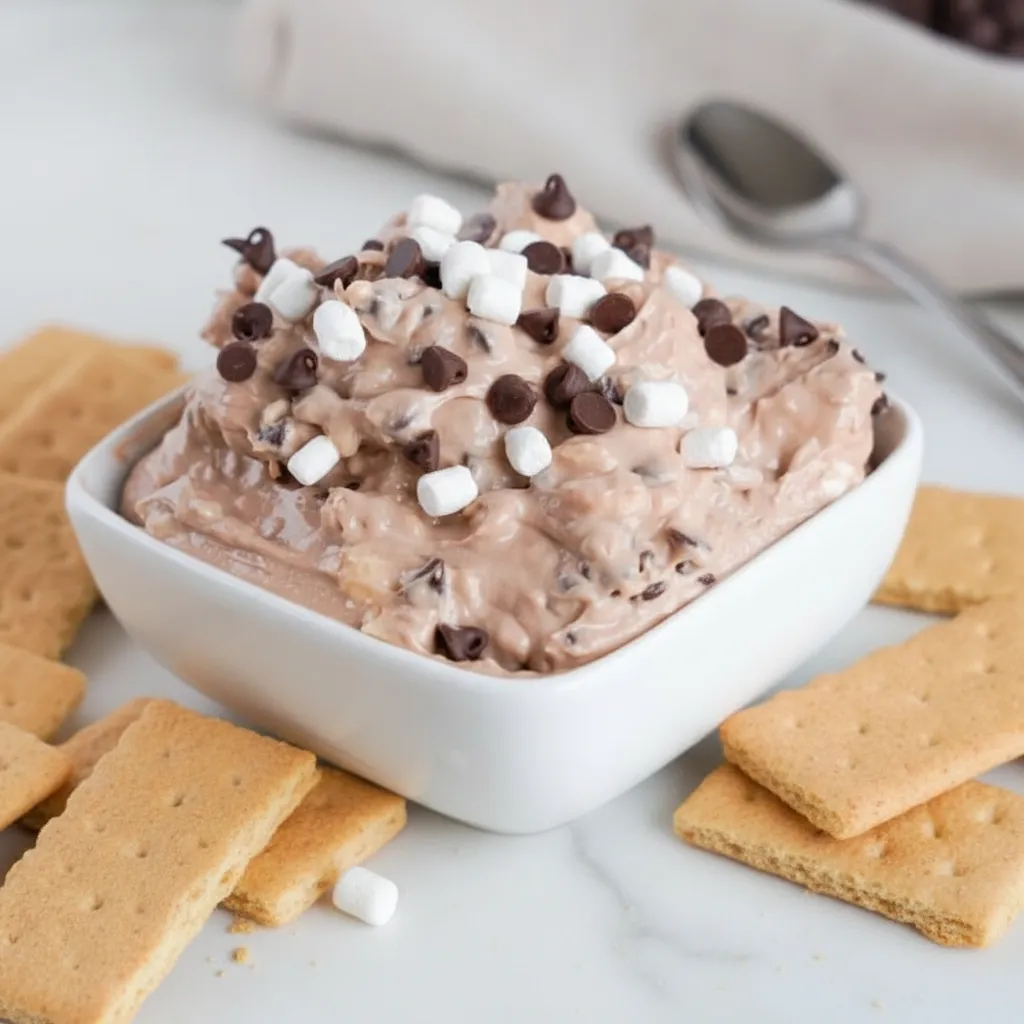
- Chocolate Peanut Butter: Add a tablespoon of cocoa powder to the base before freezing. After spinning, use peanut butter cups as your mix-in.
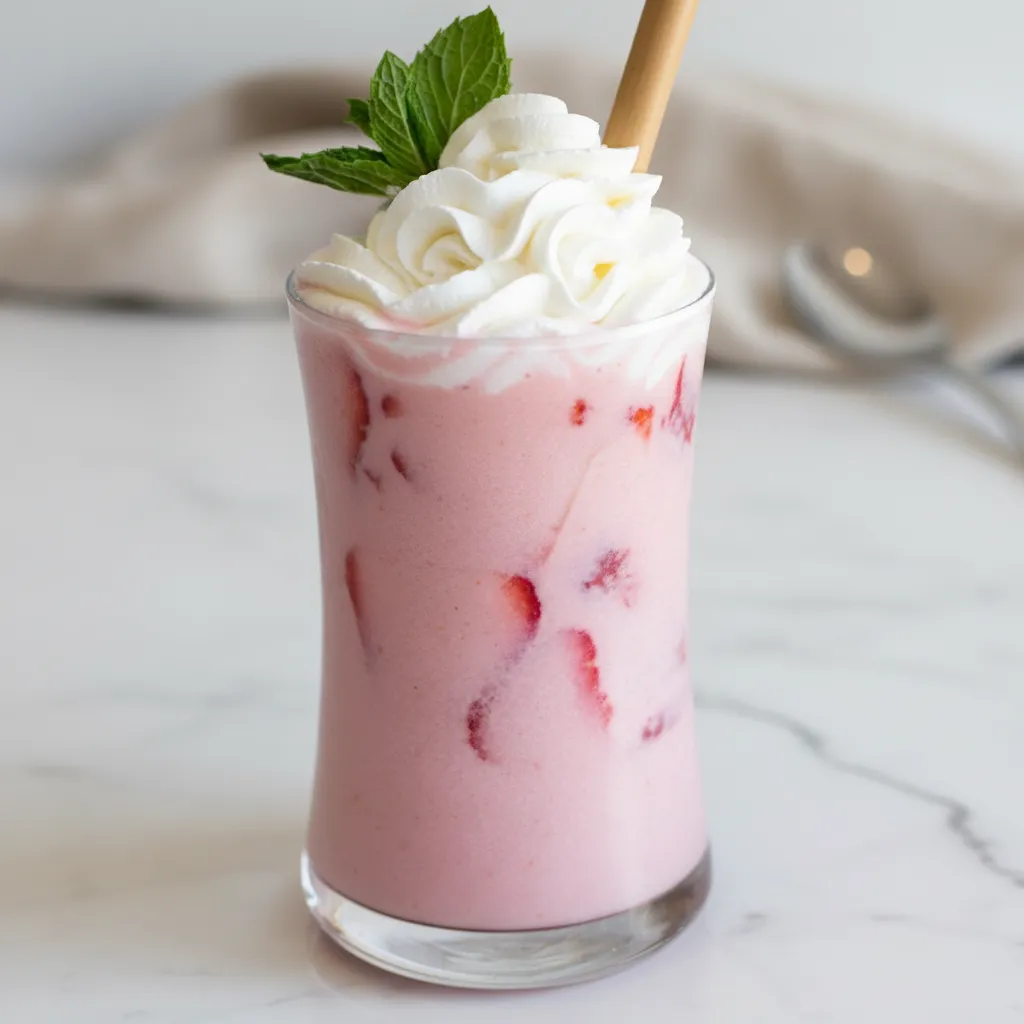
- Strawberry Cheesecake: Add a few fresh or freeze-dried strawberries to the base. For the mix-in, use crushed graham crackers.
- Mint Chocolate Chip: Add a ¼ teaspoon of peppermint extract to the base. Mix in your favorite chocolate chips or chunks.
- Coffee Toffee: Dissolve a teaspoon of instant espresso powder in the base before freezing. Use crushed toffee bits as the mix-in.
For even more inspiration, be sure to check out our Ultimate Guide to Ninja Creami Mix-Ins! It’s packed with dozens of creative ideas, from classic candy bars to healthy fruit swirls.
Dairy-Free & Vegan Variations
You can absolutely make this recipe dairy-free! The key is to use a high-quality, creamy plant-based yogurt.
- Best Dairy-Free Yogurts: Look for a thick, Greek-style coconut or cashew yogurt. These have a higher fat content, which helps create a creamier texture.
- Add a Fat Source: Since plant-based yogurts are often lower in fat, you might want to add a tablespoon of coconut cream or cashew butter to the base before freezing. This will help prevent an icy result.
- Protein Powder: Adding a scoop of your favorite vanilla plant-based protein powder can also improve the texture and, of course, boost the protein content.
Storing Leftovers
If you have leftovers (which is a big “if”!), storing them is simple. Just smooth out the top of the frozen yogurt in the pint container, pop the lid back on, and place it back in the freezer.
Because it’s homemade and doesn’t contain commercial stabilizers, it will freeze quite hard. When you’re ready to eat it again, you’ll likely need to run it through the Ninja Creami on the “Lite Ice Cream” setting one more time to get it back to that perfectly scoopable texture.