Let’s be real for a second. The craving for a giant bowl of ice cream is a universal experience. It’s the perfect treat after a long day, a celebratory dessert, or just a Tuesday night pick-me-up. But if you’re trying to stick to some health goals, that creamy, sugary goodness often feels like it’s off-limits. Store-bought “healthy” ice cream can be a minefield of weird ingredients, chalky textures, and frankly, disappointment. And the price? Ouch.
But what if you could have it all? What if you could whip up incredibly delicious, creamy, and satisfying ice cream right in your own kitchen, packed with protein and customized to your exact liking?
Enter the Ninja Creami. This little kitchen gadget has been taking the internet by storm for a good reason. It’s not just a blender or a food processor; it’s a game-changer for anyone who loves frozen treats. It transforms simple, frozen bases into desserts with the texture of real-deal ice cream, sorbet, or milkshakes. And today, we’re focusing on the best part: making unbelievably good healthy Ninja Creami recipes.
Whether you’re looking for a high-protein post-workout snack, a dairy-free delight, or just a low-sugar dessert that doesn’t taste like sadness, you’re in the right place. Get ready to turn your freezer into your own personal ice cream parlor.
Why You’ll Love These Healthy Ninja Creami Recipes
Honestly, once you start making your own creations, you’ll wonder how you ever lived without it. It’s more than just a novelty; it’s a genuinely better way to enjoy frozen desserts.
- You Control Everything: The best part about homemade ice cream is that you are the boss. You pick the ingredients, control the sugar content, and decide on the protein. No more squinting at nutrition labels trying to decipher strange gums and sugar alcohols. You want it gluten-free? Done. Dairy-free ice cream? Easy.
- Protein-Packed and Guilt-Free: Most of these recipes are built around protein powder, turning your dessert into a muscle-building, hunger-crushing snack. Imagine eating a bowl of what tastes like decadent ice cream that actually helps you meet your protein goals. It feels like cheating the system in the best way possible.
- Incredible Flavor and Texture: The Ninja Creami’s technology is what makes it so special. It shaves and churns the frozen block, creating a texture that’s remarkably smooth and creamy, avoiding that icy, chunky mess you get from just blending and freezing.
- Budget-Friendly in the Long Run: Yes, there’s an upfront cost for the machine. But a single pint of high-protein or specialty ice cream from the store can cost a small fortune. When you start making your own, the cost per pint plummets. You’ll be saving money while eating better.
Jump To:

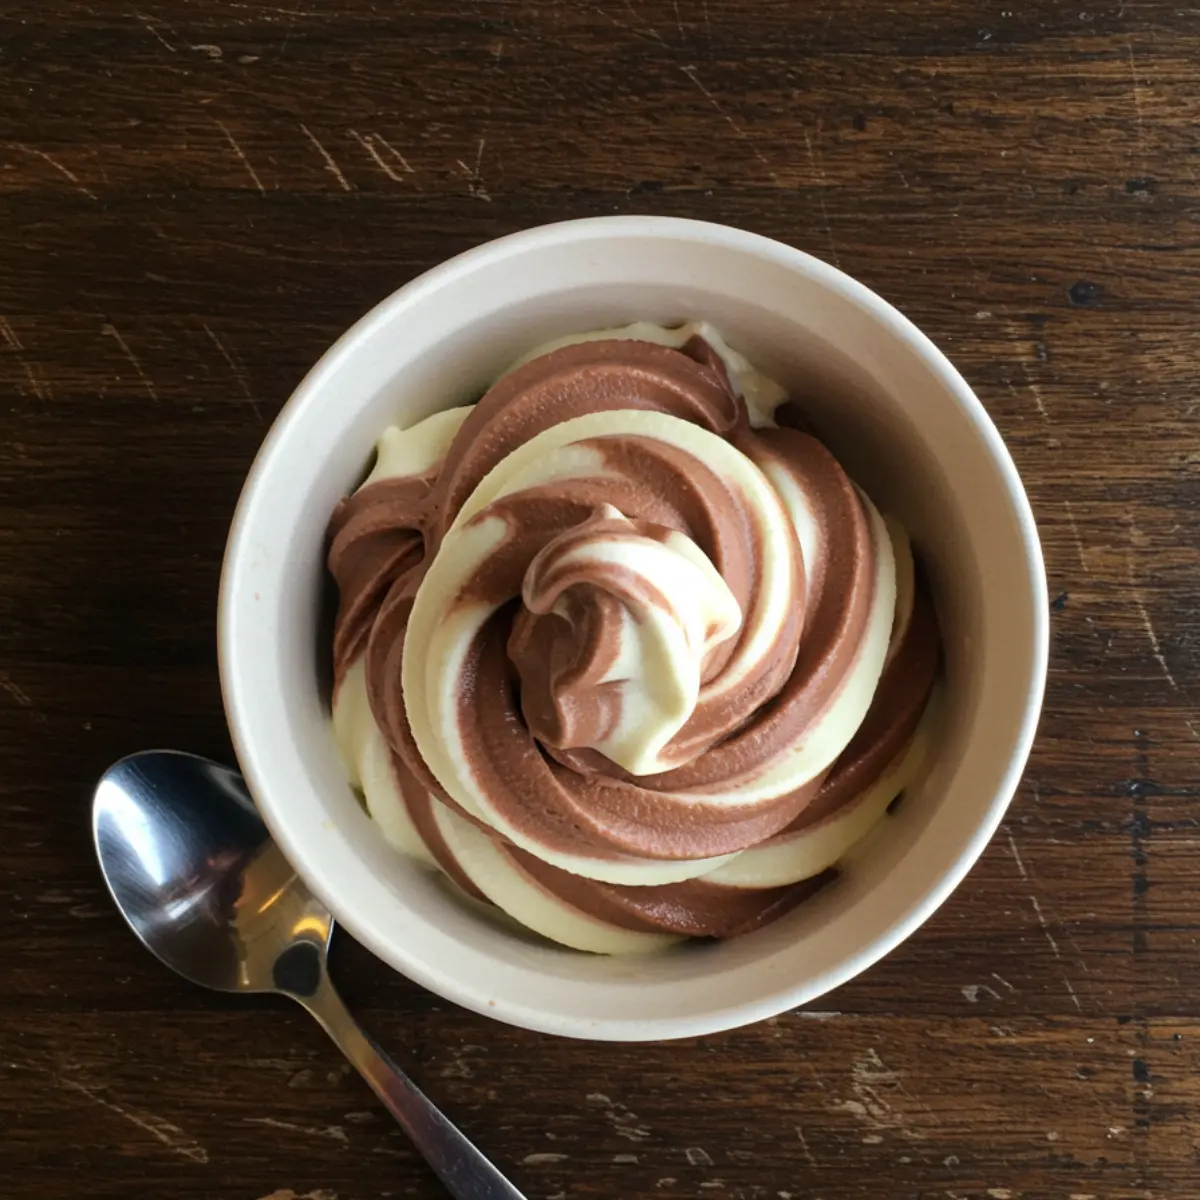
Healthy Ninja Creami: Key Lime Pie Protein Ice Cream
Packing 26 grams of protein per serving, this Ninja Creami key lime pie protein ice cream is the perfect treat or breakfast.
- Total Time: 10 hours 10 minutes
- Yield: 2 servings 1x
Ingredients
2 cartons (5.3 ounce) key lime pie Greek yogurt
1/2 cup milk (whole milk recommended)
1 scoop vanilla protein powder
2 teaspoons lime juice
Optional: whipped cream and gluten-free graham cracker crumbs for topping
Instructions
1. In a Ninja Creami pint container, combine Greek yogurt, milk, protein powder, and lime juice.
2. Combine using a frother, immersion blender, or whisk until it’s creamy and there are no lumps.
3. Top with the lid and freeze overnight or for at least 10 hours.
4. When you’re ready to enjoy, remove the lid and place the pint in the Ninja Creami outer bowl. Twist the lid with the blade installed and secure it into the device.
5. Process using the lite ice cream setting.
6. If the ice cream is crumbly after the first spin, add a splash of milk or a spoonful of yogurt and use the re-spin button.
7. Serve with a dollop of whipped cream and a sprinkle of graham crackers if desired.
Notes
Nutrition facts are an estimate and do not include optional toppings.
- Prep Time: 10 minutes
- Freeze Time: 10 hours
- Cook Time: 0 minutes
- Category: Ninja Creami Recipes
- Method: Frozen
- Cuisine: American
- Diet: Gluten Free
Nutrition
- Serving Size: 1
- Calories: 373
- Sugar: 21g
- Sodium: 282mg
- Fat: 10g
- Saturated Fat: 4g
- Unsaturated Fat: 6g
- Trans Fat: 0g
- Carbohydrates: 48g
- Fiber: 4g
- Protein: 26g
- Cholesterol: 12mg


Ninja NC301 CREAMi Ice Cream Maker + 2 Pint Containers and Lids Bundle
Deal price: $219.94
You save 14% ($35.04)
As an Amazon Associate, I earn from qualifying purchases. Pricing and availability may change.
Basic Ingredients for the Perfect Protein Ice Cream
Before we get to the specific recipes, let’s talk about the building blocks. The beauty of the Creami is its simplicity. You don’t need a long list of complicated ingredients. A great protein ice cream base usually just needs a liquid, a protein source, and maybe a little something extra for flavor and texture.
The Best Milk for Creamy Results

Your choice of liquid is the foundation of your ice cream. Different milks will give you different results, mostly depending on their fat and protein content.
- Fairlife Milk: This is a fan favorite for a reason. It’s ultra-filtered, which means it’s higher in protein and lower in sugar than regular milk. The extra protein contributes to a fantastic, creamy texture. Both the whole milk and skim versions work wonders.
- Regular Dairy Milk (Whole, 2%): Good old-fashioned milk works great! The higher the fat content, the creamier and less icy your final product will be. Whole milk will give you a richer result than 2%.
- Unsweetened Almond Milk: A perfect choice for a dairy-free option. To boost the creaminess, look for an extra-creamy version or consider adding a tablespoon of nut butter or a little full-fat coconut cream.
- Unsweetened Cashew Milk: This is another superstar in the dairy-free world. It’s naturally a bit creamier than almond milk, so it freezes and churns beautifully.
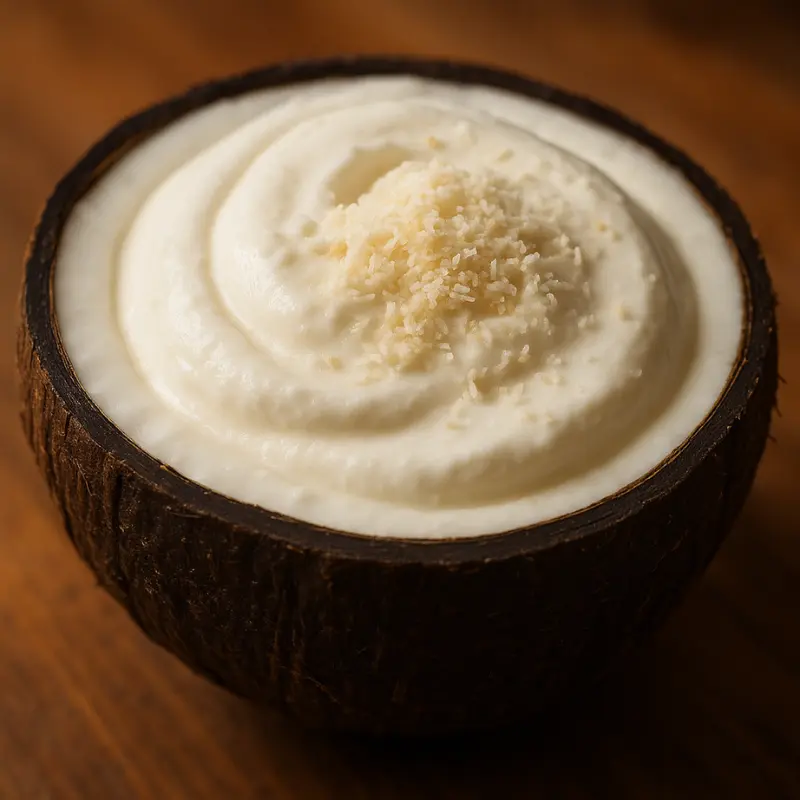
- Coconut Milk (from a can): For a super-rich and decadent dairy-free ice cream, full-fat coconut milk is the way to go. It’s amazing for creating tropical flavors.
Choosing a Protein Powder

Not all protein powders are created equal, especially when it comes to making ninja creami ice cream. The right one will blend smoothly and taste great, while the wrong one can leave you with a gritty texture or a weird aftertaste.
- Whey/Casein Blends: This is often considered the gold standard for Creami recipes. Casein protein absorbs more liquid and creates a thicker, creamier texture that mimics real ice cream perfectly. Brands like Quest or Clean Simple Eats are popular for this reason.
- Whey Protein Isolate: A great choice if you want pure protein. It mixes well, but sometimes it can result in a slightly icier texture than a blend. You might need to add a little something extra for creaminess, like a pinch of guar gum or a spoonful of pudding mix.
- Plant-Based Protein Powders: These can be tricky. Some plant proteins (like pea or rice) can have a slightly gritty or earthy taste. Look for a blend that’s specifically designed to be smooth, and be prepared to add strong flavors like cocoa powder or fruit to complement it.
A little pro tip: a tablespoon of sugar-free instant pudding mix (like Jell-O brand) can be a secret weapon. It helps thicken the base and makes the final product extra smooth and creamy, no matter what milk or protein you use.


How to Use a Ninja Creami: Step-By-Step Instructions

If you just unboxed your machine (Official Ninja Kitchen Product), it might look a little intimidating. But trust me, it’s incredibly simple. There are really only three main steps.
- Mix and Freeze: In your Ninja Creami pint container, whisk together all your ingredients until they are completely smooth. Make sure there are no clumps of powder at the bottom. Secure the lid and place the pint on a level surface in your freezer. You need to freeze it for a full 24 hours. Don’t cheat on this! A properly frozen base is the key to success.
- Process: Once your base is frozen solid, take it out of the freezer. Remove the lid from the pint and place it in the outer bowl that came with the machine. Snap on the outer bowl lid with the paddle inside, and lock it into place on the Creami base. Select the “Ice Cream” or “Lite Ice Cream” setting and let it do its thing. It’s loud, but it’s quick!
- Check and Re-spin: After the first spin, your creation might look a little crumbly or powdery. This is totally normal! Don’t panic. This usually happens with low-sugar or low-fat recipes. The magic fix is the “Re-spin” button. Add a tablespoon or two of your milk of choice, put it back on the machine, and hit “Re-spin.” This second spin almost always transforms the powdery mix into a perfectly smooth and scoopable treat. Sometimes, you might even need a second re-spin.
And that’s it! You’ve just made incredible homemade ice cream.
Our Favorite Healthy Ninja Creami Recipes

Okay, now for the fun part. Here are a few tried-and-true recipes to get you started. These are designed to be simple, delicious, and easily customizable.
Classic Vanilla Protein Ice Cream
You can’t go wrong with a classic. This is the perfect base for adding any mix-ins you love, from chocolate chips to fresh berries.
- Ingredients:
- 1 ½ cups Fairlife Skim Milk (or milk of your choice)
- 1 scoop (30g) vanilla whey/casein blend protein powder
- 1 tbsp sugar-free vanilla instant pudding mix
- 1 tsp vanilla extract
- Pinch of salt
- Instructions:
- In your Creami pint, whisk all ingredients together until smooth.
- Freeze for 24 hours.
- Spin on the “Lite Ice Cream” setting.
- If crumbly, add 1 tbsp of milk and “Re-spin.”
Rich Chocolate Protein Ice Cream
For the chocoholics out there. This recipe is rich, decadent, and tastes way too good to be healthy.
- Ingredients:
- 1 ½ cups chocolate Fairlife Milk (or milk of your choice)
- 1 scoop (30g) chocolate protein powder
- 1 tbsp unsweetened cocoa powder
- 1 tbsp sugar-free chocolate instant pudding mix
- Pinch of salt
- Instructions:
- Combine all ingredients in the Creami pint and mix thoroughly.
- Freeze for 24 hours.
- Spin on the “Lite Ice Cream” setting.
- Add a splash of milk and “Re-spin” if needed for a creamier texture.
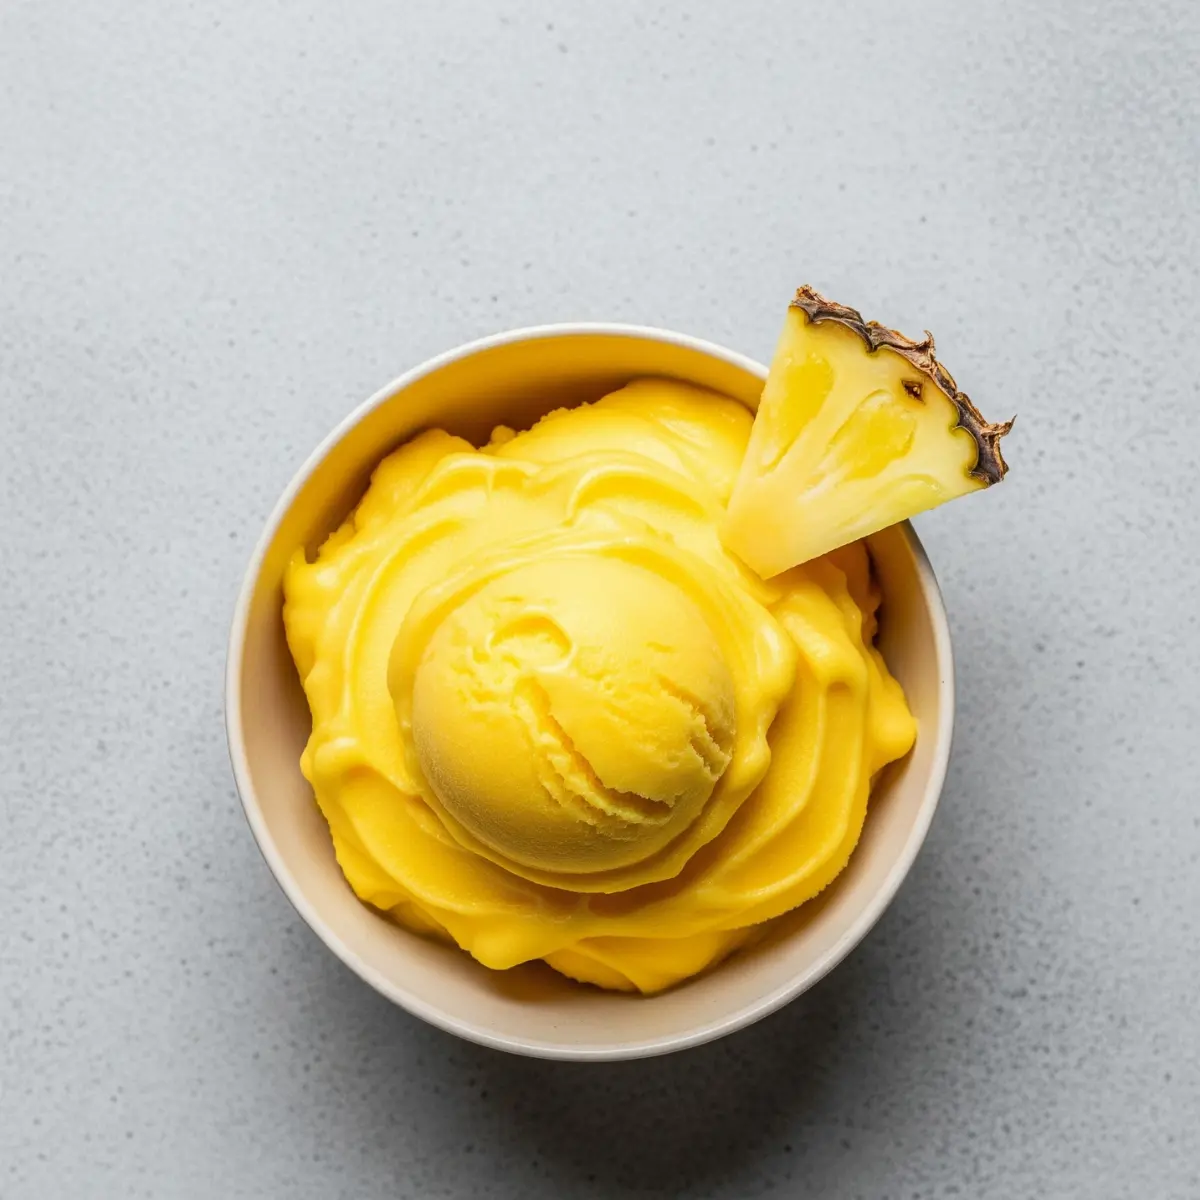
Dairy-Free Dole Whip
Bring the magic of the Disney parks to your kitchen with this simple, refreshing, and completely dairy-free treat.
- Ingredients:
- 1 (20 oz) can of pineapple chunks in juice, undrained
- ¼ cup full-fat coconut milk
- Instructions:
- Pour the entire can of pineapple (juice and all!) and the coconut milk into a blender and blend until completely smooth.
- Pour the mixture into your Creami pint, making sure not to go past the max fill line.
- Freeze for 24 hours.
- Spin on the “Sorbet” setting. You may need one “Re-spin” to get it perfectly smooth.
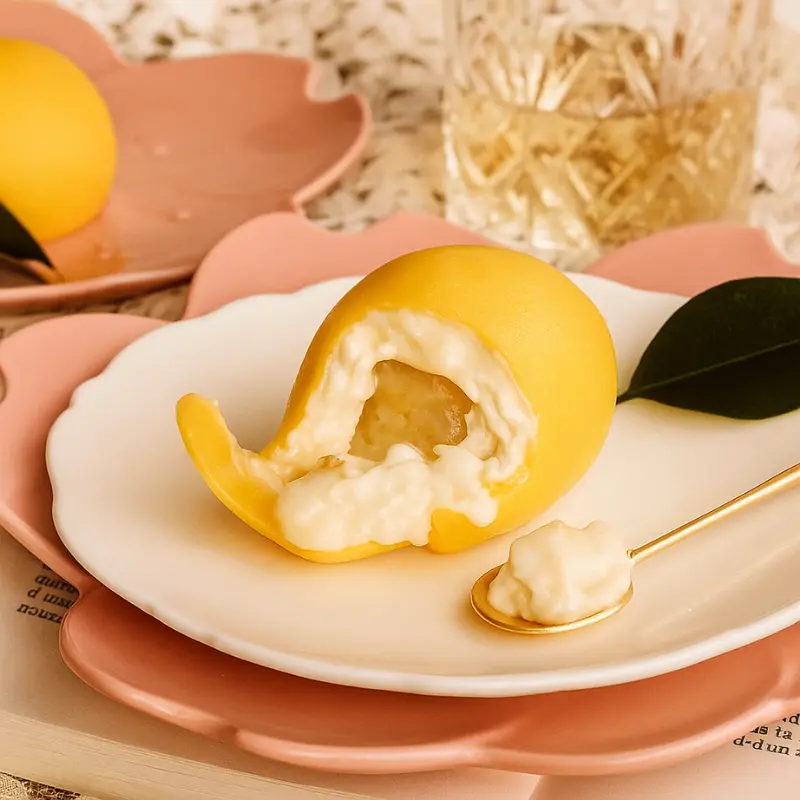
Key Lime Pie Protein Ice Cream
This one is tangy, sweet, and tastes just like the classic dessert. The secret ingredient? A little bit of lime zest.
- Ingredients:
- 1 ½ cups unsweetened almond milk
- 1 scoop vanilla protein powder
- 1 tbsp sugar-free vanilla or cheesecake pudding mix
- Juice of 1 whole lime
- Zest of half a lime
- Sweetener of choice, to taste (optional)
- Instructions:
- Whisk everything together in your pint.
- Freeze for 24 hours.
- Spin on “Lite Ice Cream” and re-spin as needed. For a fun twist, use the “Mix-in” function to add some crushed graham crackers after spinning.
High-Protein Strawberry Cheesecake
This is pure decadence. It has the tang of cheesecake and the sweetness of fresh strawberries.
- Ingredients:
- 1 cup 2% cottage cheese
- ½ cup unsweetened almond milk
- 1 scoop vanilla protein powder
- 1 tbsp sugar-free cheesecake pudding mix
- ½ cup chopped strawberries (fresh or frozen)
- Instructions:
- In a blender, combine the cottage cheese, almond milk, protein powder, and pudding mix. Blend until completely smooth.
- Stir in the chopped strawberries.
- Pour into your Creami pint and freeze for 24 hours.
- Spin on the “Ice Cream” setting. Re-spin if necessary.
Watermelon Sorbet
Looking for something incredibly refreshing, especially on a hot August day? This two-ingredient sorbet is your answer.
- Ingredients:
- 3 cups cubed, seedless watermelon
- Juice of half a lime
- Instructions:
- Blend the watermelon and lime juice until it becomes a smooth liquid.
- Pour into the Creami pint up to the fill line.
- Freeze for 24 hours.
- Spin on the “Sorbet” setting. This one almost never needs a re-spin!
Troubleshooting
Even with a simple machine, things can sometimes go sideways. Here’s how to fix the most common issue.
You know that crumbly, powdery texture we mentioned? It’s the number one problem people face. It happens when the base is frozen extremely hard and doesn’t have a lot of fat or sugar to keep it soft. This is especially common in healthy homemade ice cream recipes.
Don’t throw it out! The fix is simple: add a tablespoon or two of liquid (the same milk you used in the base is perfect) right on top of the powdery mixture. Then, run the “Re-spin” cycle. The machine will incorporate that little bit of liquid and transform the texture into something smooth and creamy. It’s a little bit of magic.
If your ice cream is too soft or soupy, it probably means your base wasn’t frozen long enough or your freezer isn’t cold enough. Make sure the pint is rock solid before you spin it.