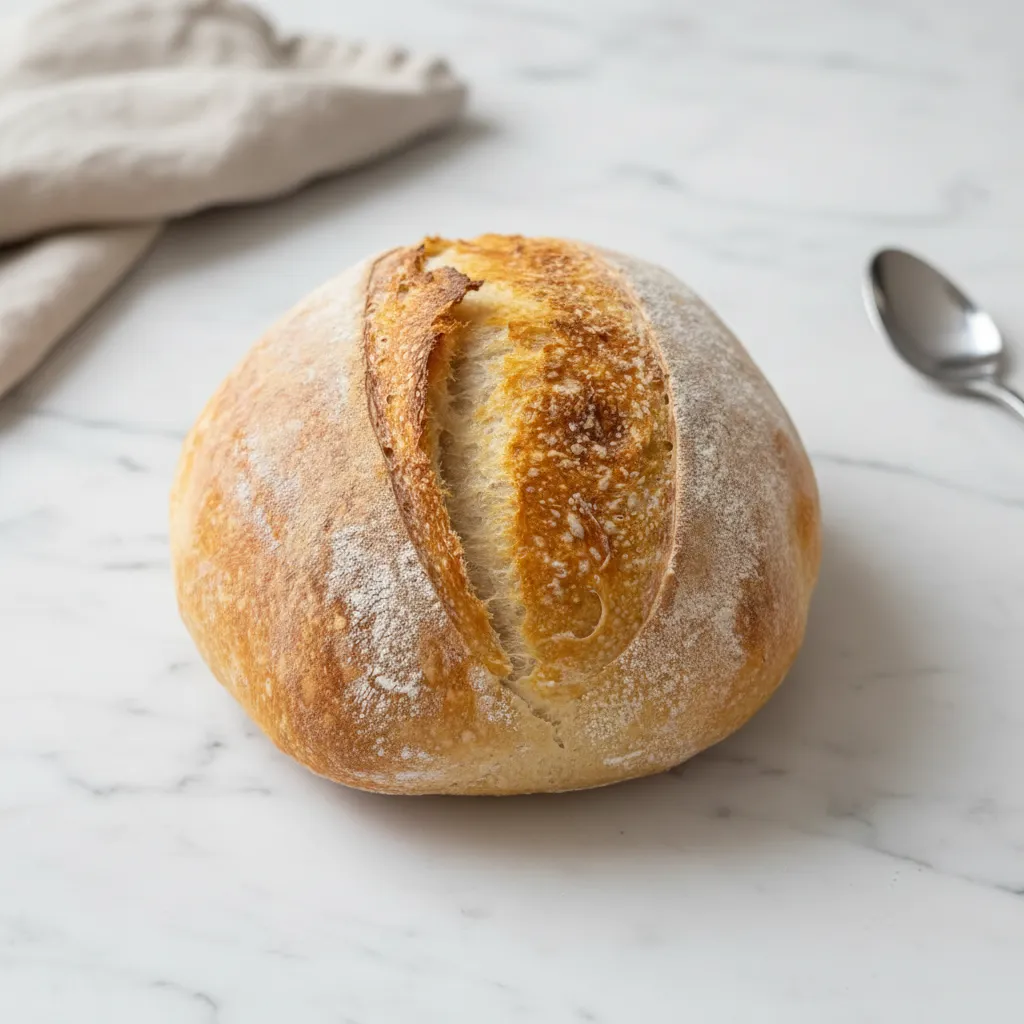
There is nothing quite like the smell of fresh bread baking in your own oven. It warms the whole house. It makes everyone feel hungry instantly. For many home cooks, the idea of making sourdough feels like a huge challenge. It seems complicated or too technical. But I am here to tell you that it is actually very simple.
You do not need to be a professional baker to get amazing results. All you really need is a reliable sour dough starter easy recipe to get you going. Once you have your own active starter, you unlock a world of flavor that you just cannot get from store yeast. It connects you to a traditional way of cooking that has been around for centuries.
This guide will walk you through the entire process. We will take it day by day. You will see that making a Sourdough Bread Starter is mostly just waiting and watching. It is a fun science experiment that you can eat. Whether you are looking for the Best Sourdough Starter Recipe or just want to try something new, you are in the right place.
Jump To:
Why You’ll Love This Recipe
You are going to love how little effort this actually takes. Most of the time, the mixture just sits on your counter. You do not need to knead anything yet. You do not need fancy machines. It is the definition of a low maintenance project with a high reward.
Another great thing is the cost. Buying artisan bread at the bakery is expensive. Making your own Sourdough Bread Recipe at home costs pennies in comparison. You are essentially turning flour and water into something gourmet. It fits perfectly into a budget friendly lifestyle.
This method is also incredibly forgiving. If you miss a feeding by a few hours, it is usually fine. It is robust and resilient. Once you establish your culture, it can last for years. Some families pass their Starters Recipes down through generations. You could be starting a new family tradition right now.
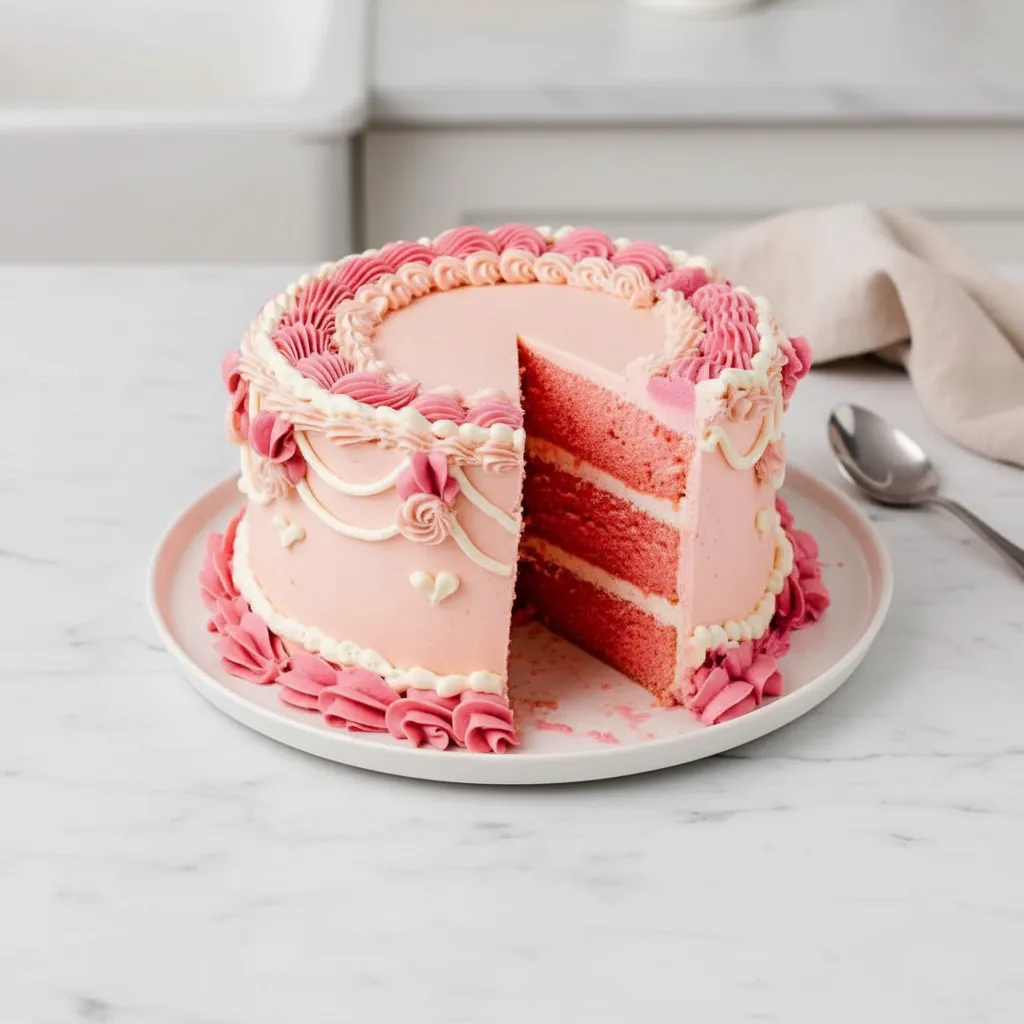
Finally, the flavor is unmatched. Commercial yeast works fast, but it lacks depth. A natural starter develops complex tangy notes. It gives your bread that signature chew and crisp crust. Even if you usually look for Quick Bread Recipes Easy options, the wait for this one is worth it. The taste difference is night and day.
Ingredients
You only need two simple things to start this journey. The quality of these ingredients does matter, so try to get the best you can afford.
- 50g flour (preferably whole wheat or rye for the best activity)
- 50g water (must be free of chlorine)
That is really all there is to it. Whole wheat or rye flour is rich in nutrients and wild yeast, which helps get things moving faster than plain white flour.
Step-By-Step Instructions
Creating a strong starter takes about a week or two. Do not rush it. Patience is the secret ingredient here. Follow this sour dough starter easy recipe closely, and you will see success.
Step 1: The Initial Mix
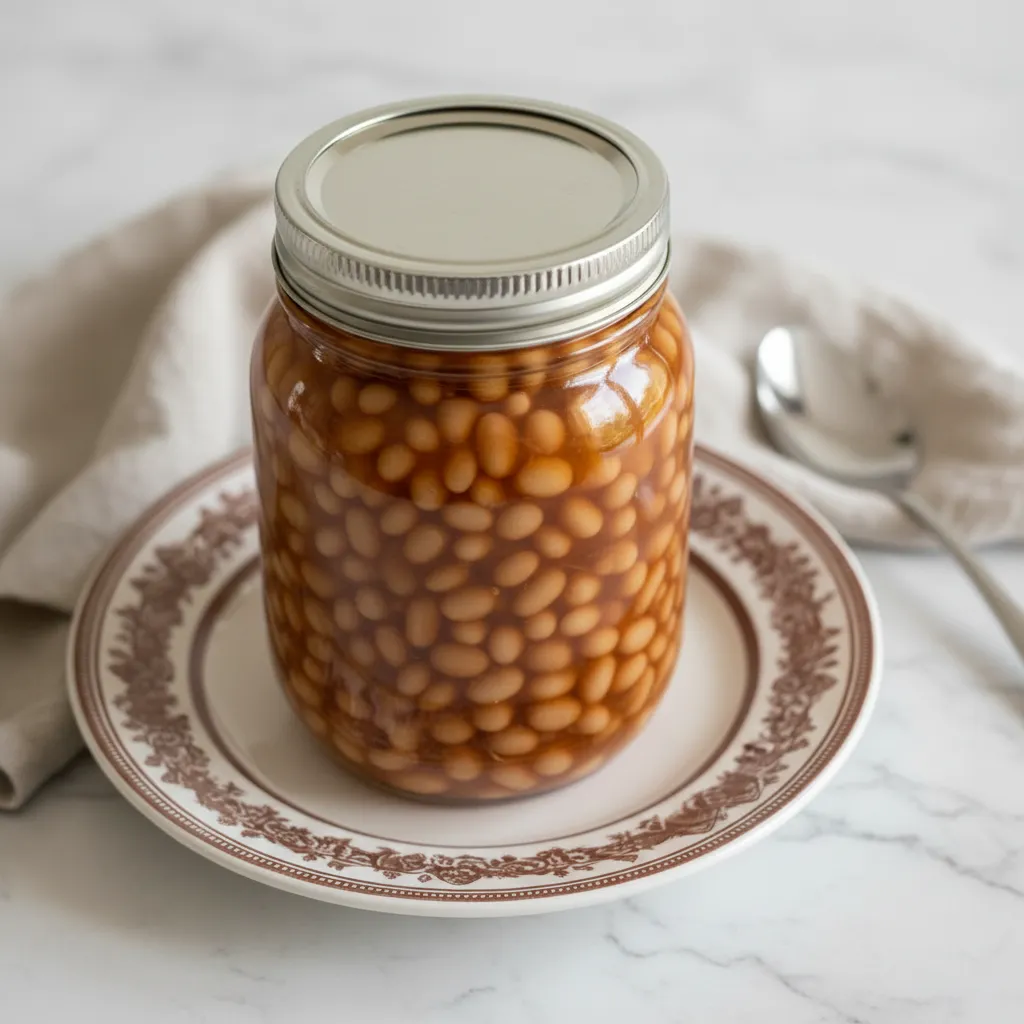
Grab a clean glass jar. It should be large enough to allow the mixture to grow. In the jar, combine 50g of your chosen flour with 50g of water. The water should be room temperature. Stir it thoroughly until there are no dry pockets of flour left.
The consistency should look like a thick paste. Once mixed, cover the jar loosely. You can use a coffee filter or a paper towel secured with a rubber band. Do not seal it with a tight lid. The mixture needs to breathe. Let this sit at room temperature for 24 hours.
Step 2: The Resting Period
During the first 24 hours, you might not see much happening. That is completely normal. The wild yeast and bacteria are just waking up. They are starting to feed on the sugars in the flour. Just let it rest in a warm spot in your kitchen.
Step 3: The First Feeding
After the full 24 hours have passed, check your jar. You might see a few tiny bubbles, or you might see nothing. Both are fine. Now it is time to feed it. Add another 50g of flour and 50g of water to the jar.
Mix it all together very well. You want to incorporate fresh oxygen into the mixture. Cover it loosely again just like before. Let it sit for another 24 hours at room temperature.
Step 4: The Routine
From day 3 onwards, you need to start discarding. This feels wasteful, but it is necessary. If you do not discard, you will end up with way too much starter to manage. Before feeding, remove and throw away about half of the mixture from the jar.
After discarding half, add your fresh 50g of flour and 50g of water. Stir well. Cover and wait. Repeat this process every single day. This is the core of any Sourdough Starter Recipe. You are training the yeast to be active.
Step 5: Signs of Life
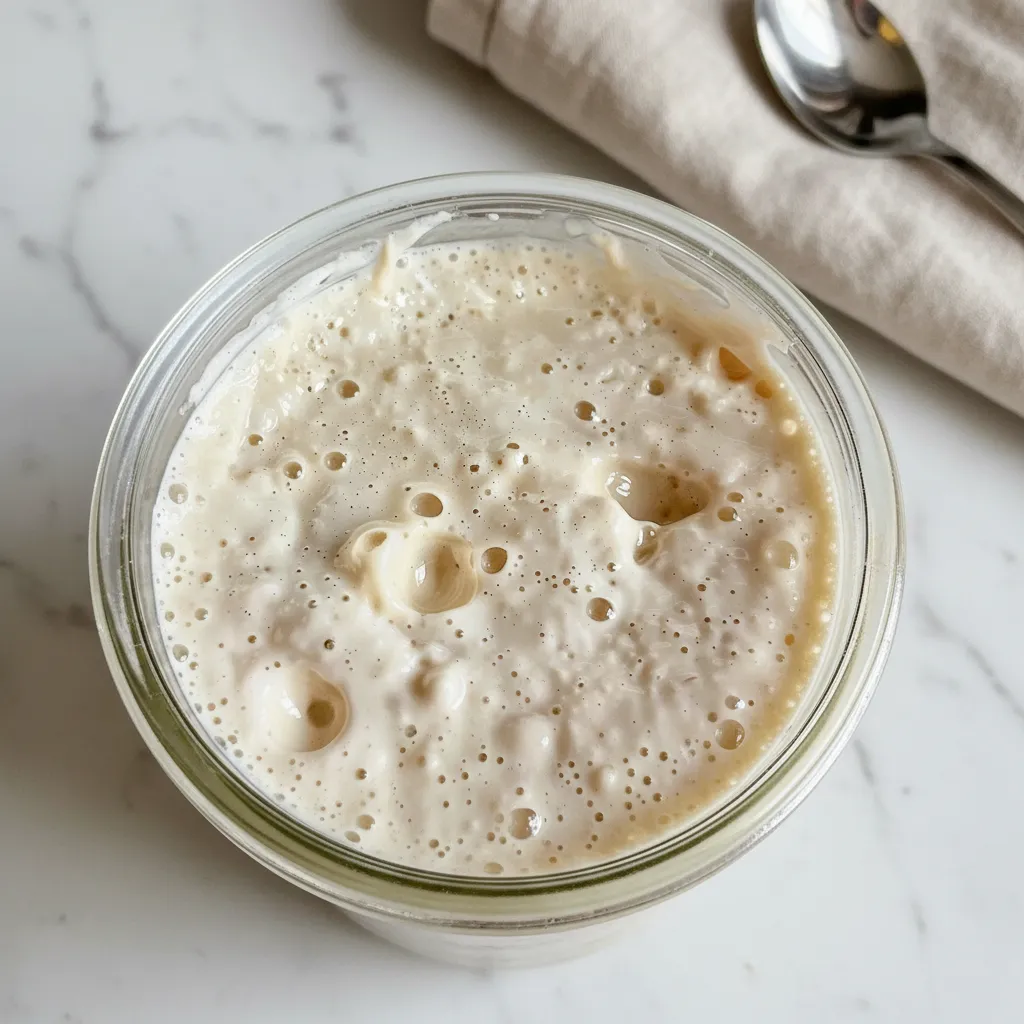
Around day 4 or 5, you should start seeing more bubbles. The mixture might start to rise and fall in the jar. It will begin to smell slightly sour or vinegary. This is a good sign. It means the fermentation is working.
Keep up the daily feedings. Discard half, add flour and water, and mix. Do this until your starter is consistently doubling in size within 4 to 5 hours of feeding. This usually takes between 7 to 14 days depending on the temperature of your house.
Step 6: The Float Test
How do you know it is ready? Try the float test. Drop a small teaspoon of the starter into a glass of water. If it floats, it is full of gas and ready to bake with. If it sinks, it needs more time. Keep feeding it daily until it passes this test.


How To Store Leftovers
Once your starter is active, you do not have to feed it every day if you do not want to. If you bake often, keeping it on the counter is best. You will need to feed it daily to keep it happy and bubbly.
If you only bake once a week, the refrigerator is your friend. Feed your starter, let it sit for an hour to start working, and then put the lid on tight. Place it in the fridge. The cold slows down the fermentation.
When you keep it in the fridge, you only need to feed it once a week. Just take it out, discard half, feed it, and let it warm up before putting it back. If you plan to bake, take it out a day early and give it a feed to wake it up fully.
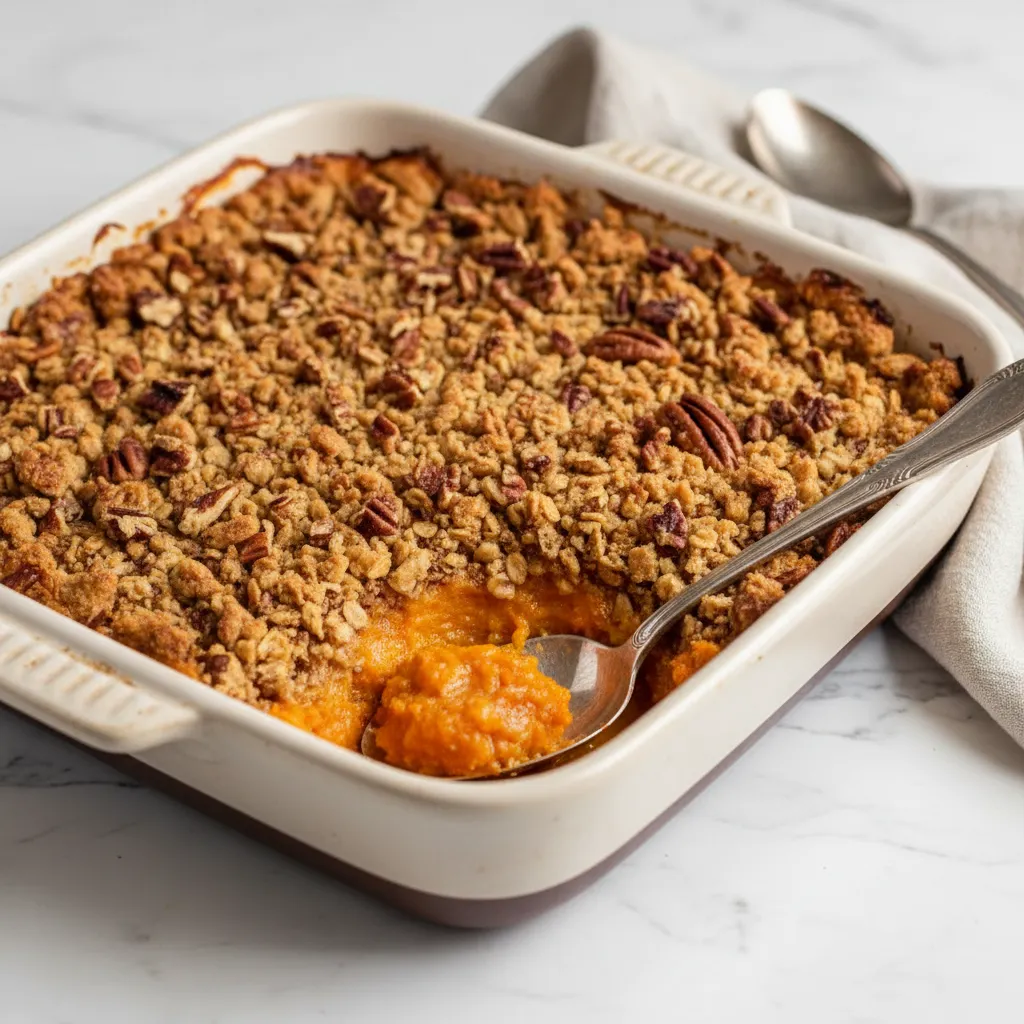
You can also use the discard in other recipes. There are many Quick Bread Recipes or pancake recipes that use the discard for flavor. It adds a lovely tang to waffles, muffins, and crackers. Do not let that good flour go to waste.
Tips
Temperature is everything. Yeast loves warmth. If your kitchen is cold, your starter will grow very slowly. Try to find a warm spot. The top of the fridge or inside the oven with just the light on can work wonders. Just do not turn the oven on!
Water quality matters more than you think. Tap water often contains chlorine which kills bacteria. Since we want good bacteria to grow, chlorine is bad. Use filtered water or let your tap water sit out in an open jug overnight so the chlorine evaporates.
Consistency is key. Your mixture should look like thick pancake batter. If it is too runny, add a tiny bit more flour. If it is too stiff, add a splash of water. You want it to be thick enough to trap bubbles.
Be patient with the smell. In the first few days, it might smell funky or like old cheese. This is just the bacteria fighting for dominance. Eventually, the good yeast wins, and it will smell pleasant and yeasty. Trust the process.
If you have a bread machine, you can sometimes use sourdough discard in Bread Maker Recipes for added flavor. Just be careful with the liquid ratios. It is a fun way to experiment with your new Bread Starter.
Conclusion
Making your own starter is a rewarding journey. It might seem slow at first, but soon you will have a bubbling jar of life ready to make the best bread you have ever tasted. This sour dough starter easy recipe is designed to be fail proof for beginners.
Remember that every home environment is different. Your starter might take 7 days or it might take 14. That is okay. Watch the bubbles and trust your nose. Once you bake that first loaf, you will understand why people love this so much.
So grab your flour and water and get mixing. You are on your way to making delicious, crusty, homemade bread that will impress your family and friends. Enjoy the process of creating something from scratch.
FAQ
Why is my starter not bubbling?
It might be too cold. Try moving it to a warmer spot. Also, check your flour. Bleached white flour has fewer nutrients for the yeast. Try feeding it with some whole wheat or rye flour to give it a boost.
What is the liquid on top?
That dark liquid is called hooch. It means your starter is hungry. It is harmless. You can pour it off or stir it back in, then give your starter a big feeding. It is telling you it needs food.
Can I use All Purpose flour?
Yes, you can use all purpose flour. However, it might take longer to get active compared to whole grain flours. Many people start with whole wheat and then switch to all purpose for maintenance once the starter is strong.
Is this gluten free?
No, this recipe uses wheat flour which contains gluten. To make a starter free of gluten, you would need to use buckwheat or brown rice flour. The process is similar, but the ingredients are different.
Can I use this for other recipes?
Absolutely. You can use this starter for pizza dough, waffles, cinnamon rolls, and more. Look for Starters Recipes online to find creative ways to use your discard and active starter.
Easy Sourdough Starter Recipe
Making your own sourdough starter is a simple, rewarding journey that brings delicious, crusty homemade bread to your kitchen. This easy, step-by-step guide walks beginners through creating an active, bubbly starter with just flour and water, unlocking unmatched flavor for your baking adventures.
Requirements


Ingredients
Instructions
- In a clean glass jar, combine 50g of whole wheat or rye flour with 50g of room temperature, chlorine-free water. Stir thoroughly until no dry pockets of flour remain.
- Cover the jar loosely with a coffee filter or paper towel secured with a rubber band. Do not seal tightly. Let it sit at room temperature for 24 hours.
- After 24 hours, add another 50g of flour and 50g of water to the jar. Mix very well to incorporate fresh oxygen. Cover loosely again and let it sit for another 24 hours at room temperature.
- From day 3 onwards, discard about half of the mixture from the jar before each feeding. Then, add 50g of fresh flour and 50g of water. Stir well, cover, and repeat this process daily.
- Around day 4 or 5, you should start seeing more bubbles, and the mixture might rise and fall, developing a slightly sour or vinegary smell. Continue with daily feedings.
- Maintain daily feedings until your starter consistently doubles in size within 4 to 5 hours of feeding. This typically takes between 7 to 14 days, depending on your kitchen’s temperature.
- To confirm readiness, perform the float test: Drop a small teaspoon of the starter into a glass of water. If it floats, it’s full of gas and ready to bake. If it sinks, continue daily feedings until it passes the test.
Notes
Temperature is everything. Yeast loves warmth. If your kitchen is cold, your starter will grow very slowly. Try to find a warm spot. The top of the fridge or inside the oven with just the light on can work wonders. Just do not turn the oven on!
Water quality matters more than you think. Tap water often contains chlorine which kills bacteria. Use filtered water or let your tap water sit out in an open jug overnight so the chlorine evaporates.
Consistency is key. Your mixture should look like thick pancake batter. If it is too runny, add a tiny bit more flour. If it is too stiff, add a splash of water. You want it to be thick enough to trap bubbles.
Be patient with the smell. In the first few days, it might smell funky or like old cheese. This is just the bacteria fighting for dominance. Eventually, the good yeast wins, and it will smell pleasant and yeasty. Trust the process.
You can also use the discard in other recipes. There are many Quick Bread Recipes or pancake recipes that use the discard for flavor. It adds a lovely tang to waffles, muffins, and crackers. Do not let that good flour go to waste.
Nutrition
Calories
Sugar
Fat
Carbs