If you’ve spent any time on social media lately, you’ve probably seen it: that magical machine turning frozen blocks into creamy, dreamy ice cream in minutes. Welcome to the world of the Ninja Creami! If you’ve been dreaming of making your own delicious frozen treats at home, you’ve come to the right place. We’re about to walk through one of the most forgiving and easy Ninja Creami recipes out there, perfect for beginners and pros alike.
Get ready to say goodbye to store-bought pints that are full of stuff you can’t pronounce. Your freezer is about to become your own personal ice cream parlor.
What is a Ninja Creami?
So, what’s all the fuss about? Unlike traditional ice cream makers that churn a liquid base as it freezes, the Ninja Creami does things a bit backward, and honestly, it’s genius.
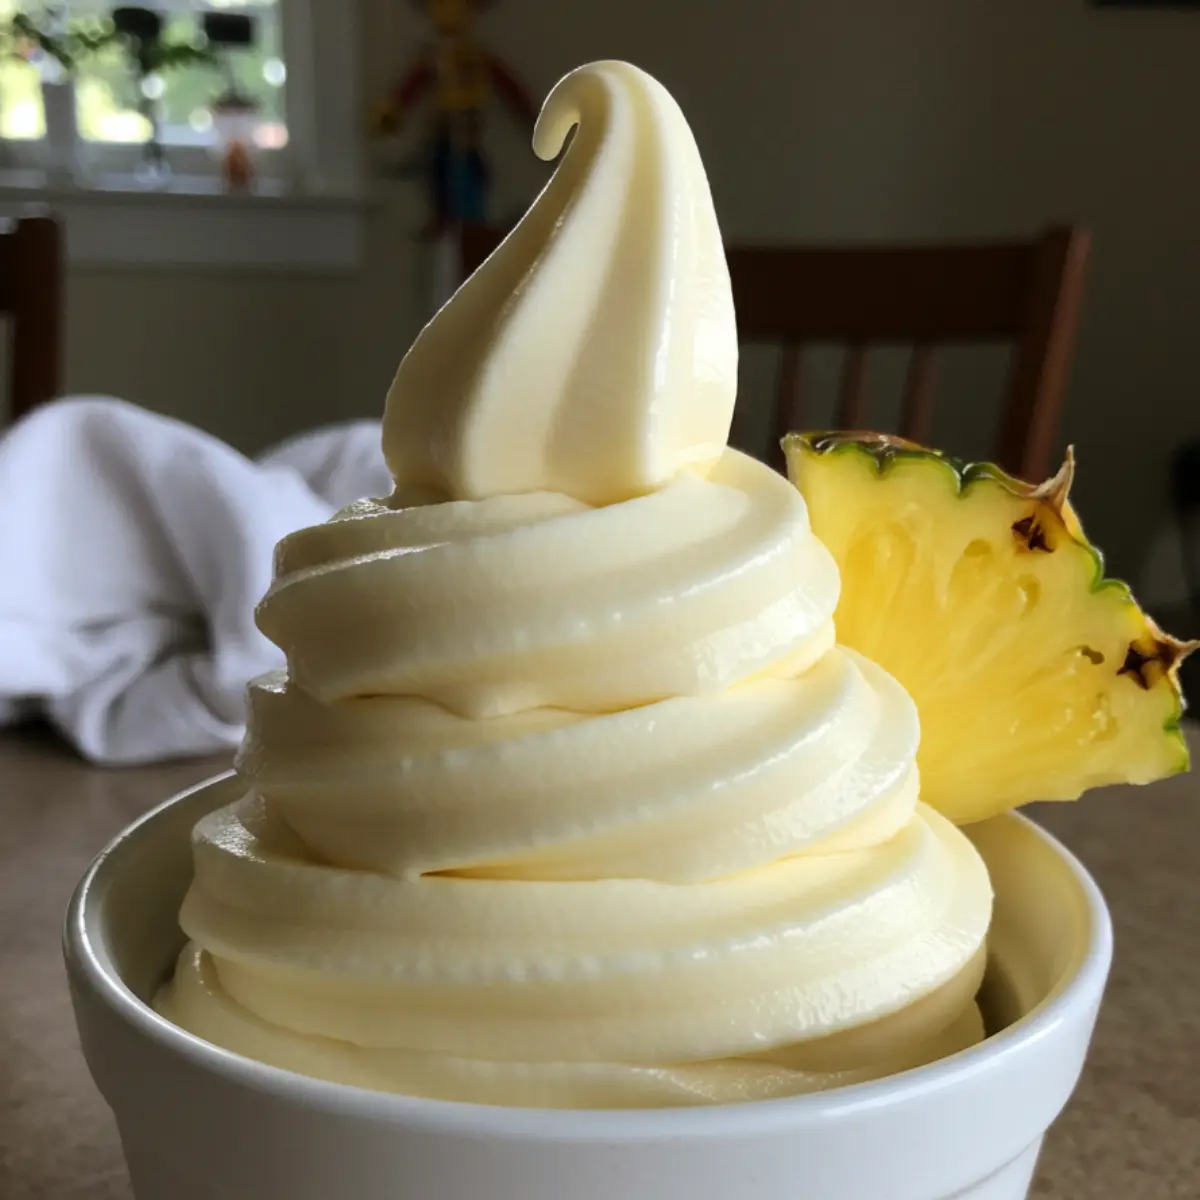
You start by freezing a solid block of your ingredients in a special pint container. Then, the machine uses a super-powerful paddle (they call it a “Creamerizer”) that spins down and shaves the frozen block into microscopic particles. This process transforms the solid base into an unbelievably smooth and creamy texture, just like premium ice cream, sorbet, or a milkshake. It’s a game-changer because you can control every single ingredient, making everything from decadent gelato to healthy protein ice cream.
A Quick Look at the Models
You might see a few different Ninja Creami models out there, and it can be a little confusing. Here’s a super quick breakdown:
- The Original Ninja Creami (NC300 series): This is the classic model that started it all. It typically comes with 7 one-touch programs like Ice Cream, Sorbet, Gelato, Milkshake, Smoothie Bowl, Lite Ice Cream, and Mix-in. It’s fantastic for singles or small families.
- The Ninja Creami DELUXE (NC500 series): This is the bigger, more feature-packed version. It has a larger pint size (50% bigger) and more functions, including new ones like Slushi, Italian Ice, and Creamiccino. If you have a larger family or plan on making Creami treats all the time, this might be the one for you.
For most beginners, the original model is more than enough to get started on your frozen dessert journey.
Jump To:
Why You’ll Love This Easy Ninja Creami Recipe
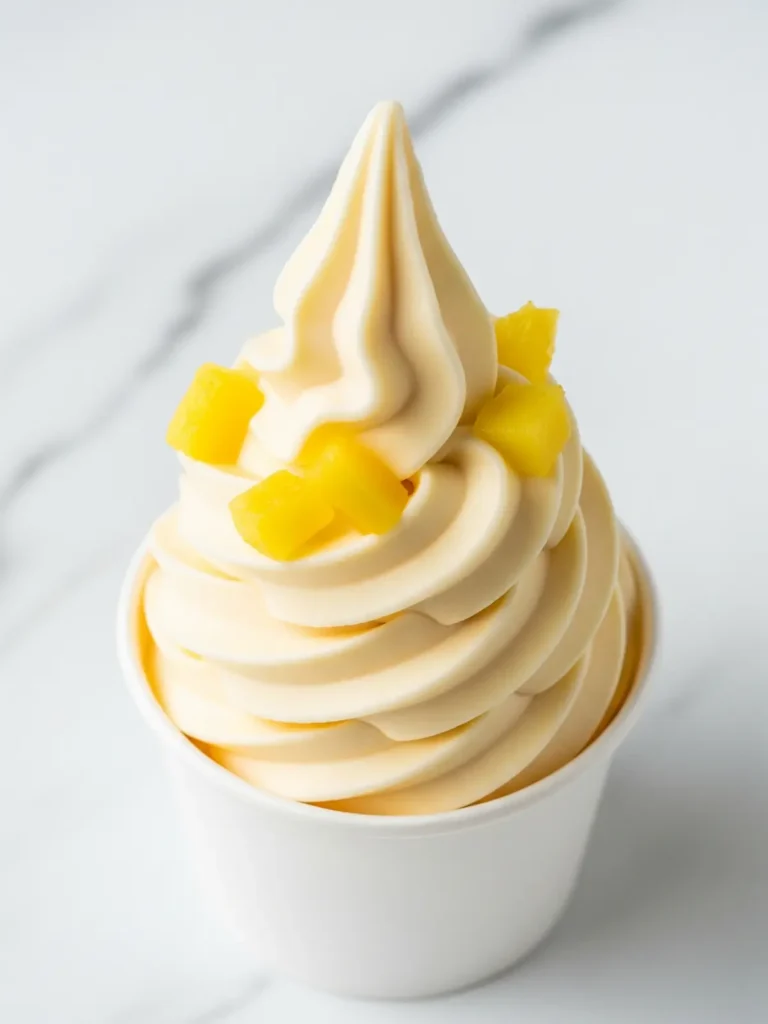
Let’s be real, some ice cream recipe instructions can look like a science experiment. This one isn’t like that. Here’s why you’ll have this on repeat:
- It’s ridiculously simple. We’re talking about 3-4 core ingredients and just a few minutes of prep time.
- Total control. You decide how sweet it is, what kind of milk to use, and whether to pack it with protein. It’s one of the best healthy ninja creami recipes to start with. FDA.
- Perfectly creamy texture. This base recipe is your ticket to smooth, scoopable ninja creami ice cream that avoids that dreaded icy texture.

Reese’s Ninja Creami Protein Ice Cream
Satisfy your summer sweet tooth with this Reese’s Ninja Creami Protein Ice Cream! This healthy treat has the best creamy texture, is full of peanut butter flavor and has over 37 grams of protein per pint.
- Total Time: 8 hours 5 minutes
- Yield: 1 pint 1x
Ingredients
1 cup Fairlife 2% milk
3 Tbsp peanut butter powder
2 Tbsp vanilla protein powder
1/2 tsp vanilla extract
1/4 tsp liquid stevia or sweetener of choice
6 Reese’s minis (unwrapped) or 1 regular Reese’s, chopped
1 Tbsp Fairlife 2% milk (for mix-in cycle)
Optional toppings: whipped cream, Reese’s Pieces, chocolate syrup
Instructions
1. Add all base ingredients (milk, peanut butter powder, protein powder, vanilla extract, and stevia) to an empty Ninja Creami pint and use an immersion blender to combine until smooth.
2. Freeze the pint on a level surface for at least 8-12 hours.
3. Remove the frozen pint from the freezer and run it through the ‘Lite Ice Cream’ cycle once.
4. Create a well in the center of the ice cream and add the 1 Tbsp of milk and the chopped Reese’s cups.
5. Run the machine through the ‘mix-in’ cycle.
6. Top with whipped cream, Reese’s Pieces, and more chopped Reese’s if desired, and enjoy immediately!
Notes
Milk Substitutions: If using fat-free milk or almond milk, add 1 oz. of cream cheese or 1/2 cup of cottage cheese to maintain creaminess.
Prep in Advance: Freezing for at least 8 hours is sufficient for a great texture.
Avoid Icy Edges: Run the container under hot water for 30 seconds before processing or let it sit on the counter for 15-20 minutes.
For Softer Ice Cream: Use the re-spin function 2-3 times before adding mix-ins for a soft-serve consistency.
- Prep Time: 5 minutes
- Freeze Time: 8 hours
- Cook Time: 0 minutes
- Category: Ninja Creami Recipes
- Method: Frozen, Blended
- Cuisine: American
Nutrition
- Serving Size: 1 pint
- Calories: 392
- Sugar: 21.1g
- Sodium: 0mg
- Fat: 14.9g
- Saturated Fat: 6.3g
- Unsaturated Fat: 0g
- Trans Fat: 0g
- Carbohydrates: 27g
- Fiber: 5g
- Protein: 37.5g
- Cholesterol: 0mg


Ninja Swirl by CREAMi Ice Cream and Soft Serve Maker, Sorbet, Milkshake, Frozen Yogurt, Low Calories Program & More, 13-in-1, Soft Serve Handle, (2) CREAMi Swirl 16oz Pints, For Kids & ALL ages, NC701
Deal price: $299.95
You save 14%
As an Amazon Associate, I earn from qualifying purchases. Pricing and availability may change.
Ingredients You’ll Need
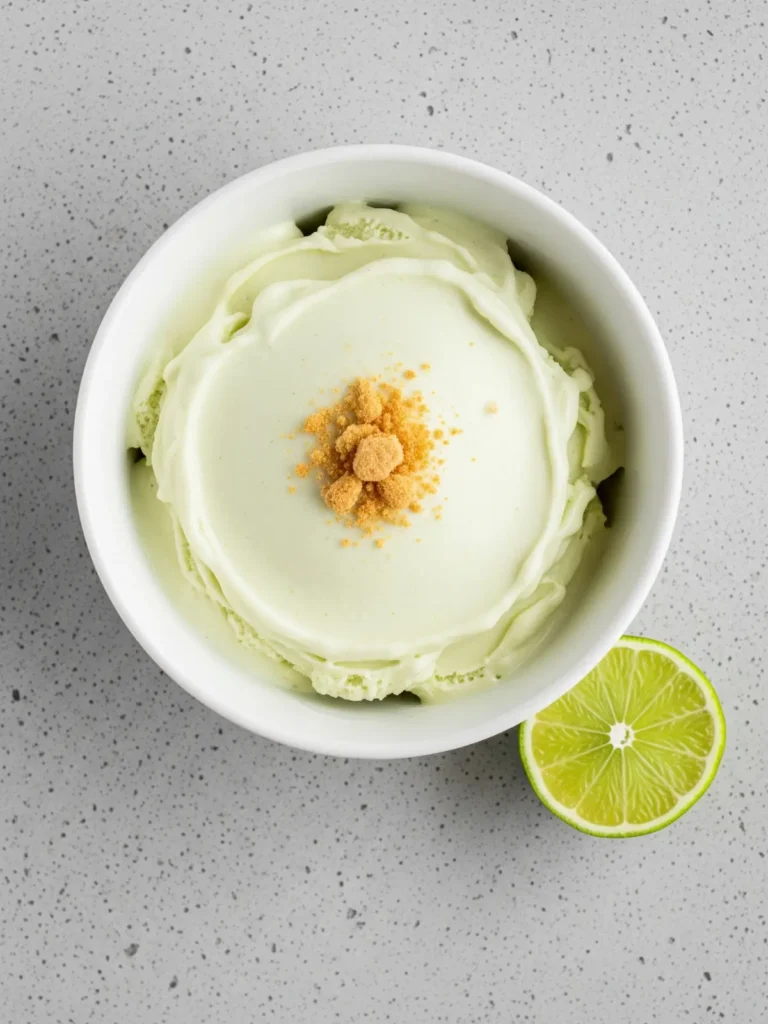
This recipe is all about the simple, high-quality basics. You can get fancy later, but master this first!
For the Ice Cream Base
- Milk: 1 cup. Whole milk works best for creaminess, but we’ll talk about alternatives.
- Protein Powder: 1 scoop (around 30g) of vanilla or unflavored protein powder. This adds creaminess and, of course, a protein boost! NIH Office of Dietary Supplements.
- Sweetener: 1-2 tablespoons of your choice. Maple syrup, agave, honey, or a sugar substitute like erythritol or allulose all work well.
- Vanilla Extract: 1 teaspoon. Good quality vanilla makes a huge difference.
- A pinch of salt: Trust me on this one. It enhances the sweetness and flavor.
Optional Mix-ins
This is where you get to be creative! After the base is spun, you can add mix-ins.
- Chocolate chips or chunks
- Crushed cookies (like Oreos or Biscoff)
- Sprinkles
- A spoonful of peanut butter or cookie butter
- Chopped nuts or candy
Step-by-Step Instructions
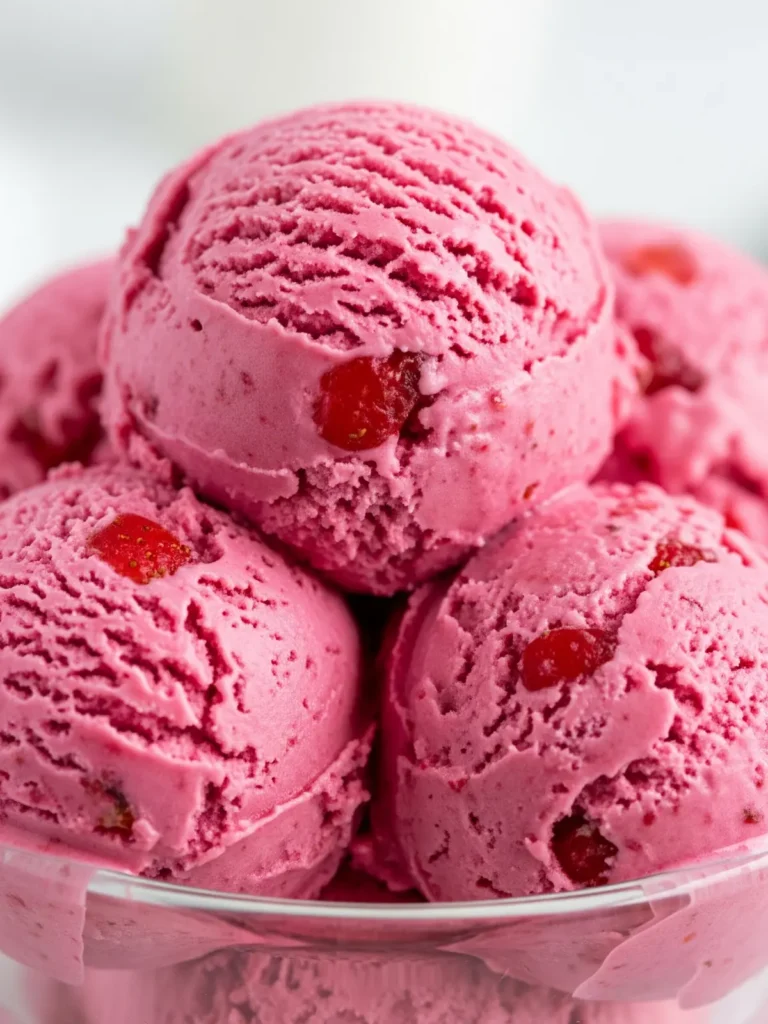
Ready? Let’s make some magic.
Making the Base
- In a small bowl or blender, combine the milk, protein powder, sweetener, vanilla extract, and pinch of salt.
- Whisk or blend until everything is completely smooth. You don’t want any clumps of protein powder hanging around!
- Pour the mixture into the Ninja Creami pint container. Be careful not to fill it past the “Max Fill” line.
[Video Placeholder: A short video showing the simple process of mixing, freezing, and spinning the ice cream would go great here!]
Freezing
- Secure the lid on the pint and place it in your freezer.
- Here’s the important part: make sure it’s on a perfectly flat surface. An unevenly frozen base can cause issues.
- Freeze for at least 24 hours. Yes, a full 24 hours. This is non-negotiable for the best texture! Don’t rush it.
Processing in the Ninja Creami
- Once your base is fully frozen, take it out of the freezer and remove the lid.
- Place the pint into the outer bowl of the Ninja Creami, snap on the outer bowl lid, and lock it into the machine.
- Select the “Lite Ice Cream” or “Ice Cream” function and let the machine do its thing.
- After the first spin, it might look a bit crumbly or powdery. Don’t panic! This is normal, especially for ninja creami protein ice cream. Just add a tablespoon of milk, put it back in the machine, and hit the “Re-Spin” button. Sometimes it takes two re-spins to get it perfectly creamy.
- If you’re adding mix-ins, create a small well in the center of the ice cream, add your goodies, and process it using the “Mix-In” function.
Tips for the Best Ninja Creami Protein Ice Cream

Want to level up your creami recipes? Keep these tips in your back pocket.
- Fat is your friend: Fat equals creaminess. Using whole milk or even adding a splash of heavy cream or cream cheese can result in a much smoother, less icy texture. Coconut cream is a great dairy-free option for this.
- Don’t skip the sweetener (entirely): Sugar and certain sugar alcohols do more than add sweetness; they lower the freezing point of the mixture, which helps prevent large ice crystals from forming. If you cut it out completely, your ice cream might be harder and icier.
- The power of guar gum: Want an amazing texture every time? Add a tiny pinch (about 1/4 teaspoon) of guar gum or xanthan gum to your base before freezing. These are natural thickeners and stabilizers that work wonders for creaminess FDA.
- Embrace the “Re-Spin”: Seriously, the Re-Spin button is your best friend. It’s very rare for a protein ice cream to be perfect on the first spin. That second spin with a splash of liquid is what brings it all together.
Recipe Variations
Once you have the base down, the real fun begins. This simple vanilla protein base is a blank canvas for almost any flavor you can dream up. The possibilities are truly endless, but here are a few tested-and-true variations to get your creativity flowing.
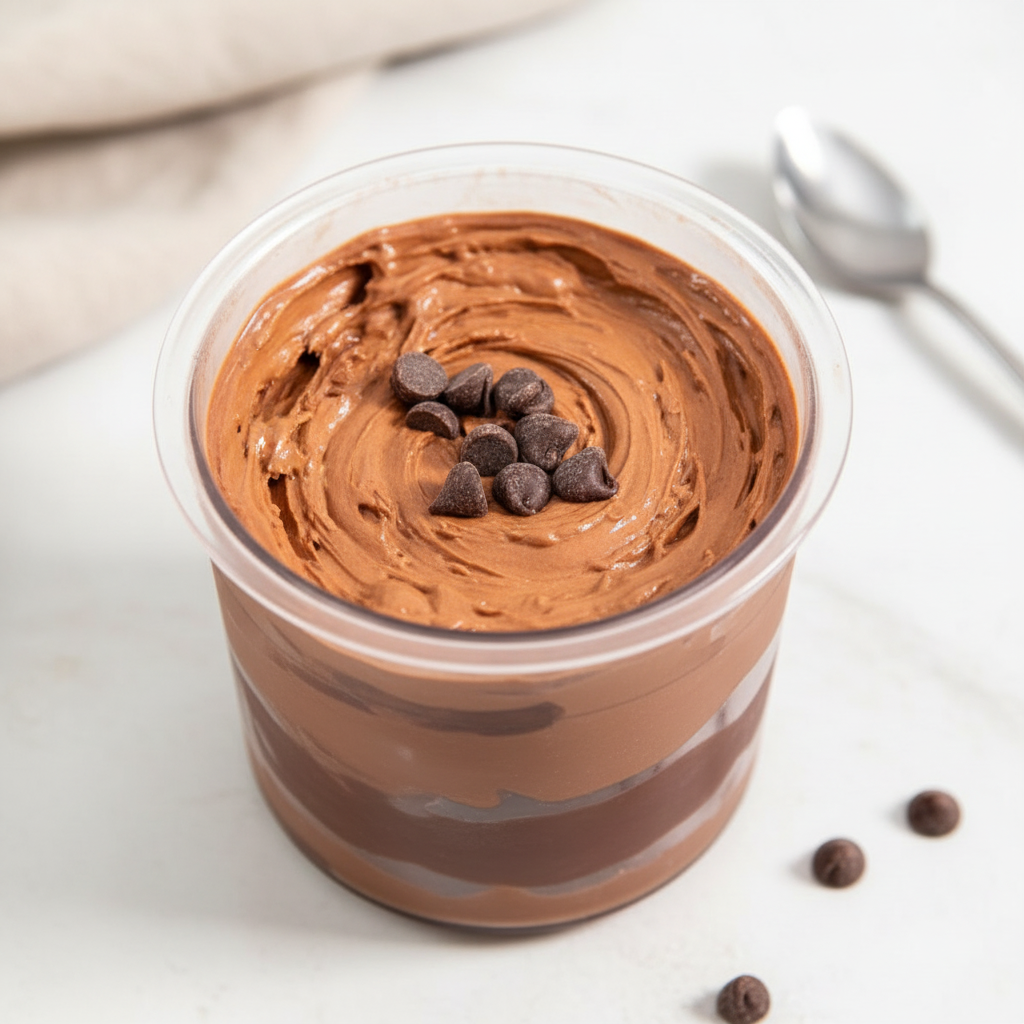
Ultimate Chocolate Dream
For the serious chocoholic, this recipe is rich, decadent, and incredibly satisfying. It uses a few tricks to create a deep chocolate flavor that’s better than any store-bought pint.
Ingredients:
- 1 cup Chocolate Milk
- 1 scoop Chocolate Protein Powder
- 1-2 tbsp Sweetener of choice
- 1 tbsp Unsweetened Cocoa Powder
- 1 tsp Vanilla Extract
- A pinch of Instant Espresso Powder (optional, but recommended)
- A pinch of Salt
Instructions:
- Make the Base: In a blender or bowl, combine the chocolate milk, chocolate protein powder, sweetener, cocoa powder, vanilla extract, espresso powder, and salt. Whisk or blend until perfectly smooth with no clumps.
- Freeze: Pour the chocolate mixture into a Ninja Creami pint container, making sure not to exceed the max fill line. Secure the lid and freeze on a level surface for at least 24 hours.
- Process: Once frozen solid, place the pint in the machine and select the “Lite Ice Cream” or “Ice Cream” setting. If the result is crumbly, add a tablespoon of chocolate milk and use the “Re-Spin” function until creamy.
- Mix-Ins (Optional): For an extra chocolatey crunch, use the “Mix-In” function to add mini chocolate chips or brownie bits.
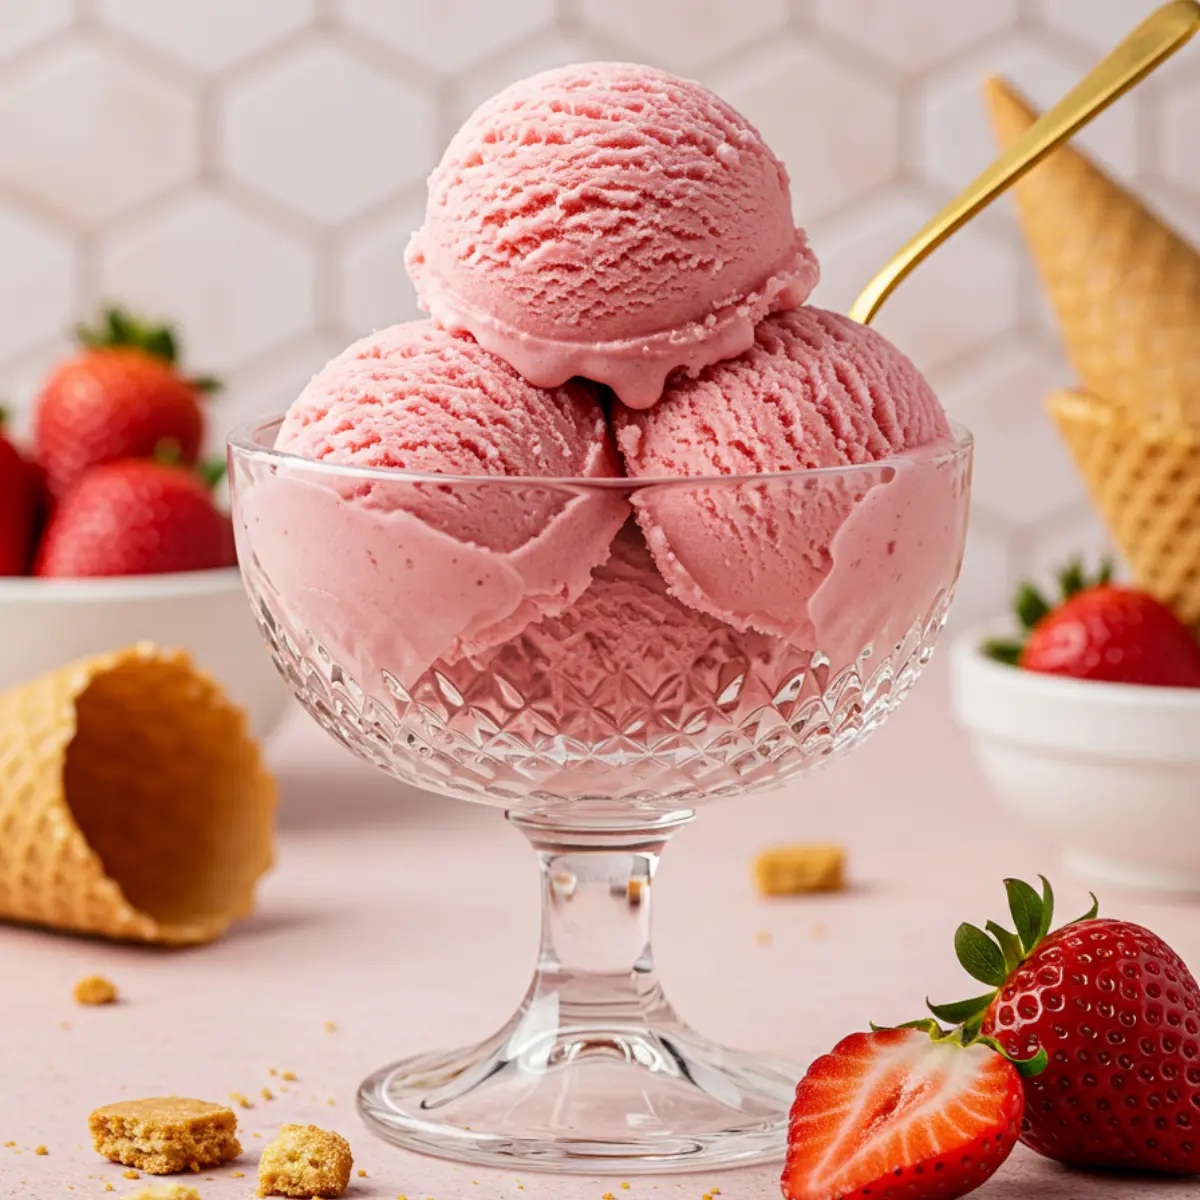
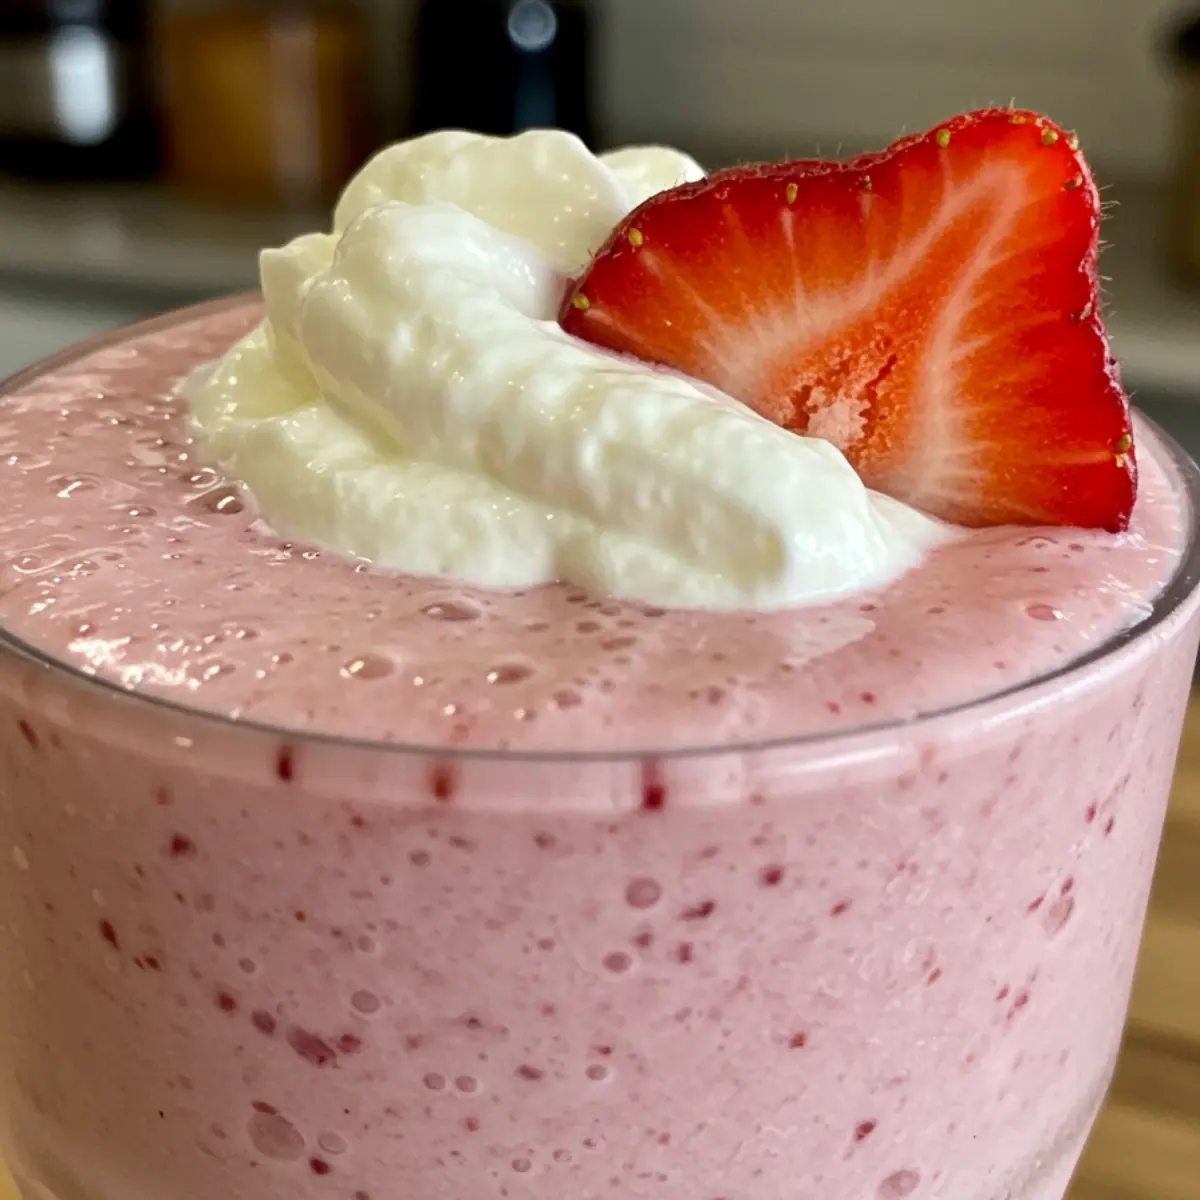
Strawberry Fields Forever
Capture the taste of summer with this fresh and fruity strawberry ice cream. Using real fruit gives it a vibrant, authentic flavor that’s both refreshing and healthy.
Ingredients:
- 1 cup Whole Milk (or milk of choice)
- 1 scoop Vanilla or Unflavored Protein Powder
- 1-2 tbsp Sweetener of choice
- 1/2 cup Fresh or Frozen Strawberries, hulled
- 1 tsp Vanilla Extract
- A squeeze of Fresh Lemon Juice (optional)
Instructions:
- Make the Base: In a blender, combine the milk, protein powder, sweetener, strawberries, vanilla extract, and optional lemon juice. Blend until the strawberries are fully pureed and the mixture is smooth.
- Freeze: Pour the strawberry base into a Ninja Creami pint container. Secure the lid and freeze on a level surface for at least 24 hours.
- Process: Place the frozen pint into the machine and select the “Lite Ice Cream” function. It will likely need one or two “Re-Spin” cycles with a tablespoon of milk to reach a perfectly creamy consistency.
Classic Mint Chip
A refreshing classic that’s cool, creamy, and packed with chocolatey bits. This version is simple to make and tastes just like it came from an ice cream parlor.
Ingredients:
- 1 cup Whole Milk
- 1 scoop Vanilla Protein Powder
- 1-2 tbsp Sweetener of choice
- 1/2 tsp Peppermint Extract (use pure, not imitation)
- 1 tsp Vanilla Extract
- 1 drop Green Food Coloring (optional)
- 1/4 cup Mini Chocolate Chips or chopped dark chocolate
Instructions:
- Make the Base: In a bowl, whisk together the milk, protein powder, sweetener, peppermint extract, vanilla extract, and optional food coloring until fully combined.
- Freeze: Pour the minty base into a Ninja Creami pint container. Secure the lid and freeze on a level surface for at least 24 hours.
- Process: Spin the frozen pint on the “Lite Ice Cream” or “Ice Cream” setting. Re-spin with a splash of milk as needed to get it smooth.
- Add Mix-Ins: Create a well in the center of the ice cream, add your chocolate chips, and process using the “Mix-In” function until just combined.
Dairy-Free Delight (Coconut Cream Vanilla)
Proof that you don’t need dairy for an unbelievably creamy treat. This version uses rich coconut milk for a luscious texture with a subtle, tropical twist.
Ingredients:
- 1 cup Full-Fat Canned Coconut Milk
- 1 scoop Vanilla Vegan Protein Powder
- 1-2 tbsp Maple Syrup or sweetener of choice
- 1 tsp Vanilla Extract
- A pinch of Salt
Instructions:
- Make the Base: Whisk or blend the canned coconut milk (both the solid cream and the liquid), protein powder, maple syrup, vanilla, and salt until completely smooth.
- Freeze: Pour the mixture into a Ninja Creami pint container. Secure the lid and freeze on a level surface for at least 24 hours.
- Process: Process on the “Lite Ice Cream” setting. Due to the high fat content, it may come out creamy on the first spin, but a re-spin with a tablespoon of coconut or almond milk will make it even better.
Late Summer Peach Cobbler
The perfect way to enjoy the last of the summer peaches, with the warm, comforting flavor of a classic cobbler. It’s dessert, but in a healthy, frozen form.
Ingredients:
- 1 cup Whole Milk
- 1 scoop Vanilla Protein Powder
- 1 tbsp Maple Syrup or Brown Sugar Sweetener
- 1 ripe Peach, peeled and chopped (or 1/2 cup canned peaches)
- 1/2 tsp Cinnamon
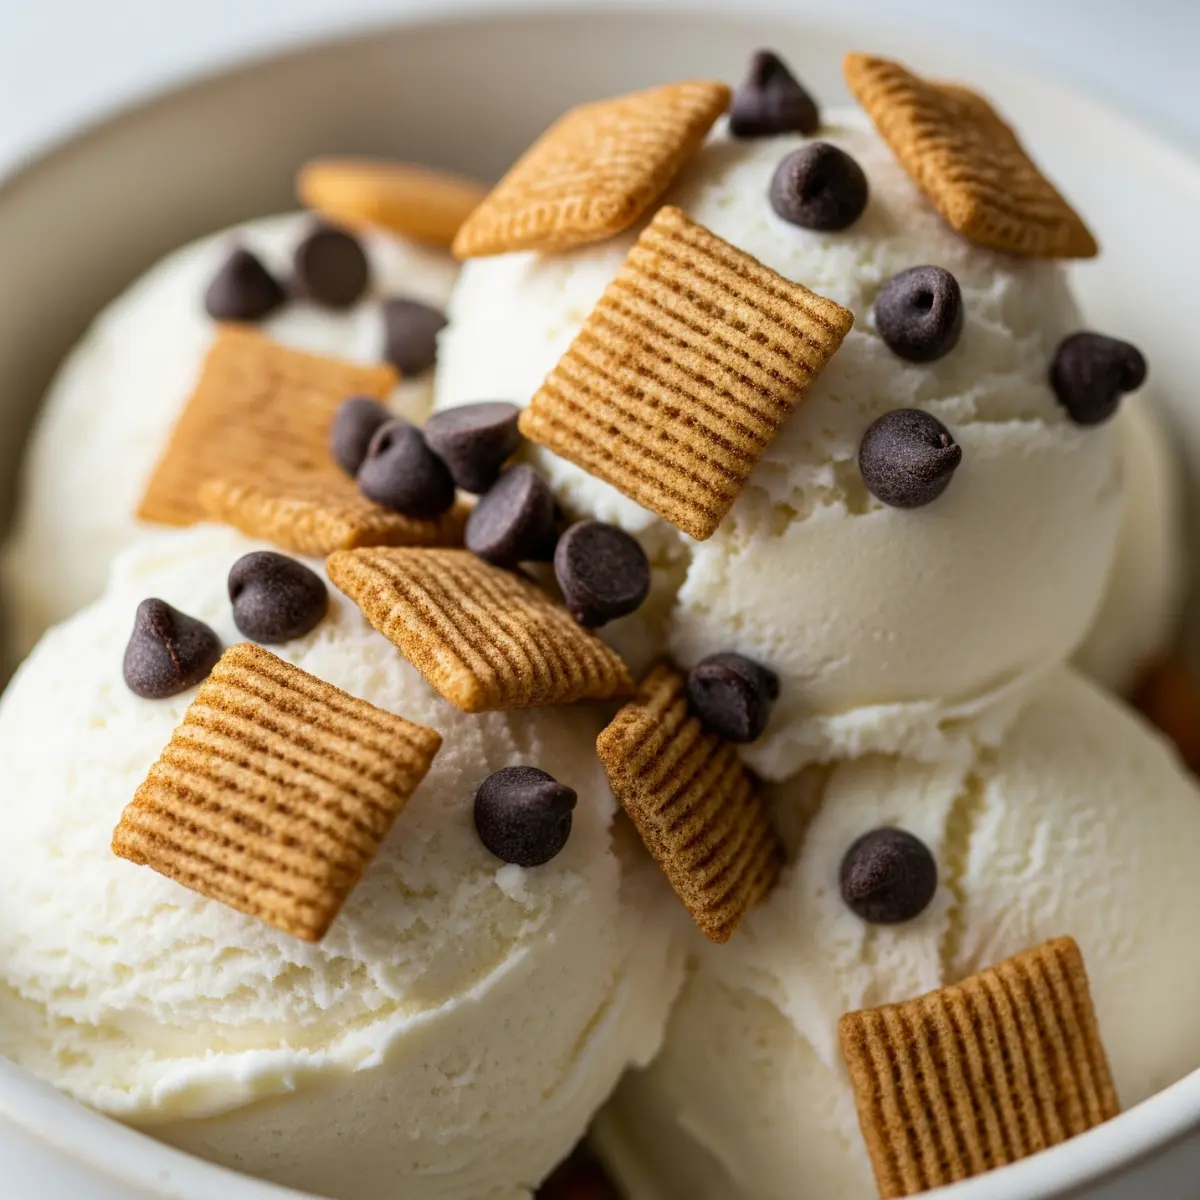
- 1/4 cup Crumbled Biscoff Cookies or Graham Crackers for mix-in
Instructions:
- Make the Base: In a blender, combine the milk, protein powder, maple syrup, chopped peach, and cinnamon. Blend until smooth.
- Freeze: Pour the peach base into a Ninja Creami pint container. Secure the lid and freeze on a level surface for at least 24 hours.
- Process: Spin on the “Lite Ice Cream” function, using the “Re-Spin” button with a splash of milk until it’s smooth and creamy.
- Add Mix-Ins: Use the “Mix-In” function to incorporate the crumbled cookies, giving it that authentic cobbler crunch.
Spiced Coffee Kick
Inspired by the aromatic spiced coffees of Morocco, this is a bold and fragrant treat for any coffee lover. The warm spices add a unique and sophisticated twist.
Ingredients:
- 1 cup Strong-Brewed Coffee or Cold Brew, chilled
- 1 scoop Vanilla or Unflavored Protein Powder
- 1-2 tbsp Sweetener of choice
- 1/4 tsp Cinnamon
- A pinch of Cardamom
- Chocolate-covered espresso beans for mix-in (optional)
Instructions:
- Make the Base: Whisk together the chilled coffee, protein powder, sweetener, cinnamon, and cardamom until no lumps remain.
- Freeze: Pour the coffee mixture into a Ninja Creami pint container. Secure the lid and freeze on a level surface for at least 24 hours.
- Process: Select the “Ice Cream” function. This base is often icier on the first spin, so expect to use the “Re-Spin” function once or twice with a tablespoon of coffee or milk to get it smooth.
- Add Mix-Ins: For a crunchy caffeine boost, use the “Mix-In” function to add a handful of chocolate-covered espresso beans.
Storing and Freezing Instructions
Somehow, you have leftovers? No problem. Unlike traditional homemade ice cream, the Ninja Creami is built for this. Storing and re-serving your creations is part of its magic, but there are a few key things to know USDA FoodSafety.gov.
The Basic Method
First, use a spoon to flatten and smooth the top surface of the leftover ice cream inside the pint container. This is important because it prevents a lopsided, rocky top that can damage the machine’s paddle on the next spin. It also helps minimize contact with the air, reducing the chance of freezer burn. Secure the lid tightly and place it back on a level surface in your freezer.
The All-Important Re-Spin Process
When you’re ready for another scoop, your pint will be frozen solid again. Don’t try to scoop it directly! You’ll need to re-process it.
- Temper it (Optional but Recommended): Take the pint out of the freezer and let it sit on the counter for 5-10 minutes. This slight temperature change makes the frozen block less dense and helps the machine process it more easily, leading to an even creamier result.
- Re-Process: Place the pint back in the machine and run it on the same cycle you originally used (e.g., “Lite Ice Cream” or “Ice Cream”).
- Check and Re-Spin Again: Just like the first time, it might look a little dry or crumbly. This is perfectly normal. Add one tablespoon of milk or a liquid of your choice and use the “Re-Spin” function. This second spin almost always brings it back to that perfect, fresh-out-of-the-Creami texture.
Handling Mix-Ins and Long-Term Storage
A quick word on leftovers that have mix-ins: things like cookies, cereal, or brownie pieces will absorb moisture and become soft when you re-spin the pint. It will still taste delicious, but you’ll lose the original crunch. If you’re a texture person, consider only making enough with mix-ins for one serving and keeping the rest of the base plain to add fresh mix-ins later.
While the Creami can revive frozen treats over and over, keep in mind that homemade ice cream lacks the commercial stabilizers of store-bought pints. For the absolute best flavor and texture, it’s ideal to finish your pint within a week.
Troubleshooting Common Problems
Even with the easiest recipes, things don’t always turn out perfectly on the first try, and that’s okay! The Ninja Creami is a unique machine, and a little troubleshooting is often part of the learning process. Before you get discouraged by a pint that isn’t quite right, check these common issues and their simple fixes.
Your Ice Cream is Powdery or Icy
This is, by far, the most common issue new users face, especially with low-fat or low-sugar recipes. A powdery, sand-like, or icy texture is almost always fixable.
- Why it Happens: The creamy texture in ice cream comes from keeping ice crystals as small as possible. This is usually achieved with fat and sugar. When you use less of these, larger ice crystals can form, or the base freezes into a fine, dry powder when spun.
- The Fix: The solution is simple: add a bit more liquid and re-spin.
- Add Liquid: Pour one or two tablespoons of your base liquid (e.g., milk, cream, coffee) directly onto the top of the powdery ice cream.
- Re-Spin: Place the pint back in the machine and press the “Re-Spin” button. This cycle is specifically designed to further process the base with the extra liquid.
- Repeat if Needed: For some very lean bases (like those made with skim milk or just fruit), you might need a second re-spin with another tablespoon of liquid to achieve a perfectly smooth and creamy consistency.
Your Ice Cream is Gummy or Too Dense
On the opposite end of the spectrum, you might get a texture that feels overly thick, sticky, or gummy, almost like taffy.
- Why it Happens: This is usually a result of using too much of a stabilizer or sweetener. Ingredients like pudding mix, guar gum, xanthan gum, and certain sugar alcohols can create a gummy texture if used too heavily. Over-processing with multiple re-spins can also contribute to this.
- The Fix: While it’s difficult to reverse a gummy texture, you can prevent it next time.
- Reduce Stabilizers: If you used a thickener like pudding mix or guar gum, cut the amount in half for your next batch. A little goes a very long way.
- Check Your Sweetener: Some sugar-free sweeteners, like allulose, can create a softer, denser result. Try slightly reducing the amount.
- Avoid Over-Spinning: Stick to just one or two re-spins. More is not always better.
It’s Frozen Solid to the Sides of the Pint
This often happens when you’re trying to re-spin a pint of leftovers. You’ll get a creamy center, but a stubborn, icy ring remains stuck to the sides.
- Why it Happens: The edges of the pint freeze harder and faster than the center, creating a dense wall of ice that the paddle sometimes can’t fully process.
- The Fix: Give the machine a little help before you spin.
- Temper the Pint: Let the pint sit on the counter for 5-10 minutes before putting it in the machine. This slightly softens the hard-frozen edges.
- Scrape the Sides: After the first re-spin, use a butter knife or a long spoon to carefully scrape down the icy ring from the sides of the container, pushing it toward the center. Then, run it through a final re-spin cycle to incorporate everything.
FAQ
What are the best Ninja Creami models for beginners?
How can I make my Ninja Creami recipes less icy?
Why is my ice cream icy?
- Not enough fat or sugar: The base needs a certain amount of fat and/or sugar to keep the ice crystals small and the texture creamy. Try using whole milk or adding a splash of heavy cream.
- It wasn’t frozen long enough: If you don’t freeze it for a full 24 hours, it won’t process correctly. Patience is key!
- Your freezer isn’t cold enough: Make sure your freezer is set to a standard temperature (around 0°F or -18°C).
- It just needs a re-spin: Most of the time, a crumbly or icy result can be fixed by adding a tablespoon of liquid and hitting the “Re-Spin” button. This simple step makes all the difference.


