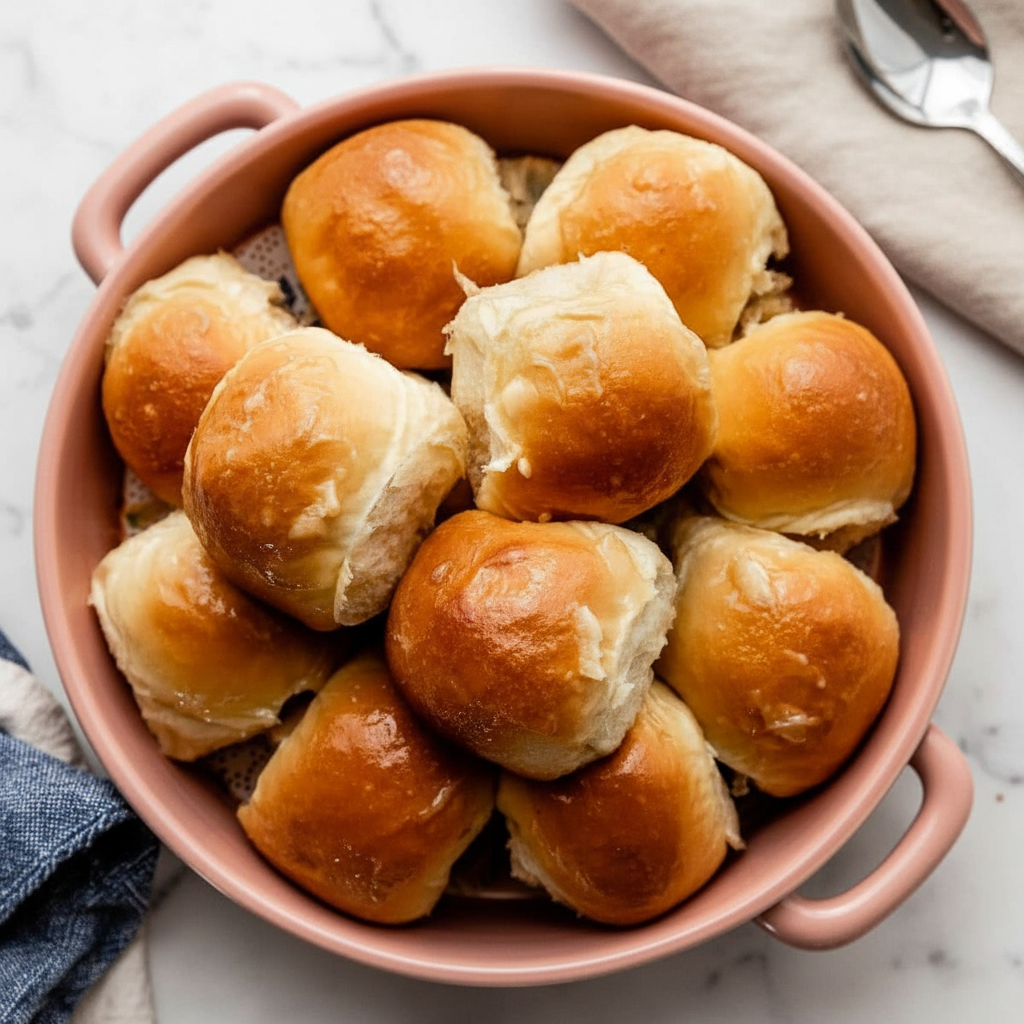
There is something so special about a homemade dessert. It just tastes better, you know? Especially when it is a classic like a good old fashioned Strawberry Shortcake. It reminds me of sunny afternoons and family gatherings. The combination of soft cake, sweet berries, and light cream is just delightful.
This recipe is my go to for a reason. It is straightforward and uses ingredients you probably already have. Forget complicated steps. We are making a simple, delicious treat that will have everyone asking for seconds. Let’s get baking!
Jump To:
Why You’ll Love This Recipe
You are going to adore this Strawberry Shortcake recipe. First off, it is incredibly easy to follow. We are not aiming for bakery level complexity here. We want something that feels good to make and even better to eat. It is a wonderful choice for beginner bakers.
Another reason is the flavor. The cake is soft and just sweet enough. It provides a wonderful base for the bright, fresh taste of the strawberries. This is not a dry, crumbly cake. It has a lovely tender texture that soaks up the strawberry juices beautifully.
I also love how budget friendly this recipe is. It uses simple pantry staples like flour, sugar, and shortening. No need to run out for special ingredients. This makes it a great option when you want a lovely dessert without a big expense. It is a true taste of home.
Finally, this dessert has a wonderful visual appeal. It captures that classic Strawberry Shortcake Aesthetic that is so charming. It looks beautiful on a dessert table and feels both rustic and elegant. It is a fantastic dessert for sharing with people you care about.
Ingredients
Here is what you will need to gather for this lovely Strawberry Shortcake. Everything is quite simple!
- ½ cup vegetable shortening
- 1⅓ cup granulated sugar
- 2 large eggs
- 2½ tsp vanilla extract
- ½ tsp salt
- 3 cups all purpose flour
- 4 tsp baking powder
- 1 cup milk
- 16 ounces Whipped cream topping
- ¼ cup granulated sugar (for strawberries)
- 3 quarts fresh or frozen strawberries, sliced
Step By Step Instructions
Ready to make your very own Vintage Strawberry Shortcake? Let’s walk through it together. It is easier than you think.
Step 1: Get Everything Ready
First things first, let’s preheat your oven to 350 degrees Fahrenheit. While it warms up, prepare your baking pan. A 9 by 11 inch pan works well. Line it with foil or parchment paper and give it a good grease. This will make removing the cake so much easier later on.
Next, grab a medium or large bowl. We are going to combine all the dry ingredients here. That means the all purpose flour, salt, and baking powder. Give them a quick whisk to mix everything together nicely. Then just set that bowl aside for a moment.
Step 2: Cream The Shortening And Sugar
Now for the wet ingredients. In a separate bowl fit for a mixer, you will cream together the vegetable shortening and the sugar. You want to beat them until they are light and fluffy. This step is important for a tender cake.
Once the shortening and sugar mixture is looking good, add the eggs and vanilla extract. Beat everything well until it is fully combined. The mixture should look smooth and smell wonderful. This is the base of our delicious cake.
Step 3: Combine Wet And Dry Mixtures
It is time to bring it all together. With your mixer on a low speed, you will slowly alternate adding the dry ingredients and the milk. Start by adding about a third of the flour mixture, then half of the milk. Repeat this process, ending with the last of the dry ingredients.
Be careful not to overmix the batter. You only want to mix until everything is just combined. Overmixing can make the cake tough, and we are aiming for a soft, delicate texture for our Strawberry Shortcake base.
Step 4: Bake The Cake
Pour the finished batter into your prepared baking pan. Spread it out evenly with a spatula to ensure it bakes flat. Now, pop it into your preheated oven. It will need to bake for about 20 to 25 minutes.
You can check if it is done by inserting a toothpick into the center. If it comes out clean, the cake is ready. Once it is done baking, let it cool completely on a wire rack. This is a very important step. A warm cake will just fall apart when you try to assemble your Strawberry Shortcake.
Step 5: Prepare The Strawberry Topping
While your cake is cooling, let’s make the strawberry topping. It is so simple. Place your sliced strawberries and the quarter cup of sugar into a medium saucepan. Put it on medium heat and stir gently.
You just want to heat it until the sugar is completely dissolved. The strawberries will release their juices and create a beautiful, syrupy sauce. Once the sugar is gone, take the pan off the heat and set it aside. This gives the flavors a chance to meld together.
Step 6: Assemble Your Strawberry Shortcake
This is the fun part! Once the cake has cooled completely, cut it into 9 or 12 equal pieces. Now, carefully take each piece and cut it in half horizontally. This creates a top and a bottom layer for each serving of your homemade Strawberry Shortcake.
Spread a generous layer of whipped cream on the bottom half of a cake piece. Then, spoon some of the strawberry mixture over the cream. Place the top layer of the cake back on. To finish, add more whipped cream and another spoonful of strawberries over the very top. Repeat for all the pieces, and you are ready to serve this amazing dessert!


How To Store Leftovers
If you happen to have any leftover Strawberry Shortcake, storing it properly is key. The best way is to store the components separately. Keep the cooled cake pieces in an airtight container at room temperature for up to two days.
The strawberry topping and whipped cream should be stored in separate airtight containers in the refrigerator. The strawberries will stay fresh for about three days. This way, you can assemble a fresh serving whenever you want. The cake will stay soft and the cream will stay fluffy.
Tips
Want to make this Strawberry Shortcake recipe even better? Here are a few little tips. For the best flavor, try to use fresh, in season strawberries. They are juicier and sweeter. However, frozen strawberries work well too, especially in the off season. Just be sure to thaw them first.
Don’t have vegetable shortening? You can use butter instead. Just be aware that it might change the texture of the cake slightly, making it a bit more dense. It will still be delicious though. It is all about personal preference.
Feel free to get creative with the assembly. If you are short on time, you can serve the cake as a single layer. Just pile the whipped cream and strawberries right on top of the whole uncut cake. It has a lovely, rustic look that captures the Strawberry Shortcake Aesthetic perfectly.
When mixing the batter, be very gentle. The moment the last streak of flour disappears, stop mixing. This ensures you get that light, tender crumb we all love in a good Vintage Strawberry Shortcake. It makes a huge difference.
Conclusion
And there you have it! A simple, heartfelt recipe for a classic Strawberry Shortcake. There is so much joy in creating something delicious from scratch. This dessert is more than just a sweet treat. It is about creating memories with family and friends.
I hope you enjoy making this Strawberry Shortcake as much as you enjoy eating it. It is a timeless dessert that never fails to bring a smile. So go ahead, bake a little happiness today. You deserve it.
FAQ
Can I Make This Ahead Of Time?
Yes, absolutely. You can bake the cake a day in advance and store it in an airtight container at room temperature. The strawberry topping can also be made a day or two ahead and kept in the fridge. Just assemble the Strawberry Shortcake right before serving for the best results.
Can I Use Butter Instead Of Shortening?
You sure can. Using butter will give the cake a slightly richer flavor and a denser texture compared to the lightness from shortening. Many people love the taste of a butter based cake. It is a simple swap if you prefer it.
What Kind Of Strawberries Are Best?
Fresh, ripe strawberries that are in season will always give you the best flavor for your Strawberry Shortcake. Look for berries that are bright red and fragrant. If fresh berries are not available, frozen ones are a great alternative. Just thaw them before making the topping.
Can I Use A Different Pan Size?
Of course. If you do not have a 9 by 11 inch pan, you could use a 9 by 13 inch pan. The cake will be a bit thinner, so you might need to reduce the baking time by a few minutes. Just keep a close eye on it. You could also use two 8 inch or 9 inch round pans to make a layered Vintage Strawberry Shortcake.
Homemade Strawberry Shortcake
This easy, homemade Strawberry Shortcake recipe combines soft, tender cake with sweet, fresh strawberries and fluffy whipped cream. A classic, comforting dessert perfect for any occasion, it’s a delightful treat that’s simple to make and always a crowd-pleaser.
Requirements


Ingredients
Instructions
- First things first, let’s preheat your oven to 350 degrees Fahrenheit. While it warms up, prepare your baking pan. A 9 by 11 inch pan works well. Line it with foil or parchment paper and give it a good grease. This will make removing the cake so much easier later on. Next, grab a medium or large bowl. We are going to combine all the dry ingredients here. That means the all purpose flour, salt, and baking powder. Give them a quick whisk to mix everything together nicely. Then just set that bowl aside for a moment.
- Now for the wet ingredients. In a separate bowl fit for a mixer, you will cream together the vegetable shortening and the sugar. You want to beat them until they are light and fluffy. This step is important for a tender cake. Once the shortening and sugar mixture is looking good, add the eggs and vanilla extract. Beat everything well until it is fully combined. The mixture should look smooth and smell wonderful. This is the base of our delicious cake.
- It is time to bring it all together. With your mixer on a low speed, you will slowly alternate adding the dry ingredients and the milk. Start by adding about a third of the flour mixture, then half of the milk. Repeat this process, ending with the last of the dry ingredients. Be careful not to overmix the batter. You only want to mix until everything is just combined. Overmixing can make the cake tough, and we are aiming for a soft, delicate texture for our Strawberry Shortcake base.
- Pour the finished batter into your prepared baking pan. Spread it out evenly with a spatula to ensure it bakes flat. Now, pop it into your preheated oven. It will need to bake for about 20 to 25 minutes. You can check if it is done by inserting a toothpick into the center. If it comes out clean, the cake is ready. Once it is done baking, let it cool completely on a wire rack. This is a very important step. A warm cake will just fall apart when you try to assemble your Strawberry Shortcake.
- While your cake is cooling, let’s make the strawberry topping. It is so simple. Place your sliced strawberries and the quarter cup of sugar into a medium saucepan. Put it on medium heat and stir gently. You just want to heat it until the sugar is completely dissolved. The strawberries will release their juices and create a beautiful, syrupy sauce. Once the sugar is gone, take the pan off the heat and set it aside. This gives the flavors a chance to meld together.
- This is the fun part! Once the cake has cooled completely, cut it into 9 or 12 equal pieces. Now, carefully take each piece and cut it in half horizontally. This creates a top and a bottom layer for each serving of your homemade Strawberry Shortcake. Spread a generous layer of whipped cream on the bottom half of a cake piece. Then, spoon some of the strawberry mixture over the cream. Place the top layer of the cake back on. To finish, add more whipped cream and another spoonful of strawberries over the very top. Repeat for all the pieces, and you are ready to serve this amazing dessert!
Notes
If you happen to have any leftover Strawberry Shortcake, storing it properly is key. The best way is to store the components separately. Keep the cooled cake pieces in an airtight container at room temperature for up to two days.
The strawberry topping and whipped cream should be stored in separate airtight containers in the refrigerator. The strawberries will stay fresh for about three days. This way, you can assemble a fresh serving whenever you want. The cake will stay soft and the cream will stay fluffy.
Want to make this Strawberry Shortcake recipe even better? Here are a few little tips. For the best flavor, try to use fresh, in season strawberries. They are juicier and sweeter. However, frozen strawberries work well too, especially in the off season. Just be sure to thaw them first.
Don’t have vegetable shortening? You can use butter instead. Just be aware that it might change the texture of the cake slightly, making it a bit more dense. It will still be delicious though. It is all about personal preference.
Feel free to get creative with the assembly. If you are short on time, you can serve the cake as a single layer. Just pile the whipped cream and strawberries right on top of the whole uncut cake. It has a lovely, rustic look that captures the Strawberry Shortcake Aesthetic perfectly.
When mixing the batter, be very gentle. The moment the last streak of flour disappears, stop mixing. This ensures you get that light, tender crumb we all love in a good Vintage Strawberry Shortcake. It makes a huge difference.
Nutrition
Calories
Sugar
Fat
Carbs