Graduation season is finally here. It is a time filled with excitement, pride, and a little bit of chaos. You have likely spent weeks handling Graduation Party Planning. The guest list is set. The invites are out. Now you need to feed everyone. Planning a menu for a crowd can feel overwhelming. You want everything to be perfect for your graduate. The dessert table is often the focal point of the celebration. However, you do not need to spend a fortune at a bakery to impress your guests.
This is where simple graduation cakes save the day. Making a cake from scratch might sound scary if you are a beginner. But trust me on this one. You can create a stunning and delicious dessert right in your own kitchen. This recipe is straightforward. It uses basic ingredients you probably have in your pantry. Plus, a homemade cake adds a personal touch that store bought cakes just cannot match.
Jump To:
Why You’ll Love This Recipe
There are so many reasons to bake this yourself. First, let us talk about the taste. This is not a dry box mix. This cake uses buttermilk and real butter for a tender, moist crumb. The vanilla flavor is pure and comforting. It is the kind of cake that makes people close their eyes and smile after the first bite. It is one of those simple graduation cakes that tastes like it came from a high end shop.
Another huge benefit is the cost. Hosting a College Grad Party or a high school celebration adds up fast. You have to pay for food, drinks, and Grad Party Decorations. Ordering a custom cake from a bakery can cost hundreds of dollars. This recipe costs a fraction of that price. You can save that money for the graduate’s gift or use it for other parts of the party. It is a smart choice for anyone on a budget.
You will also love the versatility. This base recipe is a blank canvas. You can adapt it to fit any Grad Party Theme. Does the school have specific colors? You can easily tint the frosting to match. You can add sprinkles or toppers that reflect the graduate’s personality. Whether you are planning a formal Graduation Dinner or a casual backyard barbecue, this cake fits right in. It is the ultimate project for Graduation Party Diy lovers.
Finally, it is just fun. Baking for someone is an act of love. When you bring out a cake you made with your own hands, it means something special. It shows you care. And do not worry about it looking perfect. We will share tips on how to decorate it simply yet beautifully. You do not need to be a professional artist to make simple graduation cakes look amazing.
Ingredients
You need standard baking ingredients for this recipe. Using room temperature items is the secret to success here. It ensures everything mixes smoothly.
For The Cake
- 2 1/2 cups all purpose flour
- 2 1/4 teaspoons baking powder
- 3/4 teaspoon salt
- 1 2/3 cups granulated sugar
- 3/4 cup unsalted butter, room temperature
- 3 large eggs, room temperature
- 1 tablespoon vanilla extract
- 1 cup buttermilk, room temperature
For The Vanilla Buttercream
- 1 1/2 cups unsalted butter, room temperature
- 5 cups powdered sugar, sifted
- 1/4 cup heavy cream or milk
- 2 teaspoons vanilla extract
- 1/4 teaspoon salt
Step-By-Step Instructions
Follow these steps to create one of the best simple graduation cakes. Take your time and enjoy the process. Baking should be relaxing!
Step 1: Prepare The Oven And Pans
Start by preheating your oven to 350°F (175°C). This ensures the oven is at the right temperature when the batter is ready. While it heats up, prepare your pans. You need two 8 inch round cake pans. Grease them generously with butter or cooking spray. Then, dust them with a little flour. Shake out the excess flour. This prevents the cakes from sticking. It makes removing them later much easier.
Step 2: Mix Dry Ingredients
Grab a medium bowl. Add the all purpose flour, baking powder, and salt. Whisk these together until they are well combined. This step is important. It ensures the baking powder is distributed evenly. You do not want one bite of cake to rise more than another. Set this bowl aside for a moment.
Step 3: Cream Butter And Sugar
In a large bowl, place the room temperature butter and granulated sugar. Use an electric mixer for this part. Beat them on medium high speed. You want the mixture to look pale and fluffy. This usually takes about 3 or 4 minutes. This process adds air to the batter. The air helps the cake rise and become light. Do not rush this step.
Step 4: Add Eggs And Vanilla
Now, add the eggs one at a time. Beat the mixture well after each egg goes in. This helps the eggs emulsify with the butter and sugar. Once all the eggs are in, pour in the vanilla extract. Mix it briefly just to combine. The batter should look smooth and creamy at this point.
Step 5: Combine Batter
Turn your mixer speed down to low. You will now add the flour mixture and the buttermilk. Do this in parts. Add about one third of the flour mixture. Mix gently. Then add half of the buttermilk. Mix again. Repeat with more flour, then the rest of the buttermilk. Finish with the last of the flour. Mix just until you see the flour disappear. Do not overmix. Overmixing makes the cake tough.
Step 6: Bake The Cakes
Divide the batter evenly between your two prepared pans. Smooth the tops with a spatula. Place them in the oven. Bake for 24 to 28 minutes. You can check if they are done with a toothpick. Insert it into the center of the cake. If it comes out clean or with just a few crumbs, it is ready. If it has wet batter, bake for another minute or two.
Step 7: Cool The Cakes
Take the pans out of the oven. Let the cakes sit in the pans for 10 minutes. This helps them set. After 10 minutes, carefully flip them onto a wire rack. Let them cool completely before you frost them. If you try to frost a warm cake, the buttercream will melt and slide off.
Step 8: Make The Buttercream
While the cakes cool, make the frosting. In a large bowl, beat the room temperature butter until it is creamy. This takes about 2 minutes. Gradually add the sifted powdered sugar. Mix on low speed so the sugar does not fly everywhere. Once the sugar is mixed in, add the vanilla extract and salt.
Step 9: Whip The Frosting
Turn the mixer to medium speed. Add the heavy cream one tablespoon at a time. Watch the texture. You want it smooth and spreadable. Beat the frosting for another 3 to 5 minutes. It should become light and fluffy. This extra whipping makes the buttercream melt in your mouth.
Step 10: Assemble And Decorate
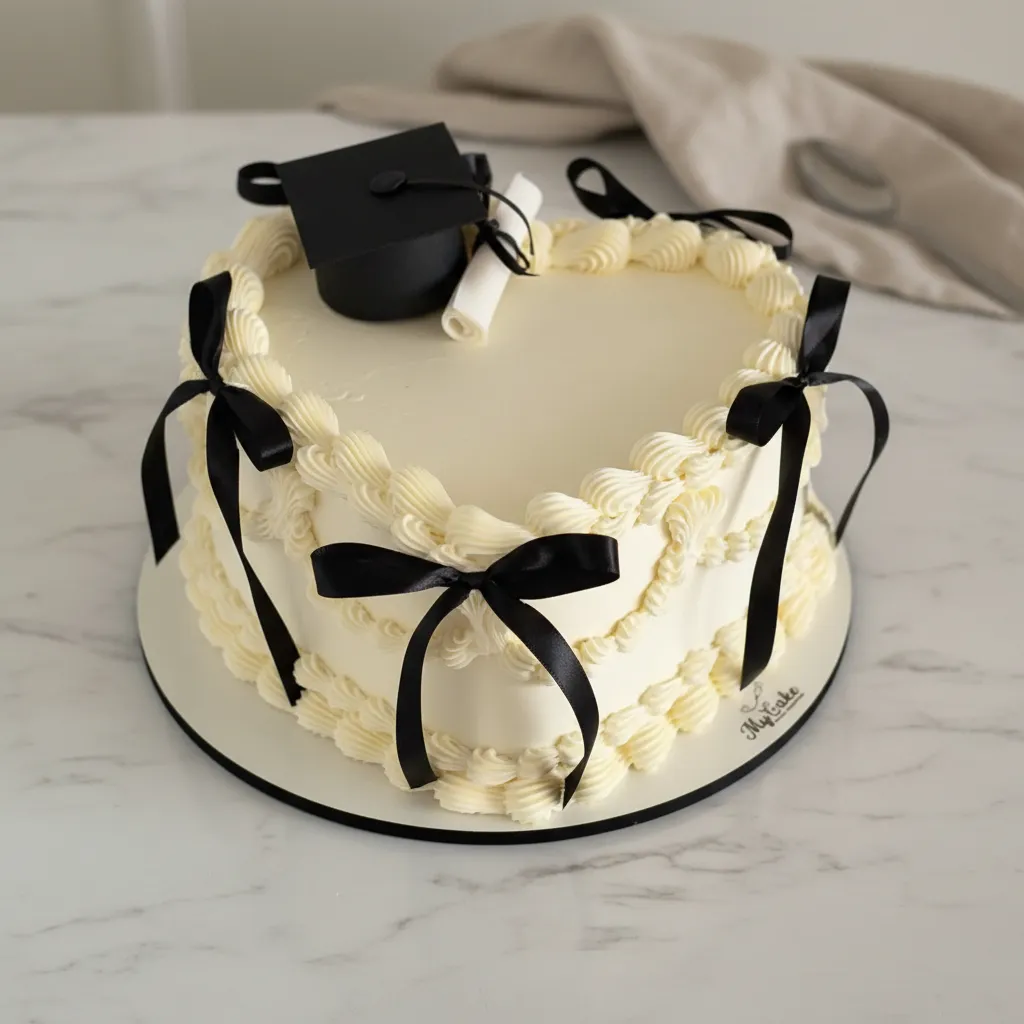
Place one cake layer on your serving plate. Spread a generous layer of buttercream on top. Place the second cake layer on top of that. Now, cover the top and sides of the entire cake with the remaining buttercream. Smooth it out with a spatula. If you want to be fancy, put some frosting in a piping bag with a star tip. Pipe borders along the edges.
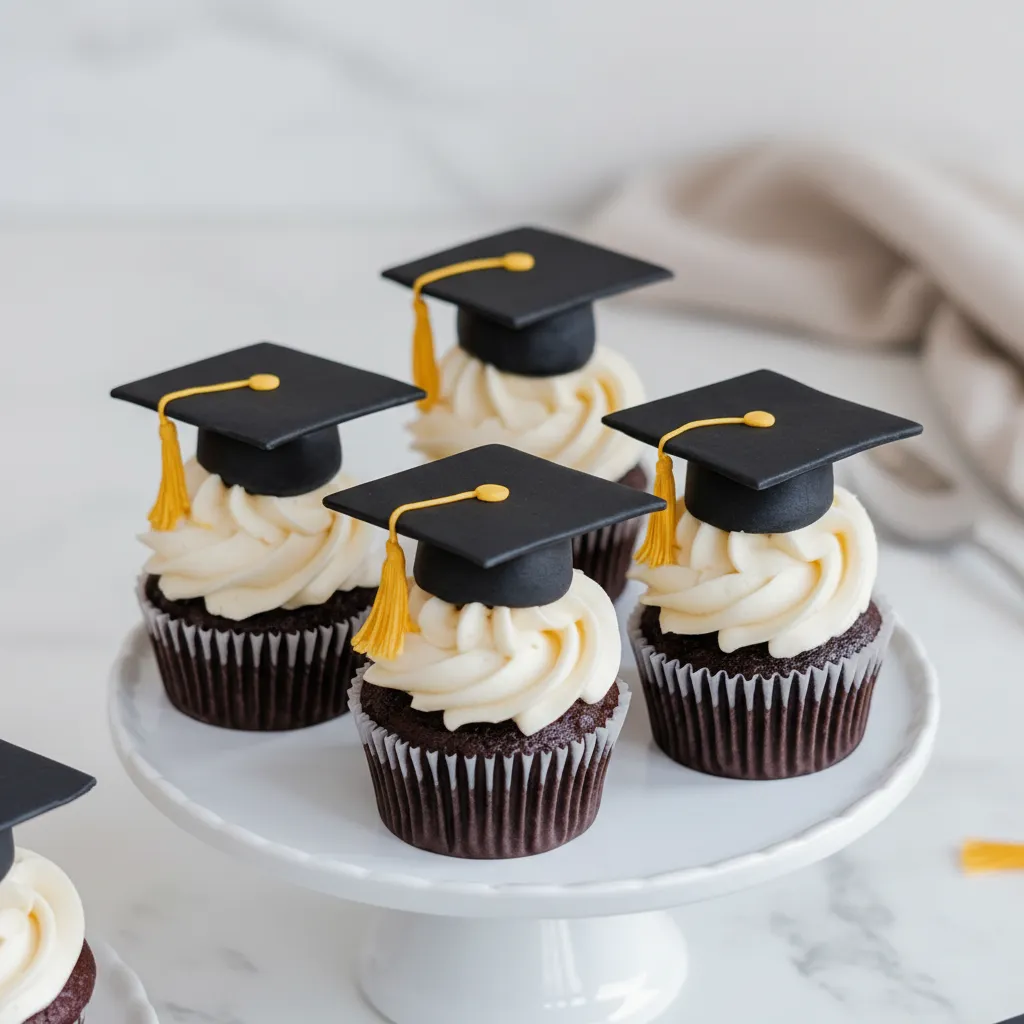
For the final touch, add your Grad Party Decorations. Place a non edible graduation cap and diploma on top. You can make a diploma by rolling a piece of paper and tying it with a ribbon. These little details transform it into the perfect Graduation Party Cake.


How To Store Leftovers
After the party winds down, you might have some cake left. Storing it properly keeps it tasting fresh. If your kitchen is cool, you can keep the cake at room temperature. Cover it with a cake dome or plastic wrap. It will stay good for about 2 or 3 days. The sugar and fat in the frosting act as preservatives.
If your house is warm or humid, it is better to store it in the fridge. Place the cake in an airtight container. It can last up to a week in the refrigerator. Just remember to let it sit on the counter for an hour before eating. Butter based cakes taste best at room temperature. Cold cake can feel dense and the frosting will be hard like a stick of butter.
You can also freeze slices for later. Wrap individual slices tightly in plastic wrap. Then, place them in a freezer bag. They will keep for up to 3 months. When you crave a sweet treat, just thaw a slice on the counter. It is a great way to relive the fun of the Graduation Dinner weeks later.
Tips
Here are some helpful hints to ensure your simple graduation cakes turn out perfectly every time. First, pay attention to temperature. The butter, eggs, and buttermilk must be at room temperature. This is not just a suggestion. It is science. Room temperature ingredients bond together better. This creates a smoother batter that traps air. That air expands in the oven, giving you a fluffy cake.
Be careful when measuring flour. Do not scoop the flour directly with the measuring cup. This packs the flour down and you end up with too much. Too much flour makes the cake dry. Instead, spoon the flour into the cup and level it off with a knife. This keeps the measurement accurate and the cake light.
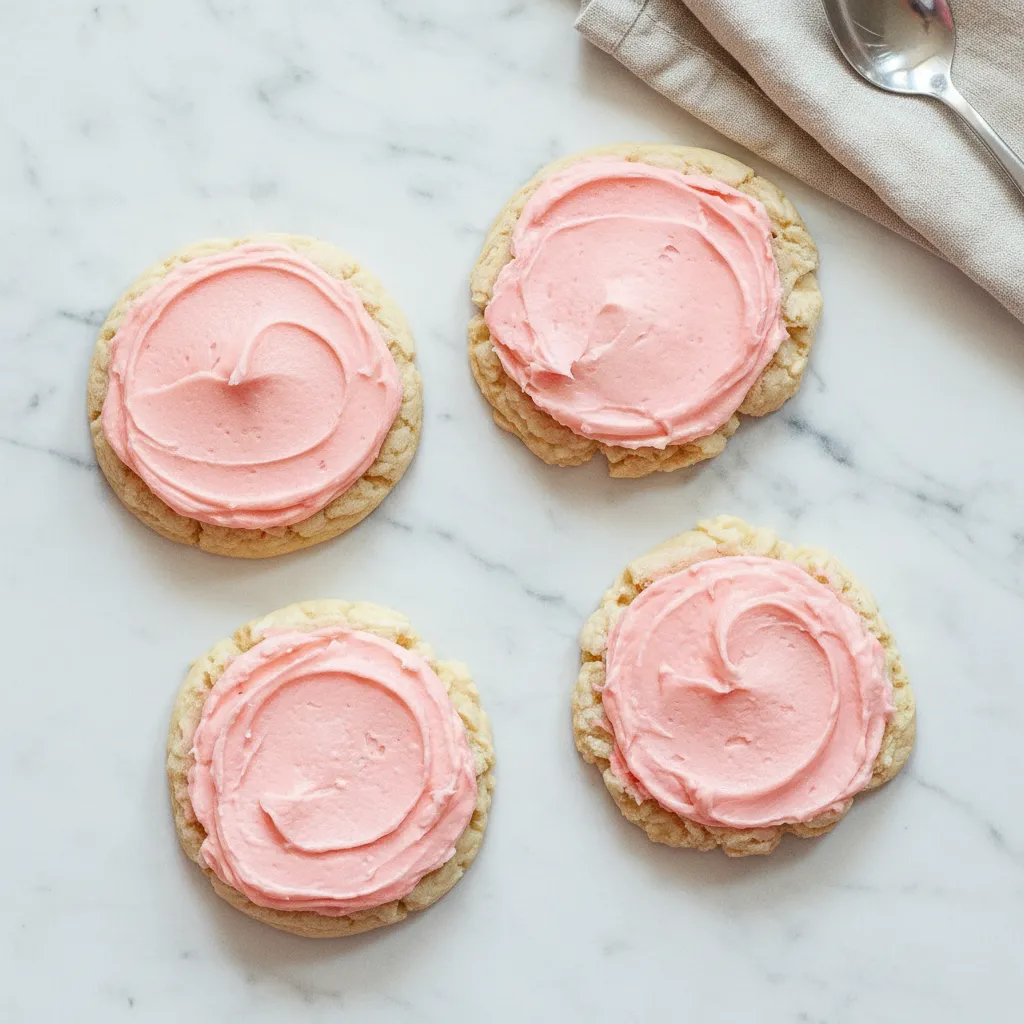
For the frosting, consider the color. Buttercream naturally has a yellow tint because of the butter. If you want a stark white frosting for your Graduation Cake Designs, use clear vanilla extract. You can also add a tiny drop of purple food coloring to neutralize the yellow. This gives you a bright white base that makes other colors pop.
Lastly, keep the decoration stress free. You do not need complicated piping skills. Simple swirls look elegant. Use fresh flowers or fruit if you do not want to pipe borders. Or use toppers like we mentioned. A simple “Class of 2024” sign goes a long way. Remember, simple graduation cakes are about celebrating, not stressing.
Conclusion
Graduation is a major milestone. It marks the end of one chapter and the start of another. Whether you are hosting a huge bash or a small family gathering, this cake is the perfect addition. It is one of the most reliable simple graduation cakes you can make. It is sweet, satisfying, and full of love.
By making this cake, you save money and add a personal touch to your Graduation Party Themes. Your guests will love the flavor. You will love how easy it was to make. So, grab your mixer and get baking. Celebrate the graduate in your life with a slice of something special. It is the perfect sweet ending to a wonderful Graduation Party Planning journey.
FAQ
Here are some common questions about making simple graduation cakes to help you out.
Can I Make This Cake In Advance?
Yes, you can. You can bake the cake layers up to two days before the party. Wrap them tightly in plastic wrap and store them at room temperature. You can also make the buttercream ahead of time. Store it in the fridge. Just let it come to room temperature and whip it again before using.
Can I Make This Gluten Free?
Absolutely. You can swap the all purpose flour for a high quality gluten free 1 to 1 baking flour. Make sure the blend contains xanthan gum. The texture might be slightly different, but it will still be delicious. It is a great option if you have guests with dietary restrictions at your Graduation Dinner.
What Other Graduation Cake Designs Can I Try?
This recipe is very flexible. You can bake it in a 9×13 inch pan for a sheet cake. This is great for feeding a larger crowd. You can also make cupcakes. Adjust the baking time to about 18 to 20 minutes. Cupcakes are easy to serve and fun to decorate with different Graduation Party Themes colors.
How Do I Transport The Cake?
If the party is at a different location, transport can be tricky. Chill the decorated cake in the fridge for at least an hour before moving it. This hardens the frosting and makes it less likely to smudge. Place the cake on a non slip mat in your car. Avoid placing it on a slanted seat. Keeping it flat is key for safe arrival at your College Grad Party.
Easy Vanilla Graduation Cake
Planning a graduation party can be overwhelming, but this easy vanilla cake recipe saves the day! It’s a moist, tender cake with fluffy vanilla buttercream, perfect for celebrating your graduate without breaking the bank. Simple to make, yet impressive and customizable for any party theme.
Requirements


Ingredients
Instructions
- Preheat oven to 350°F (175°C). Grease and flour two 8-inch round cake pans.
- In a medium bowl, whisk together all purpose flour, baking powder, and salt. Set aside.
- In a large bowl, cream room temperature butter and granulated sugar with an electric mixer on medium-high speed for 3-4 minutes until pale and fluffy.
- Add eggs one at a time, beating well after each addition. Stir in vanilla extract until just combined.
- With the mixer on low, alternately add the flour mixture and buttermilk in three additions (flour, buttermilk, flour, buttermilk, flour). Mix just until combined, do not overmix.
- Divide batter evenly between prepared pans. Bake for 24-28 minutes, or until a toothpick inserted into the center comes out clean.
- Cool cakes in pans for 10 minutes, then invert onto a wire rack to cool completely.
- For the buttercream: In a large bowl, beat room temperature butter until creamy (about 2 minutes). Gradually add sifted powdered sugar on low speed.
- Add 2 teaspoons vanilla extract and 1/4 teaspoon salt. Turn mixer to medium speed. Add heavy cream one tablespoon at a time until smooth and fluffy (3-5 minutes).
- Assemble: Place one cake layer on a serving plate, spread with buttercream. Top with the second layer. Cover the entire cake with remaining buttercream, smoothing with a spatula. Decorate as desired.
Notes
Room temperature ingredients are key for a smooth batter and fluffy cake.
Measure flour by spooning into the cup and leveling, avoiding packed flour for a moist cake.
For stark white frosting, use clear vanilla extract or a tiny drop of purple food coloring.
Keep decoration simple with swirls, fresh flowers, fruit, or non-edible toppers.
Nutrition
Calories
Sugar
Fat
Carbs