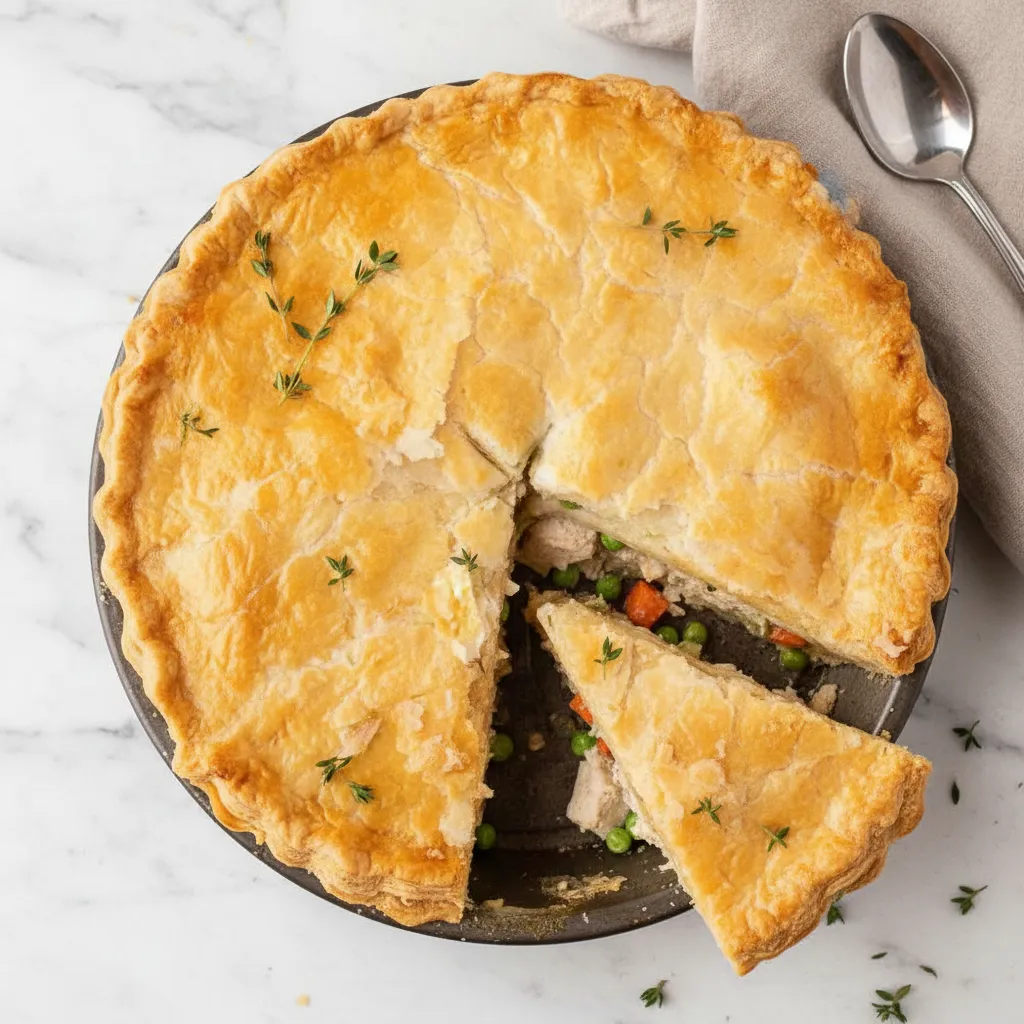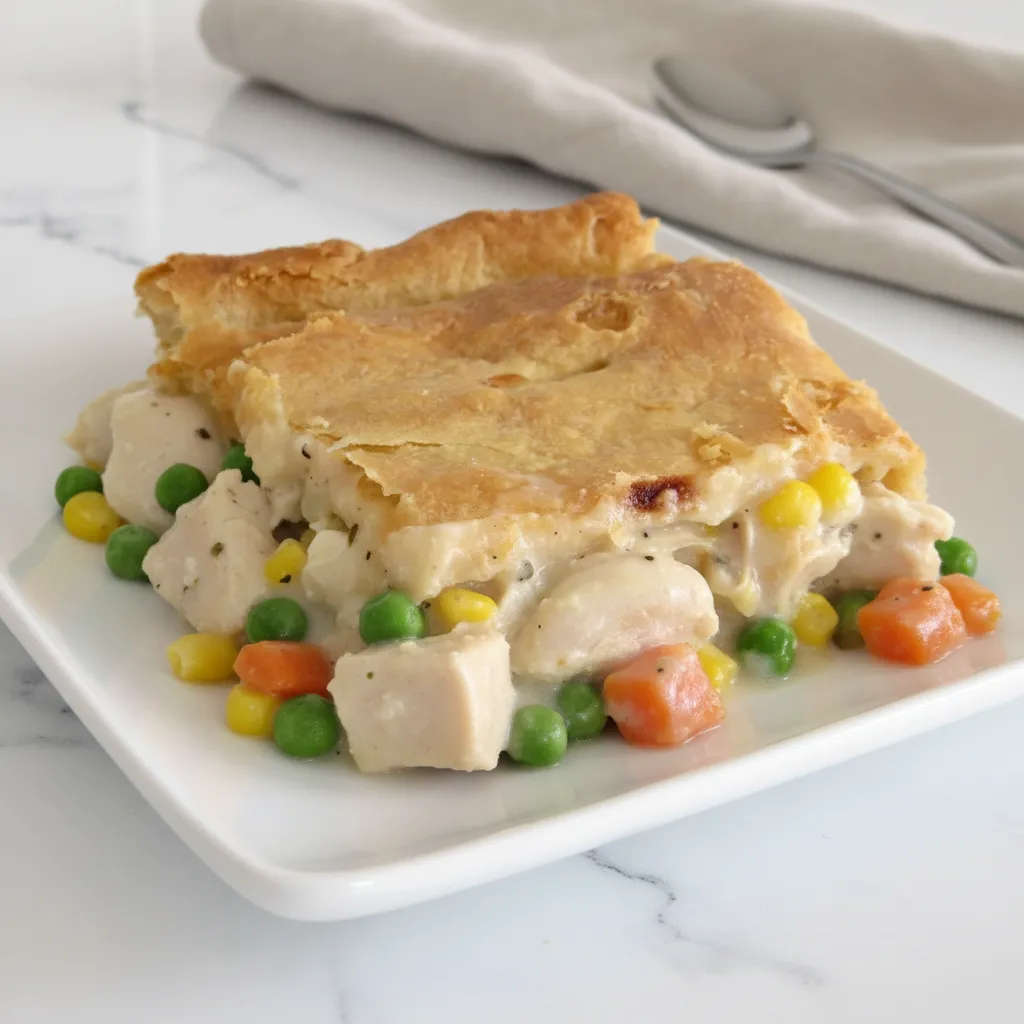
Are you ready to discover a true gem in the world of easy, flavorful summer appetizers? You know, the kind of dish that makes everyone ask for the recipe, but is secretly super simple to make? Well, get ready, because these Glazed Kielbasa Pineapple Bites are exactly that. They are an absolute game changer for busy home cooks who want to impress without the stress.
Honestly, who does not love a good bite sized snack? Especially when it is packed with both savory and sweet notes, creating a flavor explosion in every mouthful. These little wonders are perfect for literally any occasion. Think about it: a quick weeknight treat, a spontaneous get together, or even a fancy party. They fit right in!
Jump To:
Why You’ll Love This Recipe
Let us talk about why these Glazed Kielbasa Pineapple Bites are about to become your new go to. First off, they are incredibly simple to prepare. We are talking minimal effort for maximum impact. You do not need any special skills or fancy kitchen gadgets, which is a huge win for beginners and budget conscious cooks alike.
The taste? Oh, my goodness. The savory beef kielbasa pairs beautifully with the sweet, tangy pineapple, all brought together by a sticky, caramelized teriyaki and chili honey glaze. It is a flavor combination that just works. It is comforting, it is exciting, and it is undeniably delicious.
These bites are also incredibly versatile. Hosting a lively game night? They make fantastic Game Time Appetizers. Need something for your next card game? They are perfect Card Game Snacks Finger Foods. Planning a casual get together with your besties? These are some of the best Appetizers For Girls Night you will find.
Seriously, whether it is a family reunion, a friendly Bunco night needing some great Bunco Snacks Appetizers, or even finding some creative Birthday Appetizer Ideas, these bites fit the bill. They are also excellent Appetizers For Work Potluck events because they travel well and are always a hit. Plus, if you are feeling a little adventurous, you could even serve them as a savory Dessert Appetizer Recipes option. They are just that good!
Plus, they are a fantastic way to enjoy delicious food without breaking the bank. Kielbasa is often a budget friendly protein, and canned pineapple is always accessible. This makes it a smart choice for anyone looking to create fun, flavorful summer appetizers without a huge grocery bill.
Ingredients
Gathering your ingredients for these amazing bites is super easy. You probably have some of these items in your pantry already! We are keeping it simple and straightforward, just the way we like our weeknight cooking.
- 14 oz beef kielbasa, sliced into chunks
- 20 oz can pineapple chunks, juice reserved
- 3 tbsp teriyaki sauce
- 1 tbsp sweet chili sauce
- 1 tbsp honey
- 1 tbsp pineapple juice (from canned pineapple)
- Plain toothpicks
Step By Step Instructions
Ready to get cooking? These instructions are easy to follow, so you will have these delicious summer appetizers ready in no time. Just follow along, and you will be enjoying your Glazed Kielbasa With Pineapple in a flash!
Step 1: Prep Your Toothpicks And Oven
First things first, grab those plain toothpicks. You are going to want to soak them in water for about 20 minutes. This little trick prevents them from burning in the oven, which is super important. While they are soaking, go ahead and preheat your oven to 425 degrees Fahrenheit (220 degrees Celsius). Line a baking sheet with parchment paper, too. Trust me, future you will thank you for the easy cleanup!
Step 2: Assemble Your Bites
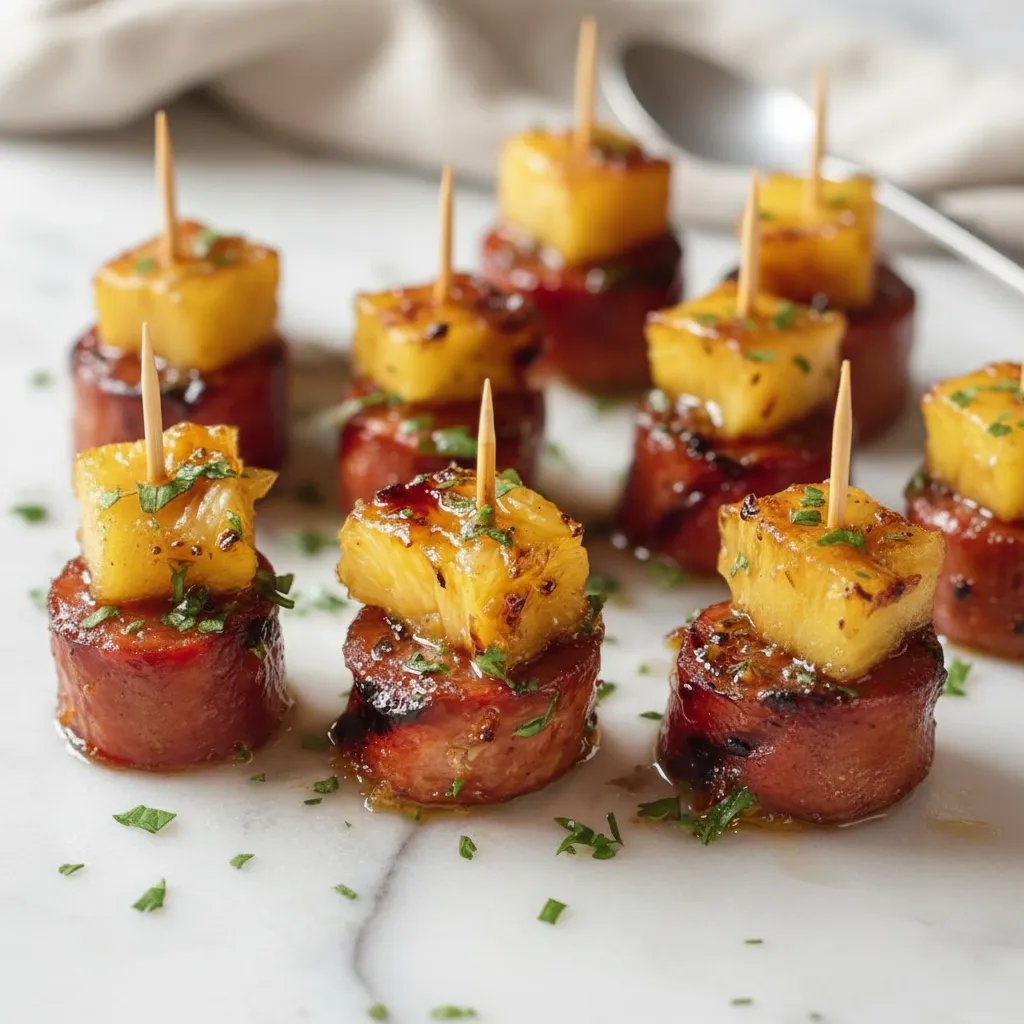
Next up, arrange your sliced kielbasa pieces on that prepared baking sheet. Try to give them a little space so they can get nice and caramelized. Then, take a chunk of pineapple and place it right on top of each piece of kielbasa. This is where the magic starts to happen, combining the savory with the sweet.
Step 3: Whisk Up The Glaze
In a small bowl, it is time to make that incredible glaze. Whisk together the teriyaki sauce, sweet chili sauce, honey, and that reserved pineapple juice from your can. Keep whisking until everything is smooth and well combined. This glaze is truly what takes these Kielbasa And Pineapple bites to the next level.
Step 4: Glaze And Skewer
Now for the fun part! Brush that glorious glaze generously over each of your kielbasa and pineapple bites. Make sure they are all coated nicely. Once they are glazed, grab those soaked toothpicks and carefully insert one into each bite. This makes them super easy to pick up and enjoy. They are already looking like amazing summer appetizers!
Step 5: Bake To Perfection
Pop your baking sheet into the preheated oven. You will want to bake these beauties for about 15 to 20 minutes. Keep an eye on them! You are looking for the kielbasa to be heated through and for that glaze to be wonderfully caramelized and slightly sticky. That is when you know they are done.
Step 6: Serve And Enjoy
Once they are out of the oven, let the bites cool just a little bit. They taste absolutely best when served warm. Arrange them on a platter and watch them disappear! These are truly delightful summer appetizers that everyone will rave about.


How To Store Leftovers
Got some bites left over? No problem! These Glazed Kielbasa Pineapple Bites store pretty well. Just make sure they have cooled completely to room temperature before putting them away. This helps prevent any moisture buildup that could make them soggy.
Transfer any remaining bites to an airtight container. You can keep them in the refrigerator for up to 3 days. When you are ready to enjoy them again, you can gently reheat them in the microwave for a minute or two, or pop them back in a preheated oven at a lower temperature (around 300 degrees Fahrenheit or 150 degrees Celsius) until they are warmed through. They really do taste best warm!
Tips
Want to make your Glazed Kielbasa Pineapple Bites even better? Here are a few handy tips to ensure every batch is a winner. These little tricks can make a big difference, especially when you are aiming for those perfect summer appetizers.
Do Not Skip The Toothpick Soak: Seriously, that 20 minute soak for the toothpicks is not just a suggestion. It is a critical step! It really does prevent them from charring or burning in the oven, which keeps your presentation neat and tidy.
Fresh Pineapple Juice Is Key: While you might be tempted to use bottled juice, using the actual pineapple juice from the canned pineapple really gives the glaze the best, most authentic flavor. It makes a noticeable difference in the overall taste of your Kielbasa With Pineapple.
Serve Them Warm: These bites are definitely at their peak when served warm. The glaze is perfectly sticky and the kielbasa is juicy. If you are making them ahead, a quick reheat is always a good idea.
Mix Up Your Kielbasa: While beef kielbasa is fantastic, feel free to substitute with chicken or turkey kielbasa if that is what you prefer or have on hand. The flavor profile will be slightly different, but still absolutely delicious. It is all about making the recipe work for you.
Adjust The Sweetness: If you have got a real sweet tooth, or perhaps your pineapple is less sweet than usual, you can always add a little more honey to the glaze. Taste as you go and adjust to your liking. It is your kitchen, after all!
Make Ahead Magic: You can assemble these bites on the baking sheet and prepare the glaze up to a few hours in advance. Keep the assembled bites covered in the fridge and the glaze in a separate container. Brush on the glaze and bake right before serving for fresh tasting summer appetizers.
Conclusion
Well, there you have it! These Glazed Kielbasa Pineapple Bites are truly a revelation for anyone looking for easy, delicious, and super customizable summer appetizers. They are simple enough for a beginner, yet impressive enough for any gathering. From Game Time Appetizers to a fancy potluck, they hit all the right notes.
So, go ahead and give this recipe a try. You are going to love how quickly these Kielbasa And Pineapple bites come together and, more importantly, how utterly scrumptious they are. Happy cooking, and enjoy those rave reviews!
FAQ
Can I Use Fresh Pineapple Instead Of Canned?
Absolutely! Fresh pineapple works wonderfully. Just make sure to cut it into bite sized chunks similar to the canned variety. You will still need some pineapple juice for the glaze, so either press some juice from your fresh pineapple or use a small amount of unsweetened pineapple juice from a carton.
How Do I Make These Bites Spicier?
If you like a little heat, you can easily amp up the spice. Try adding a pinch of red pepper flakes to the glaze mixture, or increase the amount of sweet chili sauce. You could even add a tiny dash of sriracha for an extra kick. Just be careful not to overdo it!
Can These Be Made Ahead Of Time For A Party?
Yes, you can definitely do some prep work in advance. Assemble the kielbasa and pineapple on the toothpicks, and prepare the glaze separately. Store them covered in the refrigerator. When it is almost party time, brush on the glaze and bake. This makes them perfect summer appetizers for stress free entertaining.
What Kind Of Kielbasa Works Best?
For this recipe, pre cooked beef kielbasa is usually the easiest and most flavorful choice. However, as mentioned in our tips, chicken or turkey kielbasa are also great alternatives if you prefer. Just ensure it is fully cooked before slicing and baking.
Glazed Kielbasa Pineapple Bites
These easy-to-make Glazed Kielbasa Pineapple Bites combine savory kielbasa with sweet, tangy pineapple, coated in a sticky teriyaki-chili honey glaze. Perfect for a casual gathering or weeknight treat, they’re a delightful and quick appetizer.
Requirements


Ingredients
Instructions
- Soak plain toothpicks in water for 20 minutes to prevent burning. Preheat oven to 425°F (220°C). Line a baking sheet with parchment paper for easy cleanup.
- Arrange sliced kielbasa pieces on the prepared baking sheet, leaving some space between them. Place one pineapple chunk on top of each kielbasa piece.
- In a small bowl, whisk together the teriyaki sauce, sweet chili sauce, honey, and 1 tbsp of reserved pineapple juice until smooth and well combined.
- Brush the glaze generously over each kielbasa and pineapple bite. Insert a soaked toothpick into each bite.
- Pop your baking sheet into the preheated oven. Bake for 15 to 20 minutes, or until the kielbasa is heated through and the glaze is caramelized and slightly sticky.
- Let the bites cool slightly before serving. They are best enjoyed warm.
Notes
Do Not Skip The Toothpick Soak: Seriously, that 20 minute soak for the toothpicks is not just a suggestion. It is a critical step! It really does prevent them from charring or burning in the oven, which keeps your presentation neat and tidy.
Fresh Pineapple Juice Is Key: While you might be tempted to use bottled juice, using the actual pineapple juice from the canned pineapple really gives the glaze the best, most authentic flavor. It makes a noticeable difference in the overall taste of your Kielbasa With Pineapple.
Serve Them Warm: These bites are definitely at their peak when served warm. The glaze is perfectly sticky and the kielbasa is juicy. If you are making them ahead, a quick reheat is always a good idea.
Mix Up Your Kielbasa: While beef kielbasa is fantastic, feel free to substitute with chicken or turkey kielbasa if that is what you prefer or have on hand. The flavor profile will be slightly different, but still absolutely delicious. It is all about making the recipe work for you.
Adjust The Sweetness: If you have got a real sweet tooth, or perhaps your pineapple is less sweet than usual, you can always add a little more honey to the glaze. Taste as you go and adjust to your liking. It is your kitchen, after all!
Make Ahead Magic: You can assemble these bites on the baking sheet and prepare the glaze up to a few hours in advance. Keep the assembled bites covered in the fridge and the glaze in a separate container. Brush on the glaze and bake right before serving for fresh tasting summer appetizers.
Nutrition
Calories
Fat
Sat. Fat
Carbs
Sugar
Fiber
Protein
Sodium