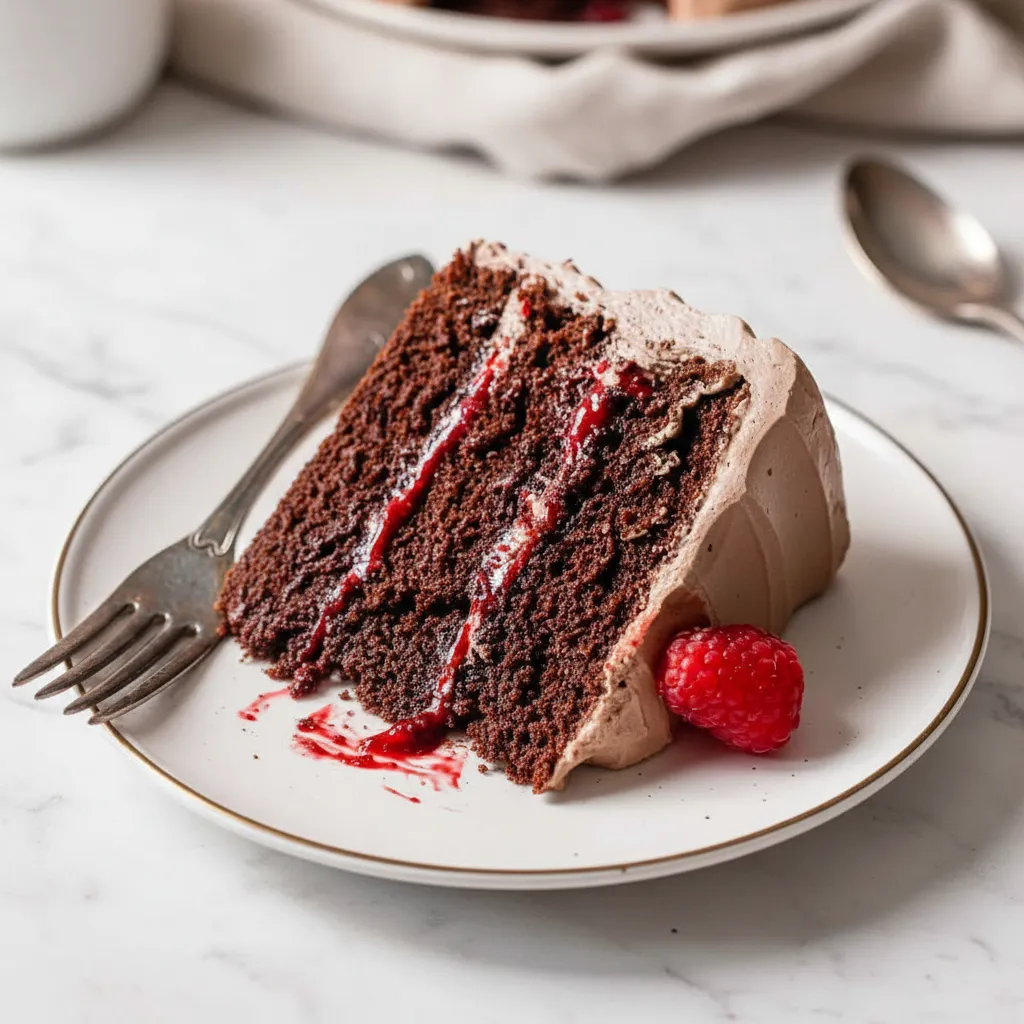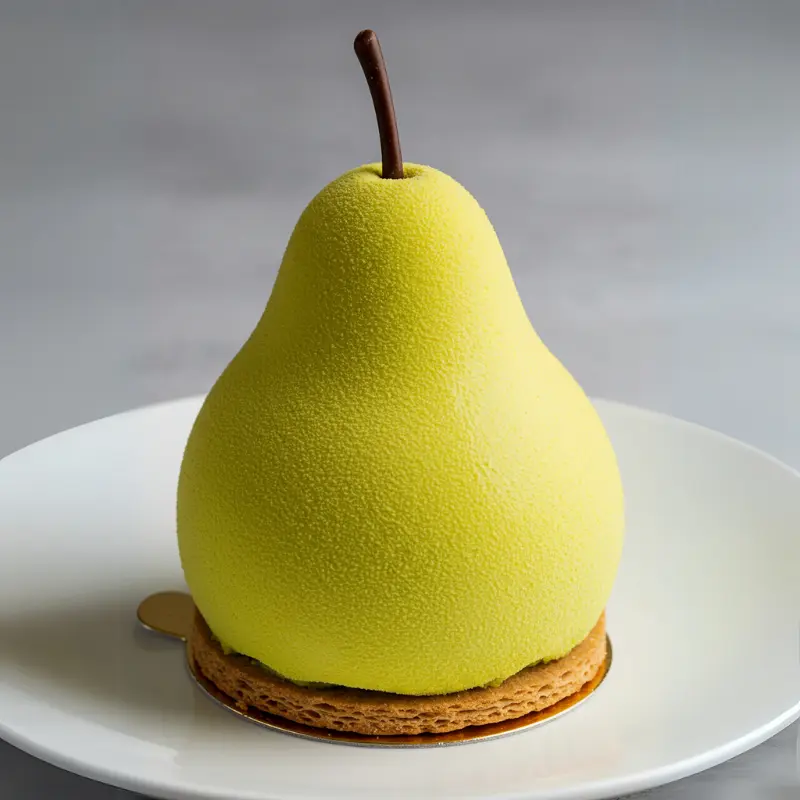
Have you ever found yourself dreaming about a slice of rich, velvety Chocolate Mousse Cake? You know the kind I am talking about. It is that perfect dessert you usually only find on the menu of fancy Restaurant Desserts.
Well, I have some great news for you. You do not need to leave your house to enjoy that level of decadence. Making a restaurant quality mousse at home is actually much easier than you might think. It requires just a few simple ingredients and a little bit of patience.
This recipe focuses on the heart of any great Chocolate Mousse Cake. That is the mousse itself. It is light, airy, and deeply chocolatey. It satisfies that craving for Decadent Chocolate Desserts without requiring you to turn on the oven.
If you are a true Chocolate Lover, this is going to be your new favorite treat. It is perfect for dinner parties or just a quiet night in. Plus, it is naturally gluten free, which is always a bonus.
Let’s dive into how you can create this masterpiece in your own kitchen. You will be amazed at how professional the results taste.
Jump To:
Why You’ll Love This Recipe
There are so many reasons to fall in love with this recipe. First and foremost, the texture is incredible. It strikes that perfect balance between being light as air and intensely rich. It is the defining characteristic of a great Chocolate Mousse Recipe.
Another reason is the simplicity. You do not need any fancy equipment. If you have a couple of bowls and a whisk, you are good to go. This makes it one of the most accessible Delicious Cake Recipes for beginners.
It is also incredibly versatile. You can serve it in elegant glasses for a dinner party. Or you can use it as a Chocolate Mousse Filling for a layered sponge cake if you are feeling ambitious. The possibilities are endless.
Finally, this recipe is fast to prepare. While it needs time to chill, the actual hands on time is minimal. It is perfect for busy home cooks who want to make something special without spending hours in the kitchen.
It is a budget friendly way to enjoy a luxury treat. You skip the high price tag of a bakery but keep all the flavor. That is a win in my book.
Ingredients
The secret to a fantastic Chocolate Mousse Cake lies in the quality of the ingredients. Since there are so few items, each one plays a crucial role. Here is what you will need to get started.
- 6 ounces dark chocolate (at least 70% cacao)
- 3 large eggs, separated
- ¼ cup granulated sugar
- 1 teaspoon vanilla extract
- 1 pinch salt
- 1 cup heavy cream
Let’s talk about the chocolate for a second. Using chocolate with at least 70% cacao is essential. This ensures a deep, intense flavor that isn’t too sweet. It gives the mousse that sophisticated taste.
The eggs provide the structure. Separating them allows us to whip air into the whites, which gives the mousse its lift. Make sure your eggs are fresh for the best results.
Heavy cream is the final piece of the puzzle. It adds that creamy, luxurious mouthfeel that we all love in a Choco Mousse Cake. Do not substitute this with milk or half and half, as it won’t whip up properly.
Step-By-Step Instructions
Now we get to the fun part. Follow these steps closely, and you will have a perfect dessert in no time. It is all about handling the ingredients with care to maintain that airy texture.
Step 1: Melt the Chocolate
Start by placing your dark chocolate in a heatproof bowl. You want to set this bowl over a pot of simmering water. This is often called a double boiler. It helps melt the chocolate gently without burning it.
Stir the chocolate gently as it melts. You want it to be completely smooth and glossy. Once it is melted, remove the bowl from the heat. This part is important. Let it cool slightly. If it is too hot, it could cook the eggs in the next step, and nobody wants scrambled eggs in their mousse.
Step 2: Prepare Egg Yolk Mixture
Grab a separate bowl for this step. Whisk together the egg yolks, granulated sugar, and vanilla extract. You need to put some muscle into it. Keep whisking until the mixture becomes pale and fluffy.
This pale color indicates that the sugar has dissolved properly. Now, carefully fold the melted chocolate into this yolk mixture. Ensure it is fully combined. The mixture will look thick and glossy, which is exactly what you want for a rich Chocolate Mousse Cake Recipe base.
Step 3: Beat Egg Whites
Make sure you have a clean, dry bowl for the egg whites. Any trace of grease or yolk can stop them from whipping up. Whisk the egg whites with a pinch of salt. You are looking for stiff peaks to form.
Stiff peaks mean that when you lift the whisk, the egg whites stand up straight without drooping. Once you achieve this, gently fold the beaten egg whites into the chocolate and yolk mixture. Do this slowly. You want to maintain the mousse’s lightness, so do not stir vigorously.
Step 4: Whip Cream and Combine
In another bowl, whip the heavy cream. You want to stop when soft peaks form. This means the cream holds its shape but the tip flops over slightly when you lift the whisk.
Carefully fold this whipped cream into your chocolate mixture. Blend it delicately. You want to keep the mousse airy and smooth. You should see the color lighten to a beautiful milk chocolate shade. This texture is the hallmark of top tier Dessert Cake Recipes.
Step 5: Chill to Set
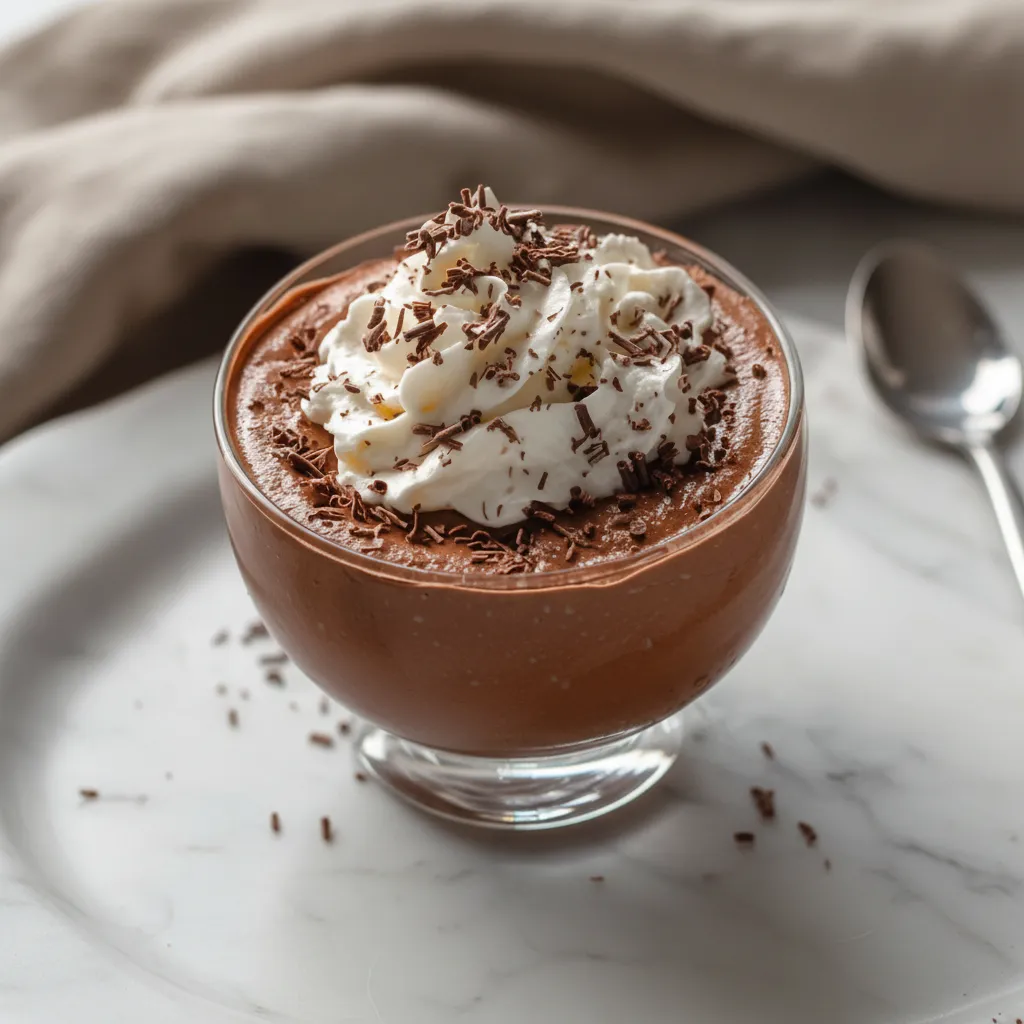
You are almost there. Spoon the mousse into individual serving dishes or ramekins. If you are making a Mousse Cake Recipe style dessert, you could spoon this into a serving dish to scoop out later.
Refrigerate the mousse for at least 2 hours. This waiting game is the hardest part. The chilling time allows the mousse to set and develop its signature creamy texture before serving. It is worth the wait.


How To Store Leftovers
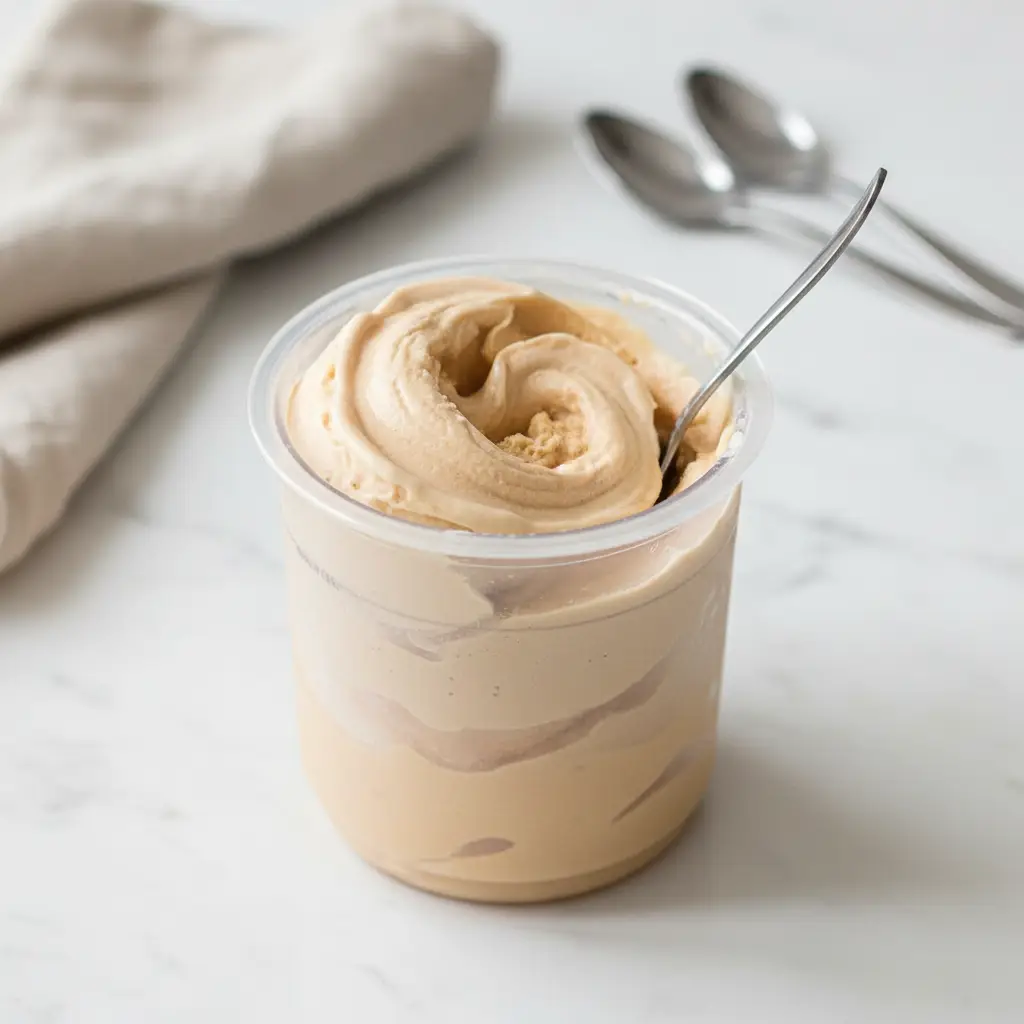
If you happen to have leftovers, you are lucky. Storing this Chocolate Mousse Cake dessert is quite simple. You need to keep it in the refrigerator. The dairy and eggs mean it must stay cold.
Cover each serving dish tightly with plastic wrap. This prevents the mousse from absorbing any odors from the fridge. It also stops a skin from forming on the top of the mousse.
Properly stored, the mousse will last for about 3 days. However, it is best enjoyed within the first 24 hours. That is when the texture is at its peak fluffiness.
I do not recommend freezing this mousse. Freezing can alter the texture of the eggs and cream. When it thaws, it might become grainy or separate. It is best to eat it fresh from the fridge.
If you used this recipe as a Chocolate Mousse Filling inside a cake, store the entire cake in the fridge. Use a cake carrier or cover it gently to protect the frosting and filling.
Tips
Here are a few tricks to ensure your dessert turns out perfectly every time. First, temperature matters. Try to have your eggs at room temperature before you separate them. They tend to whip up to a greater volume than cold eggs.
When melting the chocolate, be very careful not to let any water get into the bowl. Even a single drop of water can cause the chocolate to seize up and become lumpy. If that happens, you have to start over with new chocolate.
Fold, do not stir. I cannot stress this enough. When you combine the whites and the cream into the chocolate base, use a spatula. Use a gentle over and under motion. This preserves the air bubbles that make the mousse light.
If you want to dress it up, add toppings. Fresh berries, shaved chocolate, or a sprig of mint look beautiful. These small touches make it look like one of those high end Dessert Images you see online.
For a coffee twist, you can add a pinch of espresso powder to the chocolate while it melts. It enhances the chocolate flavor without making it taste like coffee. It is a secret weapon for any Chocolate Lover.
Make sure your heavy cream is very cold before you whip it. Cold cream whips faster and holds its shape better than room temperature cream. It makes the final folding step much easier.
Conclusion
Making a delicious Chocolate Mousse Cake element at home is a rewarding experience. It feels fancy, tastes amazing, and is surprisingly simple to pull off. You do not need to be a professional pastry chef to master this.
This recipe gives you everything you want in a dessert. It has richness, lightness, and that deep chocolate flavor that comforts the soul. It truly rivals any Restaurant Desserts you might order out.
Whether you serve it in cute cups or use it to fill a cake, it is sure to impress. Your friends and family will think you spent hours slaving away in the kitchen. Only you will know how quick it really was.
So go ahead and give it a try. Treat yourself to a bowl of creamy, dreamy goodness. You deserve it. Once you try this homemade version, you may never go back to store bought mixes again.
Enjoy the process of creating something beautiful. And most importantly, enjoy every single bite of your homemade creation.
FAQ
I know you might have a few questions before you start. Here are some common queries I get about this Chocolate Mousse Cake style recipe.
Can I Make This Gluten-Free?
Yes, absolutely. This recipe is naturally gluten free. There is no flour used in the mousse itself. Just double check your chocolate bar to ensure it was processed in a gluten free facility if you have a severe allergy.
Is It Safe to Eat Raw Eggs?
This is a traditional mousse recipe that uses raw eggs. For most healthy adults, this is generally safe if you use fresh, pasteurized eggs. If you are serving this to pregnant women, the elderly, or young children, you should definitely use pasteurized eggs to eliminate risk.
Can I Use Milk Chocolate Instead?
You can, but it will be much sweeter. The recipe calls for dark chocolate to balance the sugar and cream. If you use milk chocolate, you might want to reduce the added sugar slightly so it isn’t cloying. It will also have a softer set.
Can This Be Used as a Cake Filling?
Yes, it makes an excellent Chocolate Mousse Filling for cakes. Just make sure your cake layers are cool before adding the mousse. You may also want to chill the cake once assembled to keep the mousse firm.
How Long Does It Take to Set?
It needs at least 2 hours in the fridge. However, letting it set for 4 hours or even overnight is better. This gives the flavors time to meld and the texture to become perfectly spoonable.
Restaurant-Quality Chocolate Mousse
Making a restaurant-quality chocolate mousse at home is easier than you think! This naturally gluten-free recipe focuses on a light, airy, and deeply chocolatey mousse that’s perfect for dinner parties or a quiet night in. No oven required, just simple ingredients and minimal hands-on time for a decadent treat.
Requirements


Ingredients
Instructions
- Melt the dark chocolate: Place chocolate in a heatproof bowl over a pot of simmering water (double boiler). Stir until smooth and glossy. Remove from heat and let cool slightly.
- Prepare egg yolk mixture: In a separate bowl, whisk egg yolks, granulated sugar, and vanilla extract until pale and fluffy. Fold the slightly cooled melted chocolate into this mixture until fully combined.
- Beat egg whites: In a clean, dry bowl, whisk egg whites with a pinch of salt until stiff peaks form. Gently fold the beaten egg whites into the chocolate and yolk mixture, being careful to maintain lightness.
- Whip cream and combine: In another bowl, whip the heavy cream until soft peaks form. Carefully fold this whipped cream into the chocolate mixture until blended delicately and the color lightens.
- Chill to set: Spoon the mousse into individual serving dishes or ramekins. Refrigerate for at least 2 hours, or preferably 4 hours to overnight, until set. Serve and enjoy!
Notes
For best results, use room temperature eggs for whipping and ensure heavy cream is very cold. When melting chocolate, prevent any water from entering the bowl to avoid seizing. Always fold, don’t stir, when combining ingredients to keep the mousse light and airy. For an enhanced chocolate flavor, a pinch of espresso powder can be added to the melting chocolate. Enjoy within 24 hours for peak fluffiness; freezing is not recommended. If you want to dress it up, add toppings like fresh berries, shaved chocolate, or a sprig of mint. When combining the whites and the cream into the chocolate base, use a spatula with a gentle over and under motion to preserve air bubbles.
Nutrition
Calories
Sugar
Fat
Carbs