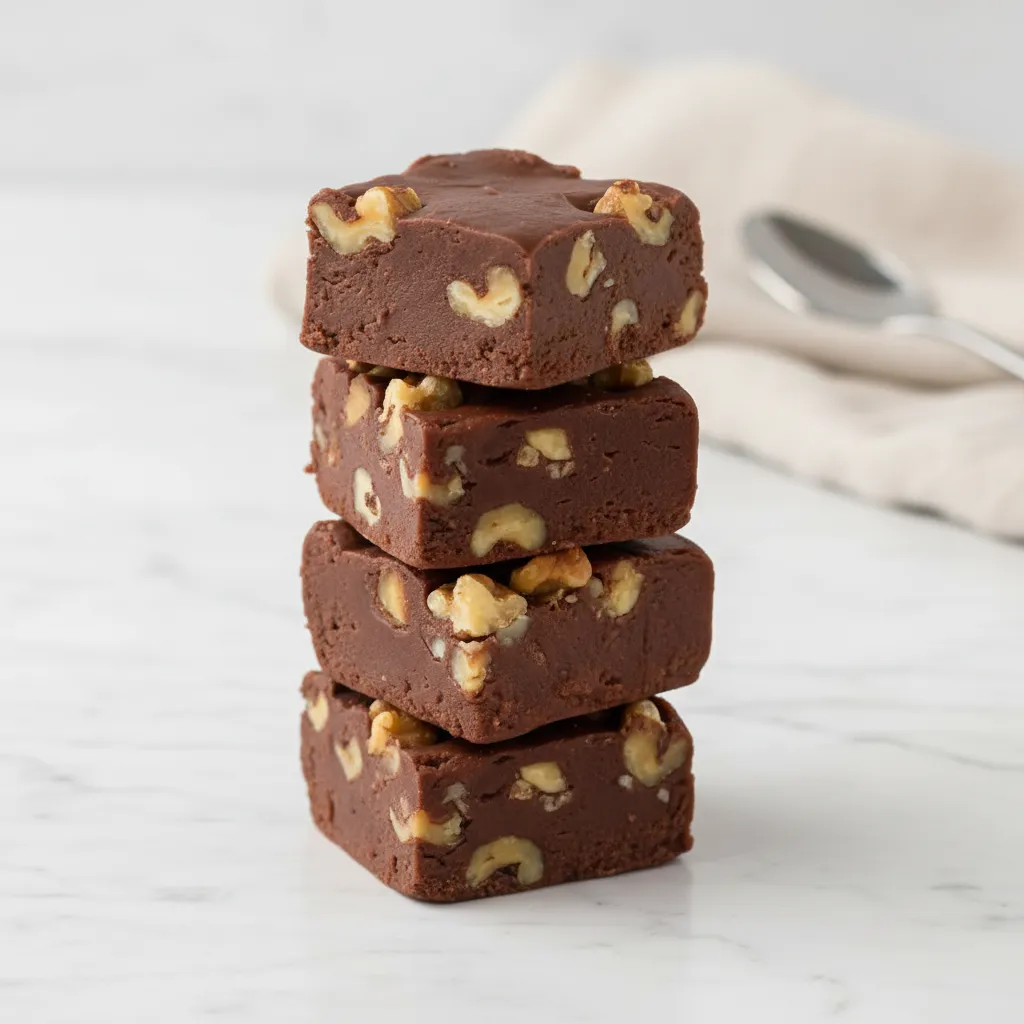
There is something special about the holidays that calls for a big batch of homemade sweets. For many of us, the smell of chocolate melting on the stove brings back wonderful memories of family gatherings. One recipe that stands out as a true classic is **fantasy fudge marshmallow cream**. It is that rich, melt in your mouth treat that everyone seems to wait for all year long.
You might remember this as the **Original Kraft Fantasy Fudge Recipe** from the back of the marshmallow cream jar years ago. It has a distinctive texture that is smoother and lighter than traditional fudge. The secret lies in the marshmallow cream. It ensures the fudge sets properly without needing a degree in candy making.
Making **fantasy fudge marshmallow cream** is surprisingly simple. You do not need expensive tools or hours of free time. Whether you prefer the traditional stovetop method or a quick microwave version, the result is always delicious. It is a fantastic option for gifting to neighbors or serving at your next party.
Jump To:
Why You’ll Love This Recipe
You are going to fall in love with this **fantasy fudge marshmallow cream** recipe for so many reasons. First off, it is incredibly forgiving. Traditional fudge can be temperamental. It often turns out grainy or fails to set if the weather is humid. This recipe uses marshmallow cream as a stabilizer. This guarantees a smooth and creamy texture every single time you make it.
Another reason this recipe is a keeper is its versatility. You can make it on the stove if you enjoy the process of stirring and watching the chocolate transform. If you are in a rush, the microwave method works just as well. It yields the same tasty results in a fraction of the time. This makes it a great option for busy parents or anyone needing a last minute dessert.
Finally, the flavor is simply nostalgic. It tastes just like the **Jet Puffed Fantasy Fudge** many of us grew up eating. The combination of semi sweet chocolate and salty butter creates a balanced sweetness that is hard to stop eating. It is not just a dessert. It is a little slice of holiday tradition that brings people together.
Ingredients
The beauty of this **fantasy fudge marshmallow cream** lies in its simple pantry staples. You likely have most of these items in your kitchen right now. Using fresh ingredients will ensure the best flavor for your **Original Fantasy Fudge Recipe**.
- 3 cups cane sugar
- 1/2 teaspoon sea salt
- 3/4 cup salted butter
- 2/3 cup evaporated milk
- 12 ounces semi sweet chocolate chips
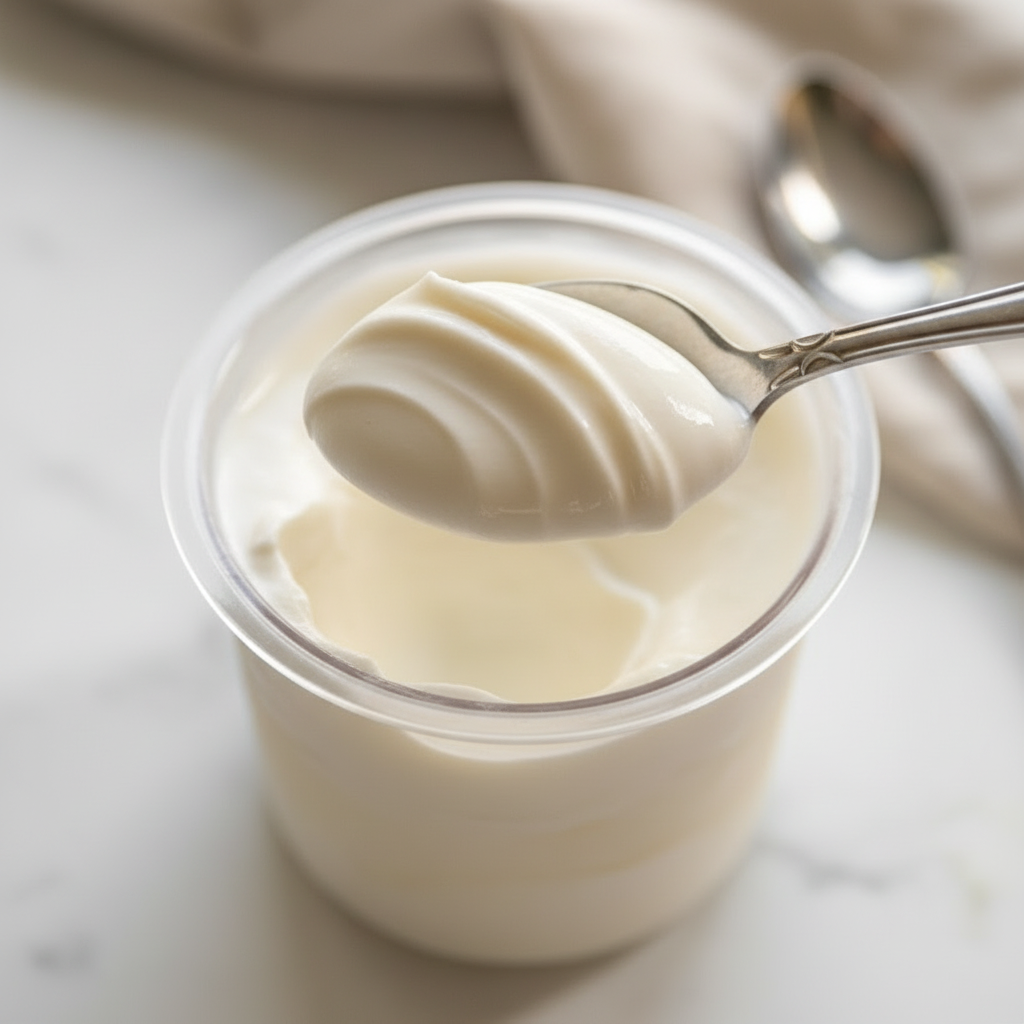
- 7 ounces marshmallow cream
- 1 teaspoon vanilla extract
- 1 cup chopped walnuts (optional)
Step-By-Step Instructions
Making this **fantasy fudge marshmallow cream** is a fun process. We have provided instructions for both the stovetop and the microwave. Choose the method that fits your style best. Before you begin, make sure to grease a 9×13 baking dish with nonstick cooking spray so your fudge comes out easily later.
Step 1: Prepare The Base Mixture
For the stovetop method, grab a 2 1/2 quart saucepan. Combine your sugar, salt, butter, and evaporated milk in the pan. Turn the heat to a setting between low and medium. You want to bring this mixture to a full rolling boil. A rolling boil means the bubbles do not stop when you stir it. Stir constantly during this part to ensure the sugar dissolves completely.
Step 2: Boil The Mixture
Once the pot reaches that full rolling boil, set a timer for exactly 5 minutes. Keep the heat at low to medium. You must continue stirring constantly with a rubber spatula. This is critical. If you stop stirring, the milk and sugar might scorch on the bottom of the pan. You want a smooth, caramel like liquid base for your **fantasy fudge marshmallow cream**.
Step 3: Add Chocolate And Aromatics
After 5 minutes, remove the pan from the heat immediately. Stir in the semi sweet chocolate chips. Keep stirring until every chip is melted and the mixture is dark and glossy. Now, add the marshmallow cream, vanilla extract, and walnuts if you are using them. Beat the mixture until it is well blended. The marshmallow cream should be fully incorporated with no white streaks remaining.
Step 4: Microwave Alternative Method
If you prefer the microwave, start by heating the butter in a large 4 quart microwave safe bowl on high for about 1 minute until melted. Add the sugar, salt, and evaporated milk. Mix it well. Heat on high for 3 minutes, give it a stir, and heat for another 2 minutes until it starts to boil.
Mix it again, scraping the bottom of the bowl. Microwave for 3 more minutes. Stir again. Microwave for a final 2 1/2 minutes. Let it sit for 2 minutes to settle. Finally, stir in the chocolate chips until melted, followed by the marshmallow cream, vanilla, and walnuts.
Step 5: Pour And Set
Pour your hot fudge mixture into the prepared 9×13 pan. Use your spatula to spread it out evenly into the corners. Let it cool at room temperature. It needs time to firm up properly. Once it is cool and set, cut it into small squares. You are now ready to serve your homemade **fantasy fudge marshmallow cream**.


How To Store Leftovers
Storing your **fantasy fudge marshmallow cream** correctly ensures it stays fresh and delicious for weeks. The high sugar content acts as a natural preservative, but air is the enemy. You want to keep moisture out so the texture remains creamy rather than drying out and becoming crumbly.
Place your cut fudge squares in an airtight container. You can separate layers with wax paper to prevent them from sticking together. While you can keep the fudge on the counter at room temperature, storing it in the fridge will extend its shelf life. It keeps the fudge firm and easy to handle.
If you made a massive batch of **Fantasy Fudge Jet Puffed** style treats for the holidays, you can also freeze it. Wrap the fudge block or individual pieces tightly in plastic wrap, then place them in a freezer safe bag. It can last in the freezer for up to three months. Just let it thaw in the fridge before serving.
Tips
Making candy can feel intimidating, but this **fantasy fudge marshmallow cream** is very beginner friendly. However, a few tips can ensure you get that **Original Kraft Fantasy Fudge Recipe** texture every time. The most important thing is to respect the boil time. That 5 minute boil drives off excess water and allows the sugar to reach the right stage for setting.
When you are boiling the sugar mixture, try to avoid scraping the sides of the saucepan too vigorously during the boiling phase. Sometimes, dried sugar crystals on the side of the pot can fall back into the mix and cause the final fudge to become grainy. Just keep the bottom moving so it does not burn.
Have all your ingredients measured and ready before you turn on the stove. This is called “mise en place.” Once the 5 minute timer goes off, you need to work quickly. The chocolate and marshmallow cream need to be mixed in while the sugar syrup is very hot. If you wait too long hunting for the vanilla, the mixture might cool down too much to blend smoothly.
If you want to switch things up, you can easily customize this **fantasy fudge marshmallow cream**. While walnuts are traditional, pecans are a wonderful substitute. You could also swirl in a little peanut butter right at the end for a different flavor profile. The base recipe is sturdy enough to handle small tweaks without failing.
Conclusion
There is a reason this **fantasy fudge marshmallow cream** has remained a favorite for decades. It delivers that rich, chocolatey satisfaction that store bought candy just cannot match. Whether you are making it for a holiday dessert table or just a Tuesday night treat, it is sure to bring smiles to everyone who tries it.
By following these simple steps, you are recreating a classic piece of culinary history. It is sweet, creamy, and undeniably comforting. So grab your wooden spoon and a jar of marshmallow cream. It is time to make some delicious memories in your kitchen with this easy and reliable recipe.
FAQ
Can I Use Marshmallow Fluff Instead Of Cream?
Yes, you can generally use marshmallow fluff in place of marshmallow cream for this **fantasy fudge marshmallow cream** recipe. They are very similar products. Just make sure the jar size matches the 7 ounces required in the ingredients list to maintain the right consistency.
Why Did My Fudge Turn Out Grainy?
Grainy fudge usually happens if the sugar did not dissolve completely or if it recrystallized. To avoid this, ensure you bring the mixture to a full rolling boil and stir constantly. Do not scrape the crusty sugar from the upper sides of the pot back into the boiling liquid.
Is This The Same As The Jet Puffed Fantasy Fudge?
Yes, this recipe is modeled closely after the famous **Jet Puffed Fantasy Fudge** recipe that appeared on marshmallow cream jars. It captures that authentic flavor and unique texture that fans of the original recipe love.
Can I Make This Without Nuts?
Absolutely. The walnuts are completely optional. If you have an allergy or just prefer smooth fudge, simply omit them. The **fantasy fudge marshmallow cream** will still set perfectly and taste delicious without the added crunch.
Can I Use Regular Milk Instead Of Evaporated Milk?
It is best to stick to evaporated milk. Evaporated milk has a lower water content than regular milk, which is crucial for the chemistry of candy making. Using regular milk might result in a fudge that is too soft or takes much longer to reach the proper setting point.
Creamy Chocolate Protein Ice Cream
A delicious, high-protein ice cream made quickly and easily in your Ninja Creami machine. This creamy treat is perfect for a satisfying snack or dessert.
Requirements


Ingredients
Instructions
- In a Ninja Creami pint, combine the protein shake, protein powder, cocoa powder, sweetener, and salt. Add optional guar gum or pudding mix for extra creaminess.
- Mix with a frother or whisk until the base is completely smooth with no clumps.
- Secure the lid and freeze on a level surface for at least 24 hours until solid.
- Place the frozen pint into the machine and process using the ‘Lite Ice Cream’ setting.
- If the texture is crumbly, add a tablespoon of milk or shake and use the ‘Re-Spin’ function.
- If desired, create a well in the center, add mix-ins, and use the ‘Mix-In’ function to combine. Enjoy immediately!
Notes
Taste the base before freezing and adjust sweetener if needed. Frozen desserts tastes less sweet, so aim for slightly sweeter than you prefer.
Do not fill the pint past the max fill line, as the mixture will expand during freezing and processing.
A full 24-hour freeze is essential for the best, creamiest texture. Rushing this step can result in an icy or soupy consistency.
Feel free to experiment with other flavors like vanilla protein with frozen berries or adding mint extract for a mint-chip version.
Nutrition
Calories
Sugar
Fat
Carbs