Have you ever wanted a big scoop of creamy, cold ice cream on a warm day, only to remember dairy isn’t your friend? I’ve been there so many times. Finding a good store bought option can be tricky. But what if I told you that you could make the most amazing frozen dessert right at home? That’s where this fantastic Dairy Free Ninja Creami Recipe comes in.
Honestly, getting a Ninja Creami has totally changed my dessert game. It turns simple frozen bases into something so smooth and wonderful. This Dairy Free Ninja Creami Recipe is my favorite. It’s so easy to put together, and the result is just pure happiness in a bowl. Get ready to fall in love with homemade ice cream all over again.
Jump To:
Why You’ll Love This Recipe
First off, this recipe is incredibly simple. You only need a handful of ingredients to create something truly special. There are no complicated steps or fancy techniques. It’s a straightforward way to get a delicious result. This is a great starting point if you are new to making your own treats.
The texture is another huge win. We are talking super creamy and smooth. It’s everything you want in a scoop of ice cream. Thanks to the full fat coconut milk, this Dairy Free Ice Cream Recipe has a rich and satisfying mouthfeel. You won’t miss the dairy one bit, I promise.
It is also totally customizable. Think of this as your base. You can add in so many different things. Chocolate chips, fruit swirls, or chopped nuts are all amazing options. It’s a blank canvas for all your creative dessert ideas. Everyone in the family can add their favorite toppings.
And of course, it’s completely dairy free. This is a wonderful treat for anyone with lactose intolerance or a dairy allergy. It is also vegan friendly. It’s so nice to have a go to Non Dairy Ice Cream Recipe that you know is safe and delicious. You can serve it with confidence to friends and family.
Plus, making your own ice cream is just plain fun. The Ninja Creami makes the process so exciting. Watching the machine work its magic is a treat in itself. This Dairy Free Ninja Creami Recipe makes dessert an activity, not just a food. It is a great way to get kids involved in the kitchen too.
Ingredients
Let’s talk about what you will need. The beauty of this Dairy Free Ninja Creami Recipe is its simplicity. Each ingredient plays a key role in creating that wonderful texture and flavor. We are using a few pantry staples to make something really special. You might already have everything you need.
- 14 ounces full fat coconut milk
- 1 cup oat milk
- ¼ cup agave syrup
- 2 teaspoons vanilla bean paste
Full fat coconut milk is the star here. It provides the creaminess that is often missing in a Dairy Free Ice Cream Recipe. The oat milk helps to balance the coconut flavor and adds a nice smoothness. Agave syrup gives it a gentle sweetness without being overpowering. And vanilla bean paste? It adds those beautiful little specks and a deep, rich vanilla flavor that extract just can’t match.
Step By Step Instructions
Alright, are you ready to make some ice cream? Following these steps will give you the best possible result. It’s a simple process. The hardest part is waiting for it to freeze. Let’s get started on your new favorite Dairy Free Ninja Creami Recipe.
Step 1: Combine Your Ingredients
First things first, grab a medium sized bowl. Pour in your full fat coconut milk, the oat milk, and the agave syrup. Add the vanilla bean paste last. Now, whisk everything together really well. You want the mixture to be completely smooth. This step is important for avoiding a grainy texture later on.
Make sure the coconut milk is well mixed. Sometimes the cream separates in the can. Just give it a good stir before you measure it out. A smooth base now means a smooth ice cream later. This is the foundation of our lovely Non Dairy Ice Cream Recipe.
Step 2: Pour and Freeze
Once your base is silky smooth, it’s time to pour it into your Ninja Creami pint container. Be careful not to fill it past the max fill line. The mixture will expand a little as it freezes. You want to leave room for that. Secure the lid on the pint tightly.
Now for the patient part. Place the pint on a level surface in your freezer. It needs to freeze for a full 24 hours. This ensures it’s frozen solid all the way through, which is what the Creami needs to work properly. Don’t be tempted to take it out early. A solid freeze is key for a great Dairy Free Ninja Creami Recipe.
Step 3: Spin It Up
After 24 hours, it’s time for the magic. Take the pint out of the freezer. Remove the lid and place the pint into the outer bowl of your Ninja Creami. Lock the lid with the paddle in place and secure it on the machine base. It’s all coming together now. This is the exciting part.
Select the Ice Cream setting on your machine and press the button. The machine will be loud, but that’s just the sound of it working its magic. Let it run through the full cycle. The blade will spin down, shave the frozen base, and turn it into a creamy dessert. I love watching this part.
Step 4: Check The Texture
Once the cycle is finished, remove the pint. Take a look at the texture. Sometimes, especially with a Dairy Free Ice Cream Recipe, the first spin can result in a crumbly or powdery texture. Don’t worry if this happens. It’s completely normal and very easy to fix. It just needs a little more moisture.
If it looks crumbly, add one or two tablespoons of your oat milk. Just pour it right on top. Then, put the pint back in the machine and use the Re Spin setting. This second spin almost always does the trick. It will transform the powdery mix into a smooth, scoopable ice cream. You will be so happy with this Dairy Free Ninja Creami Recipe.
Step 5: Enjoy Your Creation
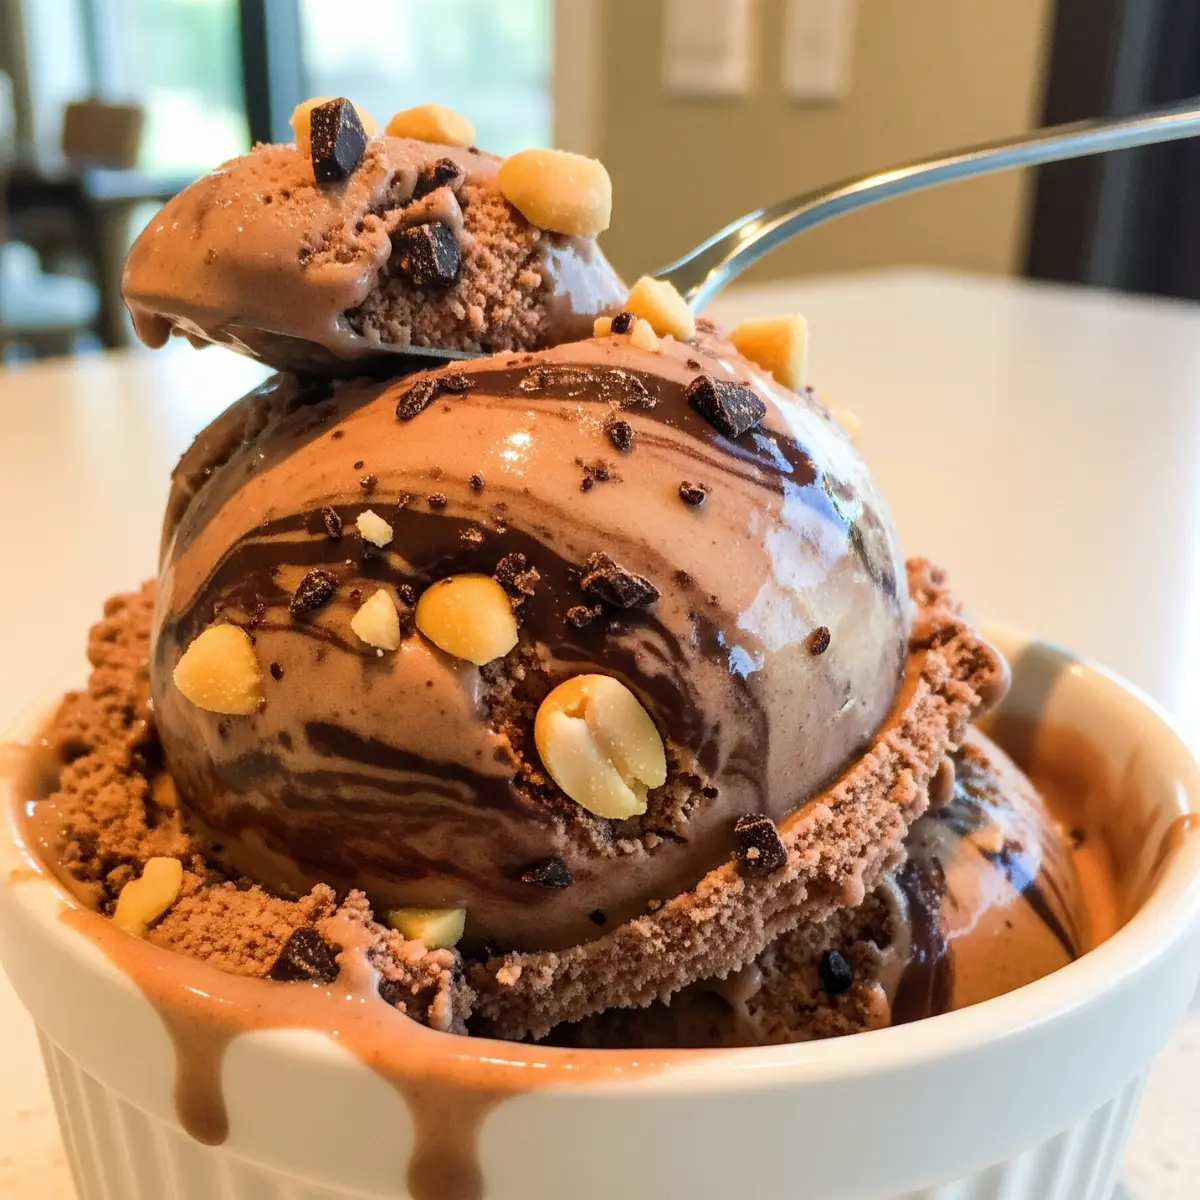
And just like that, you have made delicious homemade ice cream. Scoop it into bowls or cones. Now is the time to add your favorite toppings. Fresh berries, chocolate sauce, or some toasted nuts would be amazing. Enjoy it right away for the best texture. You successfully made a wonderful Dairy Free Ninja Creami Recipe!


How To Store Leftovers
If you somehow have leftovers, storing them is easy. Simply smooth the top of the ice cream in the pint container. A flat surface is best for when you want to spin it again later. Place the storage lid back on the pint and pop it back into the freezer. It is that simple.
Your homemade Dairy Free Ninja Creami Recipe will keep in the freezer for up to two weeks. However, the texture is always best when it’s fresh. When you’re ready for another scoop, you’ll likely need to process it again. Just take it out of the freezer and let it sit on the counter for about five to ten minutes to soften slightly.
Then, place it back in the machine and use the Ice Cream or Re Spin function. This will bring it back to that perfectly creamy, scoopable state. It will taste just as good as when you first made it. Storing this Non Dairy Ice Cream Recipe is super convenient.
Tips
Here are a few extra tips to make sure your Dairy Free Ninja Creami Recipe turns out amazing every single time. These little details can make a big difference in the final product. Little things can really help your process.
Always use full fat coconut milk from a can, not the kind in a carton. The high fat content is essential for a rich and creamy texture. It mimics the cream found in traditional dairy ice cream. Using a light version will result in a more icy, less satisfying final product. Trust me on this one.
Blending your base before freezing is a great idea. While whisking works well, using a blender for 30 seconds ensures everything is completely emulsified. This can help prevent any graininess and makes for an even smoother final texture. It’s an extra step but can be worth it.
If your frozen pint is extremely hard, let it sit on the counter for about five minutes before you put it in the Creami. This can help the machine process it a bit more easily. It reduces the strain on the motor and can lead to a better first spin result. This is a good habit for any Ninja Creami Almond Milk Ice Cream too.
Don’t overfill the pint container. It is very important. The max fill line is there for a reason. As the machine processes the base, the volume will increase. Overfilling can cause a mess and put extra stress on your machine. Better to be safe and stay below the line.
The re spin function is your best friend. Seriously. It is rare for a Dairy Free Ice Cream Recipe to be perfect on the first spin. The re spin with a splash of liquid is the key to getting that super creamy texture. Don’t be discouraged if you need to do it. It is just part of the process.
Conclusion
Making delicious homemade ice cream at home is so rewarding. This Dairy Free Ninja Creami Recipe proves that you don’t need dairy to enjoy a rich, creamy, and satisfying frozen treat. With just a few simple ingredients and a little bit of patience, you can create a dessert that everyone will love.
So go ahead and give this recipe a try. Get creative with your mix ins and toppings. I am sure that this simple Dairy Free Ninja Creami Recipe will become a staple in your dessert rotation. Happy ice cream making!
FAQ
Can I Use a Different Type of Milk?
Absolutely. While I love the creaminess of oat milk, you can certainly experiment. Almond milk is a popular choice, making a lovely Ninja Creami Almond Milk Ice Cream. You could also try soy milk or cashew milk. Just keep in mind that the flavor and texture might change slightly depending on the milk you use.
Why Is My Ice Cream Crumbly?
A crumbly texture is very common with non dairy bases. It usually just means the fat or sugar content is a bit low, which causes it to freeze harder and more icy. The fix is simple. Just add a tablespoon or two of liquid, like more oat milk, and use the Re Spin function. This will help it become smooth and creamy.
What Sweetener Can I Use Instead of Agave?
If you don’t have agave syrup, maple syrup is a great substitute. It will add a slightly different but delicious flavor. You could also try making a simple syrup with regular sugar and water. Liquid sweeteners tend to work best in this Dairy Free Ninja Creami Recipe as they mix in easily and help prevent an icy texture.
Do I Have to Use Full Fat Coconut Milk?
For the best, creamiest result, I highly recommend using full fat coconut milk. The fat content is crucial for creating a rich mouthfeel similar to traditional ice cream. Using light coconut milk will result in a more icy and less creamy dessert. It makes a huge difference in this Non Dairy Ice Cream Recipe.
How Long Does This Ice Cream Last in the Freezer?
You can store your homemade ice cream in the covered Ninja Creami pint in the freezer for up to two weeks. For the best texture, you will need to re process it in the machine before serving each time. This brings it back to its original creamy state. This Dairy Free Ninja Creami Recipe is great for making ahead.
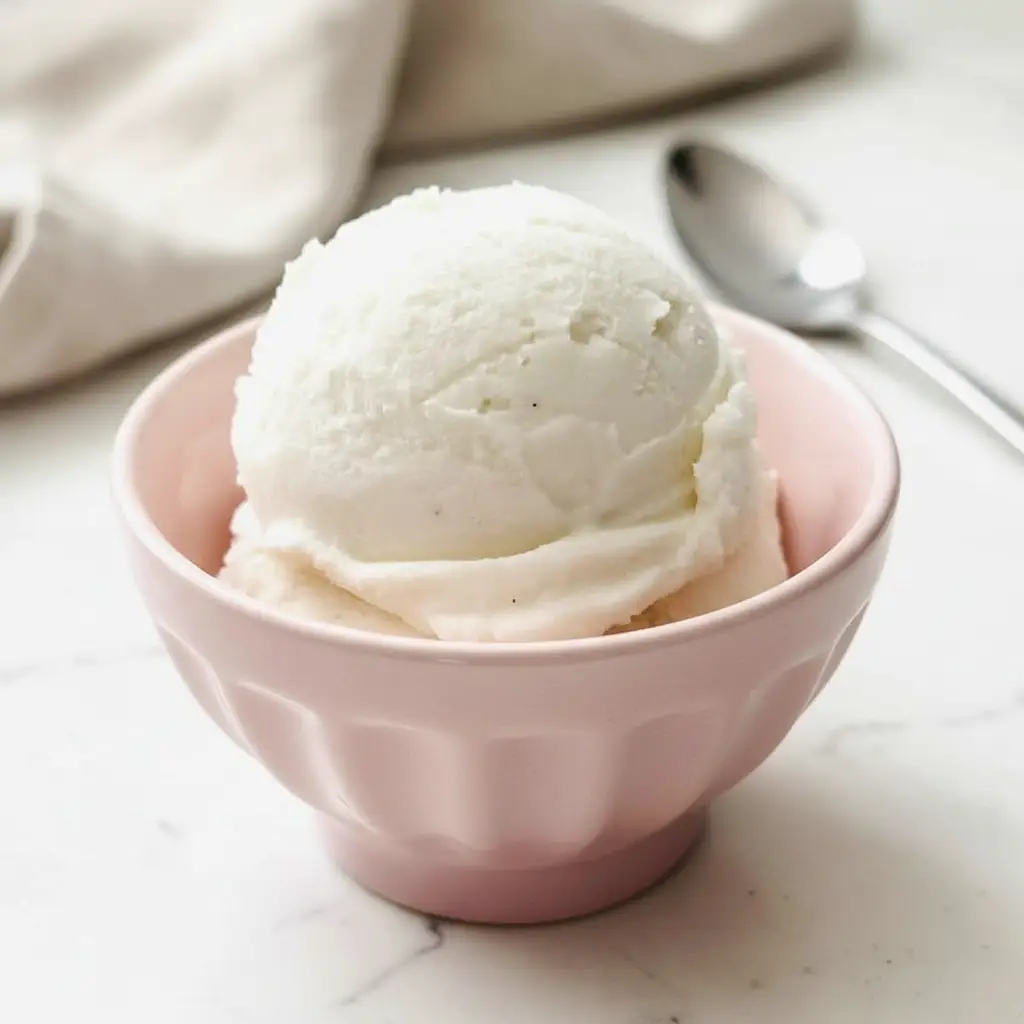
Easy Dairy-Free Ninja Creami Ice Cream
A simple and creamy homemade dairy-free ice cream recipe perfect for the Ninja Creami. Made with coconut milk and oat milk for a rich, smooth texture.
Ingredients
Instructions
- In a medium bowl, pour in the full fat coconut milk, oat milk, and agave syrup. Add the vanilla bean paste. Whisk everything together until the mixture is completely smooth.
- Pour the smooth base into your Ninja Creami pint container, making sure not to fill it past the max fill line. Secure the lid tightly.
- Place the pint on a level surface in your freezer and freeze for a full 24 hours until frozen solid.
- Remove the pint from the freezer, place it into the outer bowl of your Ninja Creami, and lock the lid with the paddle in place. Select the ‘Ice Cream’ setting and let it run through the full cycle.
- Check the texture. If it’s crumbly, add 1-2 tablespoons of oat milk, place it back in the machine, and use the ‘Re-Spin’ setting. This should result in a smooth, scoopable ice cream.
- Scoop into bowls and enjoy immediately. Add your favorite toppings like fresh berries, chocolate sauce, or nuts if desired.
Notes
Always use full-fat coconut milk from a can for the creamiest texture.
The ‘Re-Spin’ function is your friend! Don’t be afraid to use it with a splash of extra milk if the first spin is powdery.
For an even smoother base, you can blend the ingredients for 30 seconds before freezing.
Nutrition
Calories
Sugar
Fat
Carbs