Fall is in the air, and you know what that means. It is time for all things pumpkin! There is something so comforting about the warm spices and rich flavors that come with the season. I find myself wanting to bake something special as soon as the leaves start to turn.
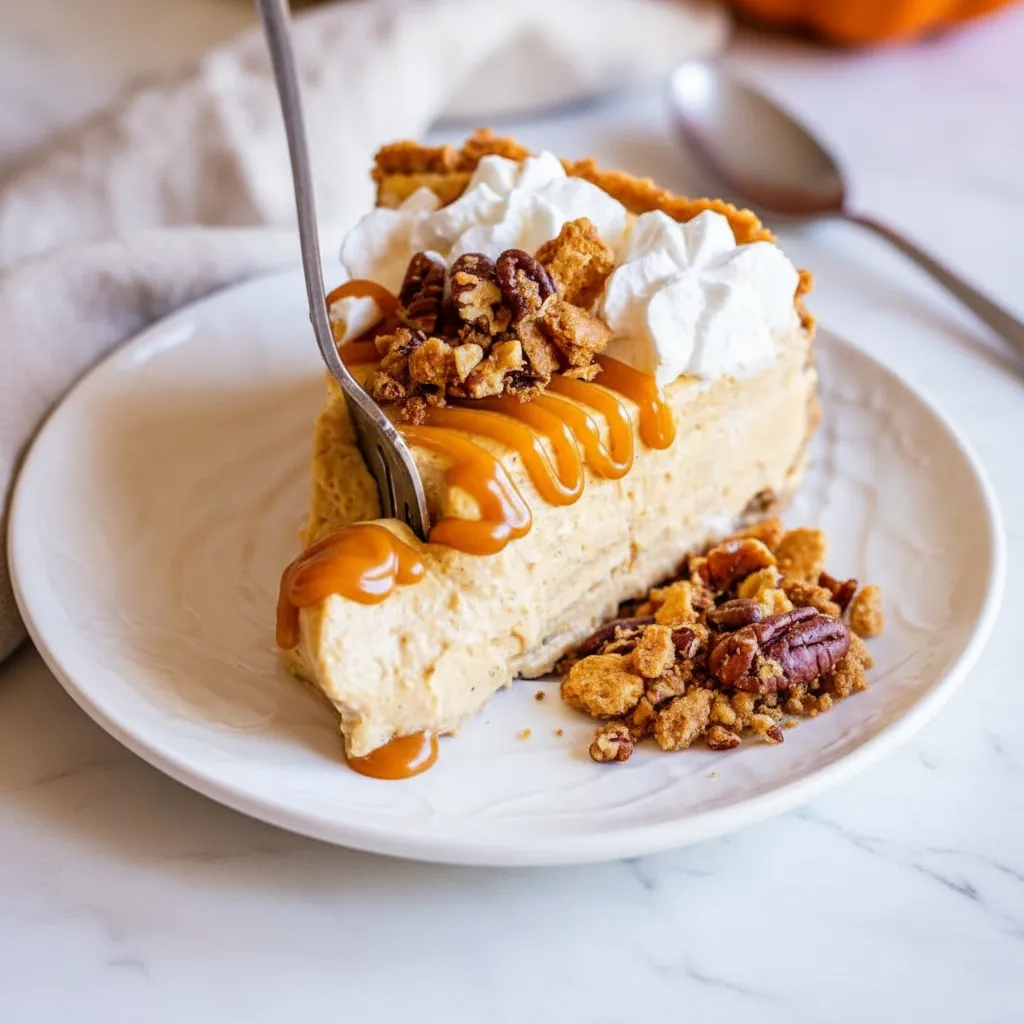
While a full cheesecake can feel a little intimidating, these Pumpkin Cheesecake Bars are a whole different story. They give you all that creamy, tangy, and sweet goodness in a simple, shareable format. This might just be the Best Pumpkin Cheesecake Recipe you will try!
Jump To:
Why You’ll Love This Recipe
Honestly, what is not to love about these amazing little squares? They are a fantastic addition to any fall gathering or holiday table. They are also just great for a cozy afternoon with a cup of coffee. You will be making these on repeat.
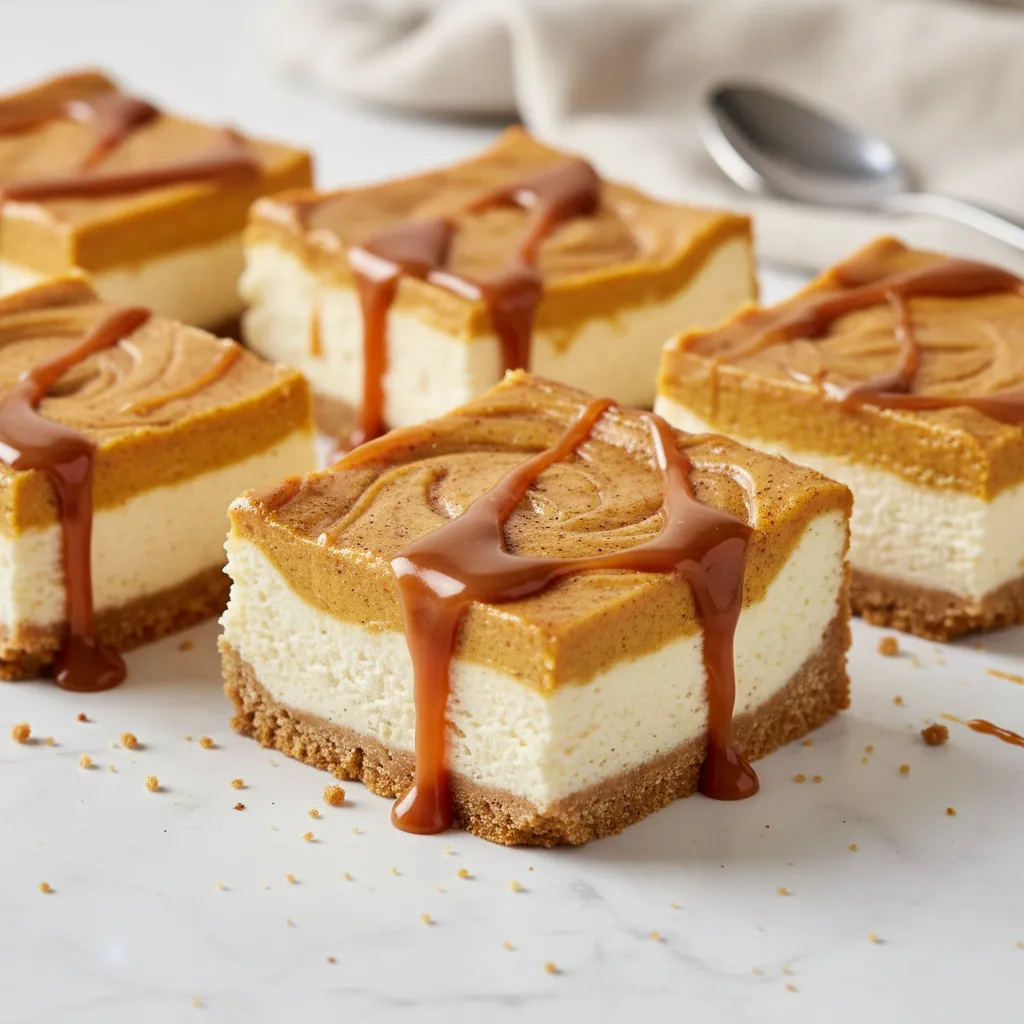
The texture is simply wonderful. You get three distinct layers of deliciousness. It all starts with a buttery, spiced graham cracker crust that offers a satisfying crunch. It is the perfect foundation for what comes next.
Then comes the cheesecake itself, which is actually two layers in one. The bottom layer is a smooth, classic vanilla cheesecake. It is rich and creamy, providing a beautiful contrast to the top layer. It is a lovely surprise.
The star of the show is, of course, the pumpkin cheesecake layer. It is packed with real pumpkin puree and warm spices. It is everything you love about fall flavors in a creamy, dreamy form. These are some of the tastiest Pumpkin Desserts With Cream Cheese around.
One of the best parts about this recipe is its simplicity. You get the full cheesecake experience without any complicated steps. There is no need for a water bath. The baking and cooling process is straightforward, making it very beginner friendly.
These Pumpkin Cheesecake Squares are also so convenient. They are much easier to serve to a crowd than a round cheesecake. Just slice them into squares and they are ready to go. They look so pretty on a dessert platter!
Ingredients
The ingredients for these Pumpkin Cheesecake Bars are pretty straightforward. You likely have most of them in your pantry and fridge already, especially during the fall baking season.
For The Crust
- 1 ½ cups graham cracker crumbs
- ¼ cup butter, melted
- 1 tablespoon brown sugar
- ½ teaspoon pumpkin pie spice
For The Cheesecake Filling
- 2 (8 oz) packages cream cheese, softened
- ¾ cup powdered sugar
- ½ cup sour cream or Greek yogurt
- 1 teaspoon vanilla extract
- 2 large eggs, room temperature
- ¾ cup pumpkin puree
- 1 teaspoon pumpkin pie spice
Step-By-Step Instructions
Let’s walk through how to make these incredible Pumpkin Cheesecake Bars together. Just follow these simple steps, and you will have a delicious dessert in no time. It is easier than you think!
Step 1: Make The Graham Cracker Crust
First things first, preheat your oven to 350°F. This is an important step to make sure everything bakes evenly. While it heats up, you can prepare your 8×8 baking pan. Greasing it or lining it with parchment paper will make your life so much easier later.
Now for the crust. In a bowl, combine your graham cracker crumbs, brown sugar, and that little bit of pumpkin pie spice. Pour in the melted butter and give it a good mix until it looks like wet sand.
Press this crumb mixture firmly into the bottom of your prepared pan. A little trick is to use the bottom of a flat glass or a measuring cup. This helps you pack it down tightly and create an even, solid base for your cheesecake filling.
Step 2: Prepare The Cheesecake Filling
Grab a large bowl and your softened cream cheese. Using a hand mixer on low speed, beat the cream cheese until it is smooth and creamy. Starting with softened cream cheese is so important for avoiding lumps.
Add the powdered sugar and sour cream to the bowl. Mix on medium speed until everything is well combined and silky smooth. Remember to scrape down the sides of the bowl with a spatula a few times. This ensures every last bit gets mixed in properly.
Next, add the eggs one at a time. Mix on low speed just until each egg is incorporated before adding the next one. This helps keep the filling light. Finally, add the vanilla extract and give it one last mix until it is smooth.
Step 3: Layer The Bars
Here is where the magic happens. You are going to create those beautiful layers. Pour about two cups of the plain cheesecake batter over your prepared graham cracker crust. Use a spatula to gently spread it into an even layer.
Now, to the remaining batter in your bowl, add the pumpkin puree and pumpkin pie spice. Mix with your electric mixer until it is well combined and has a beautiful orange hue. The smell alone is just fantastic!
Carefully pour this pumpkin mixture over the vanilla cheesecake layer. Use the back of your spatula to smooth it out gently. You now have your lovely layered Pumpkin Cheesecake Bars ready for the oven.
Step 4: Bake And Cool
Place your baking pan in the preheated oven and bake for 35 to 40 minutes. You will know it is done when the edges are set but the center still has a slight jiggle. Do not worry, that little wobble is exactly what you want.
Once the baking time is up, turn off the oven. Prop the oven door open just a little bit with a wooden spoon and let the cheesecake sit in there for one hour. This gradual cooling process is the key to preventing cracks from forming on the surface.
After an hour, remove the cheesecake from the oven and place it on a wire rack to cool completely for another hour. Then, cover it and move it to the refrigerator to chill for at least three to four hours, or even overnight. This chilling time is essential for the cheesecake to set up properly.
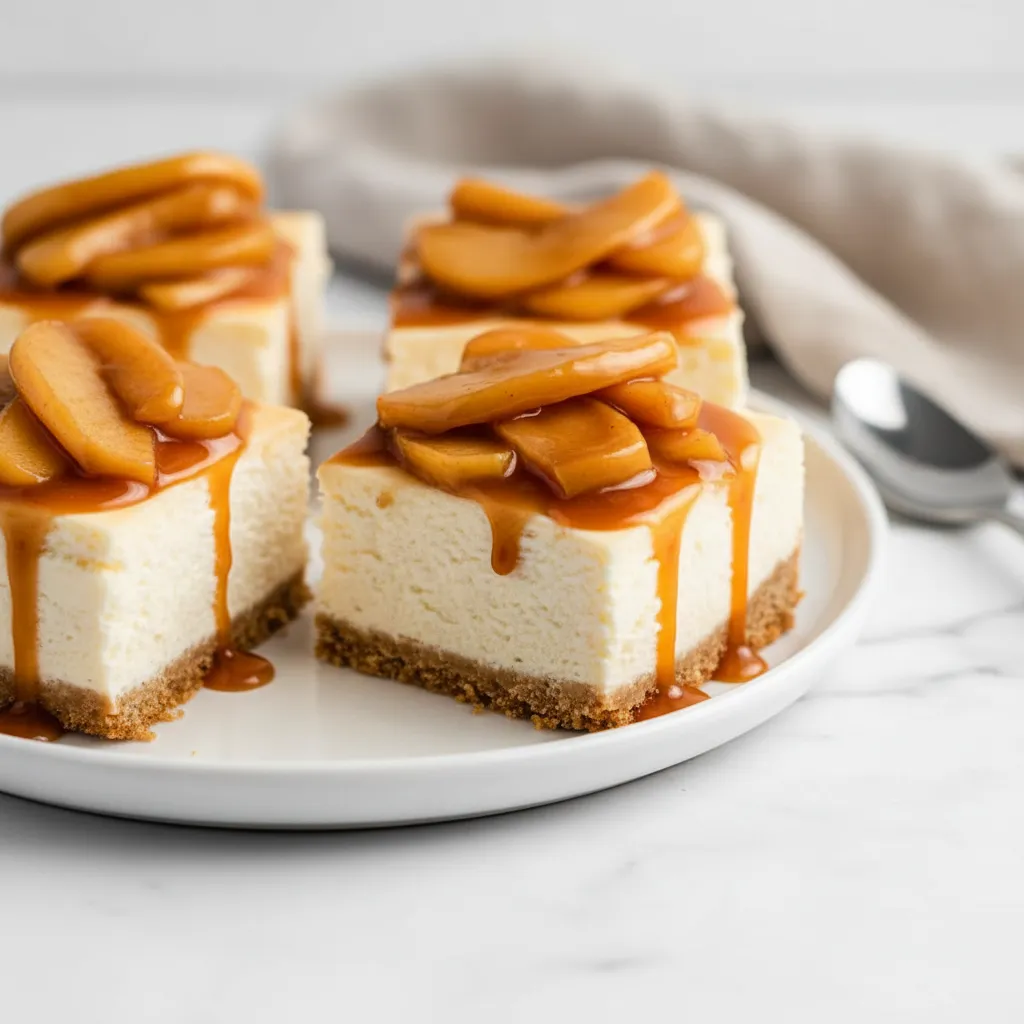
When it is thoroughly chilled, you can finally cut it into Pumpkin Cheesecake Squares. Serve with a little drizzle of caramel sauce or a dollop of whipped cream. Enjoy every single bite!


How To Store Leftovers
If you happen to have any leftovers, storing them is simple. You will want to keep these Pumpkin Cheesecake Bars in the refrigerator. Place them in an airtight container to keep them fresh and prevent them from absorbing any other fridge odors.
They will stay delicious in the fridge for up to five days. Honestly, they might taste even better on the second day after the flavors have had more time to meld together. It is a win win situation.
These bars also freeze beautifully. To freeze them, you can either wrap the entire uncut block in plastic wrap and then foil, or you can cut them into individual squares first. For squares, place them on a baking sheet to flash freeze for an hour, then wrap each one individually.
Properly wrapped, they can be stored in the freezer for up to three months. When you are ready for a treat, just thaw them in the refrigerator overnight. They are one of the best Pumpkin Desserts With Cream Cheese to have on hand.
Tips
Want to make the Best Pumpkin Cheesecake Recipe possible? Here are a few little tips to help you along the way. These small details can make a big difference in the final result.
First, room temperature ingredients are your best friend. Make sure your cream cheese and eggs have been sitting out for a bit before you start. This helps everything mix together smoothly and prevents a lumpy batter. It is a simple but very effective step.
Be careful not to overmix the batter, especially after you add the eggs. Overmixing incorporates too much air, which can cause the cheesecake to puff up in the oven and then crack as it cools. Mix just until everything is combined.
Patience is truly key when it comes to cheesecake. Rushing the cooling and chilling process is a common mistake. Letting the Pumpkin Cheesecake Bars cool gradually and chill thoroughly is what gives them that dense, creamy texture we all love.
Feel free to get creative with your bars. You could use gingersnap cookies for the crust for an extra spicy kick. A chocolate cookie crust would also be amazing. For toppings, try toasted pecans or a sprinkle of cinnamon.
To get those super clean, sharp cuts for your Pumpkin Cheesecake Squares, use a large, sharp knife. Run the knife under hot water and wipe it dry between each cut. This little bit of effort makes them look so professional and pretty.
Conclusion
And there you have it! A simple yet incredibly delicious recipe for Pumpkin Cheesecake Bars. They are the perfect way to celebrate the flavors of fall. The combination of the spiced crust, creamy cheesecake, and rich pumpkin layer is truly something special.
Whether you are an experienced baker or just starting out, this recipe is for you. It is a fantastic way to enjoy a homemade dessert that is sure to impress your friends and family. I hope you love making and eating these as much as I do!
FAQ
Can I Make This Ahead Of Time?
Absolutely! In fact, these Pumpkin Cheesecake Bars are an ideal make ahead dessert. They need at least three to four hours to chill, but chilling them overnight is even better. This gives them time to set completely and allows the flavors to deepen.
What Is The Difference Between Pumpkin Puree And Pumpkin Pie Filling?
This is a great question. Make sure you use 100% pure pumpkin puree for this recipe, not pumpkin pie filling. Pumpkin puree is just cooked and mashed pumpkin. Pumpkin pie filling is already sweetened and has spices added to it, which would throw off the balance of our recipe.
Why Did My Cheesecake Crack?
Cracks can happen for a few reasons. The most common culprits are overmixing the batter, overbaking, or cooling the cheesecake too quickly. Following the instructions to mix gently, bake until the center is just jiggly, and cool slowly in the oven should help you avoid cracks.
Can I Use A Different Size Pan?
You can, but you will need to adjust the baking time. A 9×9 pan will result in slightly thinner bars and may need less baking time. A 9×13 pan would create very thin bars, so you might consider doubling the recipe. Always watch for the visual cue of set edges and a jiggly center.
Are These Pumpkin Desserts With Cream Cheese Good For Freezing?
Yes, they are fantastic for freezing! This makes them a great option for getting ahead on holiday baking. Follow the storage instructions mentioned earlier for the best results. They will taste just as good after being frozen and thawed properly.
Pumpkin Cheesecake Bars
Enjoy the warm spices and rich flavors of fall with these simple Pumpkin Cheesecake Bars. Featuring a buttery graham cracker crust and two creamy cheesecake layers, this is a comforting dessert for any autumn gathering.
Requirements


Ingredients
For The Crust
For The Cheesecake Filling
Instructions
- Preheat oven to 350°F. Line an 8×8 baking pan with parchment paper to make lifting the bars out easier.
- For the crust, combine graham cracker crumbs, brown sugar, and ½ tsp pumpkin pie spice in a bowl. Pour in the melted butter and mix until it resembles wet sand. Press the mixture firmly into the bottom of the prepared pan.
- In a large bowl, beat the softened cream cheese with a hand mixer until smooth. Add the powdered sugar and sour cream, mixing on medium speed until well combined. Beat in the eggs one at a time on low speed, then mix in the vanilla extract until just combined.
- Pour about 2 cups of the cheesecake batter over the crust and spread it into an even layer. To the remaining batter in the bowl, add the pumpkin puree and 1 tsp pumpkin pie spice. Mix until well combined.
- Carefully pour the pumpkin mixture over the vanilla cheesecake layer and use a spatula to smooth the top gently.
- Bake for 35-40 minutes, or until the edges are set and the center still has a slight jiggle. Turn off the oven, prop the door open slightly with a wooden spoon, and let the cheesecake cool in the oven for 1 hour to prevent cracking.
- Remove from the oven and let it cool completely on a wire rack for another hour. Then, cover it and refrigerate for at least 3-4 hours, or overnight, to set completely before slicing and serving.
Notes
Ensure your cream cheese and eggs are at room temperature. This is crucial for a smooth, lump-free cheesecake batter.
Be careful not to overmix the batter once the eggs are added. Overmixing can incorporate too much air, leading to cracks as the cheesecake cools.
Patience during the cooling process is key. The gradual cooling in the oven and thorough chilling time are essential for the classic dense, creamy texture.
For clean cuts, use a large, sharp knife. Run the knife under hot water and wipe it dry between each cut for professional-looking squares.
Nutrition
Calories
Sugar
Fat
Carbs