The holiday season is all about warmth, joy, and of course, delicious food shared with people you love. When you are planning a gathering, the pressure to make amazing food can feel like a lot. You want something that looks festive and tastes incredible, but who has time for complicated recipes?
That’s where these white chocolate peppermint cookies come in. They are the answer to your search for perfect Christmas Party Desserts. They are simple, full of classic holiday flavor, and look absolutely beautiful on a dessert platter. Let’s get baking!
Jump To:
Why You’ll Love This Recipe
Honestly, what’s not to love? These cookies have that wonderful soft and chewy texture that everyone adores. No hard, crunchy cookies here. Just pure, buttery goodness in every single bite.
The flavor combination is a holiday classic. Creamy white chocolate paired with the cool, bright taste of peppermint is just so festive. It’s like a Christmas carol in cookie form. They are delightful Holiday Treats.
Plus, this recipe is so straightforward. You do not need any special equipment or skills. If you can mix ingredients in a bowl, you can make these cookies. It’s a great recipe for beginners and seasoned bakers alike.
They are also fantastic Christmas Desserts For A Crowd. The recipe makes a generous batch, and you can easily double it if you are feeding a big group. They will disappear from the cookie tray in no time.
Ingredients
Here is what you will need to gather for these festive cookies. Using good quality ingredients really makes a difference, especially with the white chocolate!
- 1 cup unsalted butter, softened
- 1 cup granulated sugar
- 1 teaspoon vanilla extract
- 1 large egg, at room temperature
- 2 1/2 cups all purpose flour
- 1/2 teaspoon baking powder
- 1/2 teaspoon salt
- 1/2 cup white chocolate chips
- 1/2 cup crushed candy canes
- Extra candy cane pieces and white chocolate chips for topping (optional)
Step By Step Instructions
Step 1: Get Ready To Bake
First things first, let’s get your oven ready. Crank it up to 350 degrees F and let it preheat. While that is happening, line a large baking sheet with parchment paper. Trust me on this one. Candy canes can get sticky when they melt, and parchment paper is your best friend for easy cleanup.
Step 2: Cream The Butter And Sugar
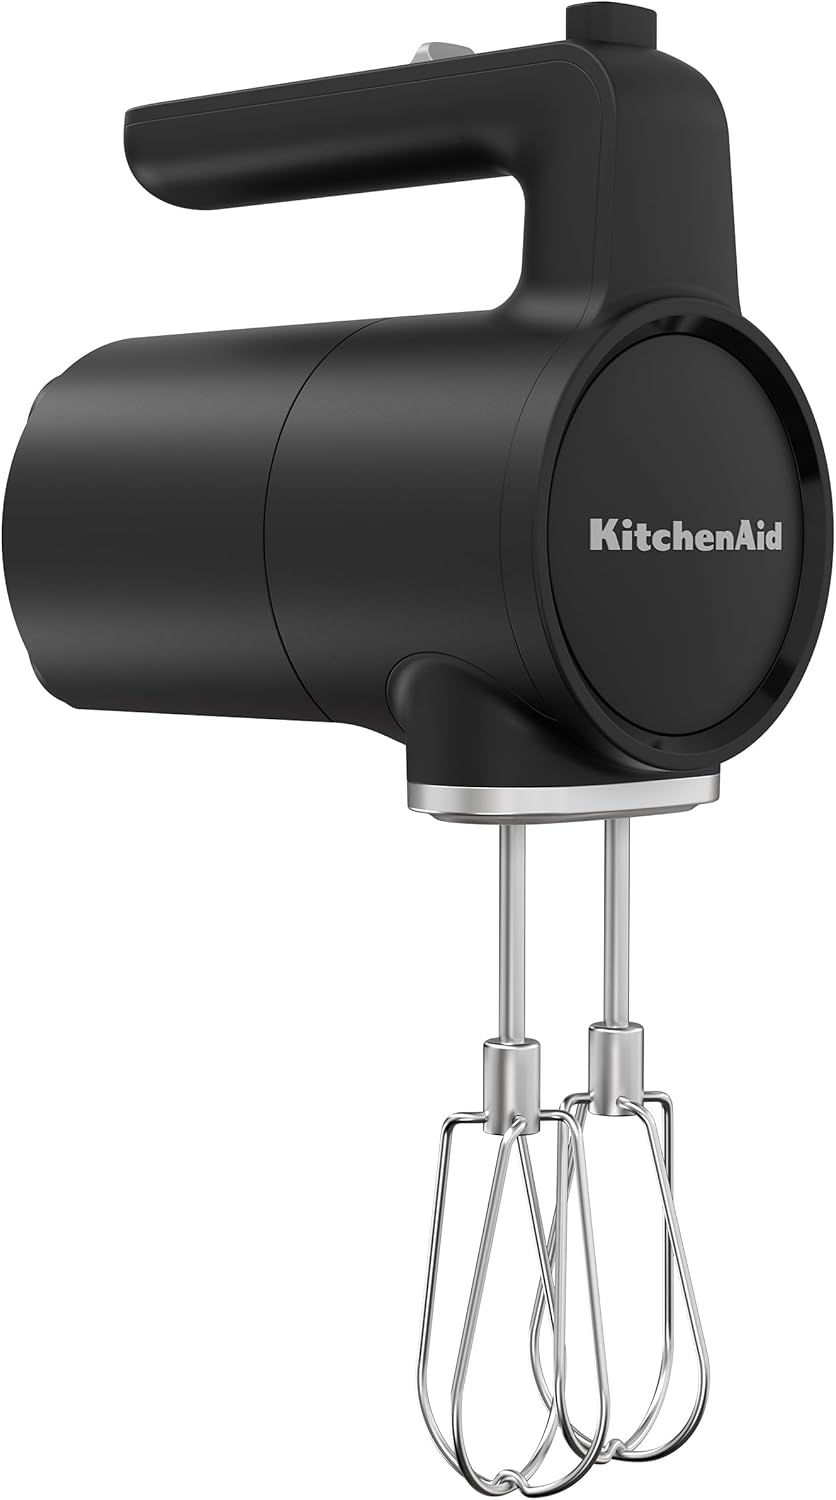
In a large mixing bowl, combine your softened butter and granulated sugar. Using an electric mixer, beat them together until the mixture is light and fluffy. This should take about three to four minutes.
This step is so important for getting that soft cookie texture. You are essentially whipping air into the mixture, which creates a tender crumb. A key step for great Christmas Party Desserts.
Step 3: Add The Wet Ingredients
Now, add your vanilla extract and the egg to the butter mixture. Mix everything together until it is smooth and well combined. The mixture should look creamy and uniform before you move on to the next step.
Step 4: Combine The Dry Ingredients
Grab a separate bowl for your dry ingredients. Add the flour, baking powder, and salt. Whisk them together until they are evenly distributed. It might seem like an unnecessary step, but it prevents you from getting little clumps of baking powder in your finished cookies.
Step 5: Mix It All Together
Time to bring it all together! Gradually add your dry ingredients to the wet mixture. Mix on a low speed just until you no longer see streaks of flour. Be careful not to overmix here. Overmixing develops too much gluten, which can make your cookies tough.
Step 6: Fold In The Good Stuff
Now for the fun part. Gently fold in your white chocolate chips and crushed candy canes using a spatula. Try to distribute them as evenly as possible throughout the dough. You want every cookie to have plenty of festive flavor. These make for such happy Holiday Party Desserts.
Step 7: Scoop And Bake
Using a cookie scoop or two spoons, drop rounded spoonfuls of dough onto your prepared baking sheet. Make sure to space them about two inches apart, as they will spread a little. If you saved some extra candy cane pieces and chocolate chips, now is the time to press them into the tops for that bakery style look.
Bake for 10 to 12 minutes. You want the edges to be lightly golden, but the centers should still look slightly soft. They will continue to bake and set on the hot pan after you take them out. This is the secret to chewy cookies!
Step 8: Cool And Enjoy
Let the cookies cool on the baking sheet for about five minutes. This part requires patience, I know! Then, carefully transfer them to a wire rack to cool completely. The candy canes need time to set, so do not rush this. These Xmas Desserts are worth the wait.
Enjoy these beauties with a glass of milk or a mug of hot cocoa. They are absolutely wonderful when they are still a little warm and the white chocolate is melty. A perfect addition to your list of Christmas Party Desserts.
How To Store Leftovers
If you somehow have any leftovers, storing them is easy. Once the cookies are completely cool, place them in an airtight container. They will stay fresh at room temperature for up to five days. Putting a slice of bread in the container can help keep them soft.
You can also freeze the baked cookies. Place them in a single layer on a baking sheet and freeze until solid. Then, transfer them to a freezer safe bag or container. They will keep for up to three months. Just let them thaw at room temperature before serving.
Tips
For the best texture, make sure your butter is properly softened. It should be soft enough that your finger leaves an indent, but it should not be greasy or melted. Just leave it on the counter for about an hour before you start.
Every oven is a little different. The first time you make these, check them a minute early. It is better to have a slightly underbaked cookie than a burned one. You will get to know your oven’s personality.
When crushing your candy canes, aim for pieces about the size of a pea. If the pieces are too small, they will dissolve into the dough. If they are too big, they can get overly sticky or hard when baked.
If your cookie dough feels too soft to scoop, do not worry. Just pop it in the refrigerator for 20 to 30 minutes. Chilled dough spreads less, resulting in thicker, chewier cookies. This is a great trick for amazing Holiday Treats.
Conclusion
There you have it! A simple and delicious recipe for white chocolate peppermint cookies. They are the perfect addition to any holiday celebration. Making homemade Christmas Desserts For A Crowd does not have to be stressful.
These cookies bring so much festive cheer with their bright peppermint flavor and creamy white chocolate. I hope you enjoy making and sharing these wonderful Christmas Party Desserts. Happy holidays and happy baking!
FAQ
Can I Make The Dough Ahead Of Time?
Absolutely! You can prepare the cookie dough and chill it in the refrigerator for up to three days. Just make sure it is wrapped well. You can also freeze the dough for up to three months. Just roll it into a log or scoop it into balls before freezing.
What If My Candy Canes Melt Too Much?
Sometimes candy canes can melt and create sticky spots. Using slightly larger candy cane pieces can help. Also, make sure not to overbake the cookies. Pressing extra pieces on top right before baking gives them a nice look even if some of the ones inside melt a lot.
Can I Use Different Types Of Chocolate?
Of course! While white chocolate is classic with peppermint, feel free to experiment. Semisweet or dark chocolate chips would also be delicious. It would create a flavor similar to a peppermint mocha for your Holiday Party Desserts. Have fun with it!
White Chocolate Peppermint Cookies
These white chocolate peppermint cookies are a delightful answer for your Christmas party dessert needs. Simple to make, packed with classic holiday flavors, and beautiful on any platter, they offer pure, buttery goodness in every soft and chewy bite.
Requirements
Ingredients
Instructions
- Preheat oven to 350 degrees F. Line a large baking sheet with parchment paper.
- In a large mixing bowl, combine softened butter and granulated sugar. Beat with an electric mixer until light and fluffy (3-4 minutes).
- Add vanilla extract and egg to the butter mixture. Mix until smooth and well combined.
- In a separate bowl, whisk together flour, baking powder, and salt until evenly distributed.
- Gradually add dry ingredients to the wet mixture. Mix on low speed just until no streaks of flour remain, being careful not to overmix.
- Gently fold in white chocolate chips and crushed candy canes using a spatula, distributing evenly.
- Drop rounded spoonfuls of dough onto the prepared baking sheet, spacing two inches apart. Press extra candy cane pieces and chocolate chips onto the tops if desired. Bake for 10 to 12 minutes, until edges are lightly golden and centers are slightly soft.
- Let cookies cool on the baking sheet for about five minutes. Transfer to a wire rack to cool completely. Serve with milk or hot cocoa.
Notes
Store cooled cookies in an airtight container at room temperature for up to five days. Adding a slice of bread can help keep them soft.
Baked cookies can be frozen in a freezer-safe bag for up to three months; thaw at room temperature before serving.
Ensure butter is properly softened (finger leaves an indent, not greasy/melted).
Monitor baking time as ovens vary; aim for slightly underbaked centers for chewy cookies.
Crush candy canes to pea-size pieces to prevent dissolving or excessive stickiness.
If dough is too soft, chill in the refrigerator for 20-30 minutes for thicker cookies.
Nutrition
Calories
Sugar
Fat
Carbs


