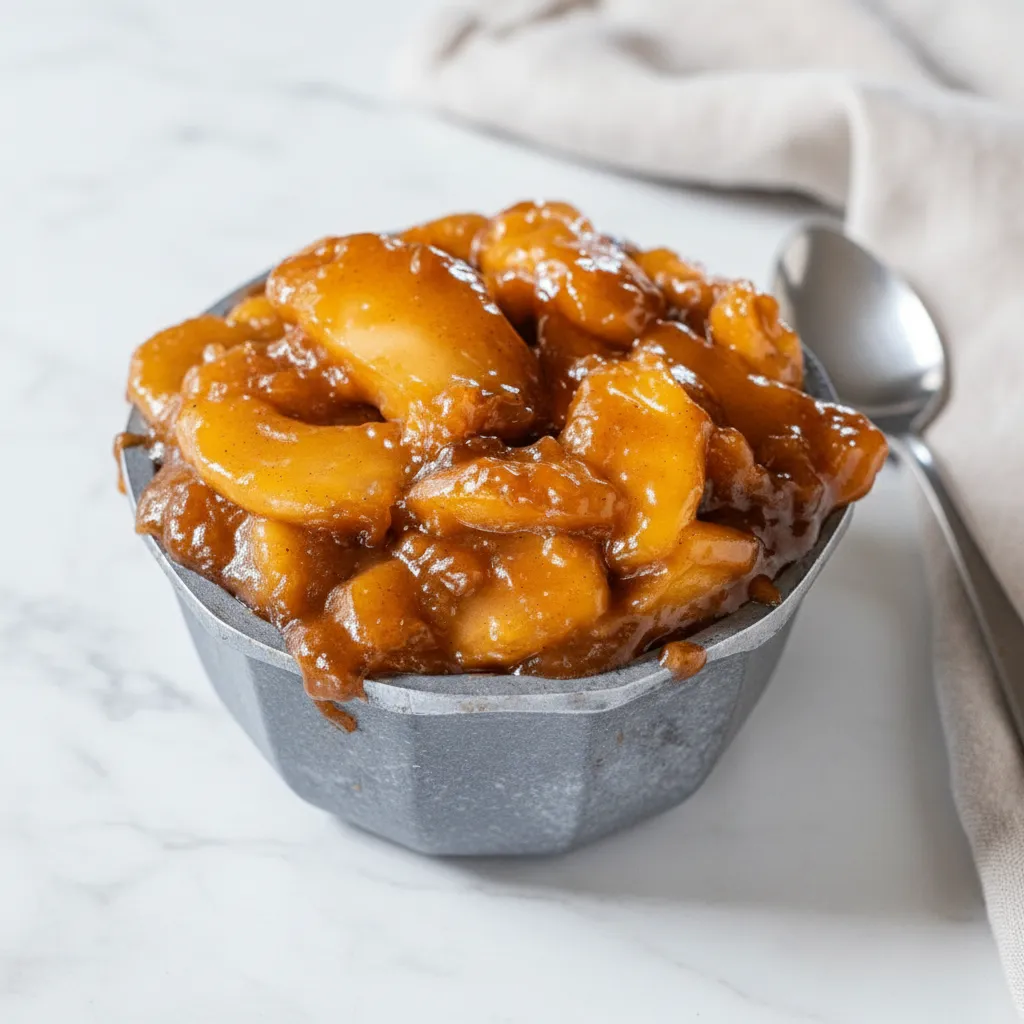
There is nothing quite like the smell of warm apples and cinnamon filling the kitchen. It instantly makes a house feel like a home. We all love the taste of a classic pie. However, baking a whole pie from scratch can take hours. Sometimes you just want that sweet and gooey goodness without all the work. That is where this easy Apple Pie Filling comes in to save the day.
You can make this entire recipe right on your stovetop. You do not need to turn on the oven at all. It comes together in about ten minutes. The result is a rich and flavorful sauce that coats tender apple slices perfectly. It tastes way better than anything you can get from a can. Plus, you know exactly what ingredients are going into it.
This recipe is incredibly versatile too. You can use it to make a quick pie if you have a crust ready. But honestly? It is just as good spooned over vanilla ice cream or stirred into your morning oatmeal. If you are looking for the Best Apple Pie Recipe Homemade style flavor without the fuss, you are in the right place. Let’s get cooking.
Jump To:
Why You’ll Love This Recipe
You know what? This might just become your new favorite dessert hack. The biggest reason to love this recipe is the speed. Most fruit desserts take a long time to bake. This one is ready before you could even preheat an oven. It is perfect for those busy weeknights when you need a sweet treat fast.
Another huge plus is the flavor control. Store bought fillings are often way too sweet. They can taste artificial or have a strange texture. When you make Apple Pie Filling at home, you control the sugar. You can adjust the spices to your liking. It tastes fresh, bright, and comforting all at once.
This recipe is also budget friendly. Apples are generally affordable year round. You likely have the other ingredients like sugar, butter, and cornstarch in your pantry right now. You do not need any fancy equipment either. A simple saucepan and a knife are all you need to create magic.
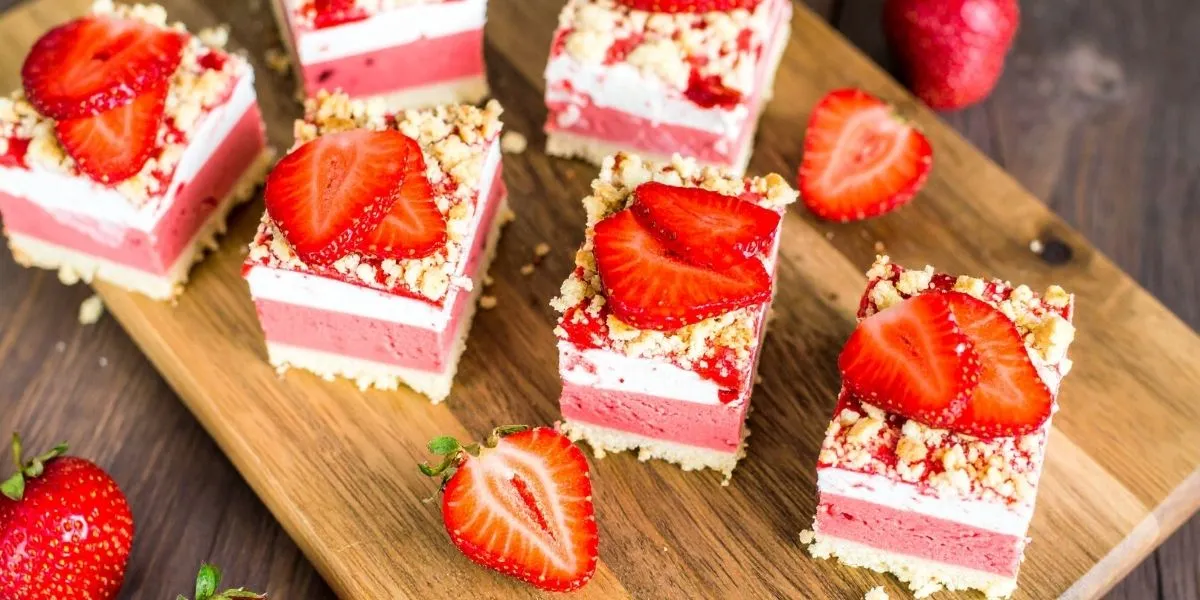
Finally, think about the versatility. Sure, it is great for pie. But it opens the door to so many other Apple Pie Desserts. You can make crumbles, tarts, or turnovers in minutes. You can top waffles or pancakes for a decadent breakfast. The options are truly endless once you have this basic recipe down.
Ingredients
The beauty of this recipe lies in its simplicity. You only need a handful of common items to make something spectacular. Here is what you need to gather before you start.
- 6 cups apples (Granny Smith and Honeycrisp recommended)
- 1/4 cup apple juice
- 1/4 cup butter
- 1 cup brown sugar
- 1 tablespoon cinnamon
- 3 tablespoons cornstarch
Let me explain the apple choice briefly. Using a mix of Granny Smith and Honeycrisp is a pro move. Granny Smith apples are tart and firm. They hold their shape well during cooking. Honeycrisp apples add natural sweetness and a nice crunch. Combining them gives you the perfect balance of texture and flavor.
The brown sugar is also key here. It contains molasses, which adds a deep and caramel like flavor that white sugar just cannot match. It pairs beautifully with the butter to create a rich sauce. The apple juice helps steam the apples initially so they get tender without burning.
Step By Step Instructions
Making this Apple Pie Filling is incredibly straightforward. You do not need to be a pastry chef to get this right. Just follow these simple steps and you will have a delicious dessert in no time.
Step 1: Prepare The Apples
Start by washing your apples thoroughly. Then, peel the skin off. Some people like leaving the skin on for a rustic look, but for a classic filling texture, peeling is best. Core the apples to remove the seeds and tough center. Slice the apples into pieces that are between 1/4 inch and 1/2 inch thick. Try to keep the slices consistent so they cook evenly.
Step 2: Cook The Apples
Grab a 2 quart saucepan. Place it on your stove. Add the sliced apples and the 1/4 cup of apple juice to the pan. Turn the heat to medium high. You want the liquid to start bubbling. Cook the apples for about 6 minutes. Stir them occasionally to ensure they do not stick to the bottom. You want them to start softening but not turn into applesauce.
Step 3: Add The Butter
Once the apples have cooked for about 6 minutes, they should be slightly tender. Now, add the 1/4 cup of butter directly into the pan with the hot apples. Let the butter melt completely. Stir it gently to coat the apple slices. The butter adds a lovely richness to the sauce.
Step 4: Mix Dry Ingredients
While the butter is melting, grab a small bowl. Whisk together the 1 cup of brown sugar, 1 tablespoon of cinnamon, and 3 tablespoons of cornstarch. Mixing these dry ingredients separately is a crucial step. It prevents the cornstarch from clumping up when you add it to the hot liquid. You want a smooth sauce, not a lumpy one.
Step 5: Thicken The Sauce
Pour the brown sugar mixture over the apples and butter in the saucepan. Stir the mixture constantly. This part happens fast. As the sugar melts and the cornstarch activates, the liquid will turn into a thick, glossy sauce. This usually takes about 2 minutes. Keep stirring so the sugar does not burn.
Step 6: Cool And Serve
Once the sauce is thick and bubbly, remove the saucepan from the heat. Let the filling sit for about 5 minutes. This resting time is important. The sauce will thicken even more as it cools slightly. After 5 minutes, it is ready to serve or use in your favorite Apple Pie From Scratch recipe.


How To Store Leftovers
If you manage to have any leftovers, you are in luck. This filling stores very well. Allow the mixture to cool completely to room temperature first. Putting hot filling into the fridge can cause condensation and make it watery.
Transfer the cooled filling into an airtight container. It will stay fresh in the refrigerator for up to 5 days. You can reheat it in the microwave or on the stovetop over low heat when you are ready to eat it again.
You can also freeze this filling. Place the cooled filling in a freezer safe bag or container. It can be frozen for up to 3 months. When you want to use it, let it thaw in the fridge overnight. This is a great way to prep ahead for future Apple Pie Desserts.
Tips
Here are a few tricks to make sure your Apple Pie Filling turns out perfect every single time. First, pay attention to your apple slices. If you cut them too thin, they might turn to mush. If they are too thick, they might stay crunchy. Aim for that sweet spot of roughly 1/4 inch thickness.
Don’t skip the cornstarch premix. I mentioned this in the instructions, but it bears repeating. Dumping pure cornstarch into hot liquid is a recipe for disaster. Mixing it with the sugar disperses it evenly. This guarantees a silky smooth sauce that coats the fruit beautifully.
Feel free to customize the spices. Cinnamon is classic, but you can add a pinch of nutmeg or allspice for more depth. A splash of vanilla extract added at the very end can also elevate the flavor. If you like your filling less sweet, you can reduce the sugar slightly, but remember the sugar helps create the syrup texture.
Finally, watch the heat. Sugar can burn quickly if the heat is too high. Keep it at medium high or medium once the sugar is added. Stirring constantly is your best defense against burning. It only takes a couple of minutes, so don’t walk away from the stove.
Conclusion
Making your own Apple Pie Filling is one of the most rewarding kitchen hacks. It is fast, simple, and tastes incredible. You get all the comfort of a homemade pie without the hours of baking. Whether you are topping pancakes, filling a tart, or just eating it with a spoon, this recipe delivers big flavor.
Skip the canned aisle next time. Grab a few apples and try this stovetop method instead. You will be amazed at the difference in taste and texture. It is a small effort that yields a huge reward. Your family will definitely thank you for this sweet treat.
FAQ
Can I Use Water Instead Of Apple Juice?
Yes, you absolutely can. Apple juice adds a bit more fruit flavor and sweetness. However, water works just fine to create the steam needed to cook the apples. If you use water, you might not notice a huge difference in the final taste since the brown sugar and cinnamon are so flavorful.
Is This Recipe Gluten Free?
Yes, this recipe is naturally gluten free. We use cornstarch as the thickener instead of wheat flour. Just double check your cornstarch brand to ensure it is processed in a gluten free facility if you have a severe allergy. It is a great dessert option for those avoiding gluten.
What If I Don’t Have Granny Smith Apples?
That is okay. While Granny Smith apples are preferred for their tartness and firmness, you can use other varieties. Fuji, Gala, or Braeburn are decent substitutes. Just avoid very soft apples like Red Delicious, as they tend to fall apart when cooked and can become mealy.
Can I Bake This In A Pie Crust?
You sure can. Since this filling is already cooked, it reduces the baking time needed for a pie. Simply pour the cooled filling into your pie crust and bake until the crust is golden brown. It ensures the apples are perfectly tender and never crunchy inside the pie.
Easy 10-Minute Apple Pie Filling
There’s nothing better than warm, gooey apple pie filling, and this recipe is a game-changer! Made on the stovetop in about 10 minutes, it’s a super fast and tasty way to get that comforting, homemade flavor without all the work of baking a pie from scratch.
Requirements


Ingredients
Instructions
- Start by washing your apples thoroughly. Then, peel the skin off, core the apples, and slice them into pieces between 1/4 and 1/2 inch thick.
- In a 2-quart saucepan over medium-high heat, add the sliced apples and apple juice. Cook for about 6 minutes, stirring occasionally, until the apples start to soften.
- Add the butter to the saucepan and stir gently until it has completely melted and coated the apple slices.
- In a small bowl, whisk together the brown sugar, cinnamon, and cornstarch. Mixing these separately prevents lumps.
- Pour the brown sugar mixture over the apples. Stir constantly for about 2 minutes. The liquid will quickly turn into a thick, glossy sauce.
- Remove the saucepan from the heat and let the filling sit for about 5 minutes. The sauce will thicken more as it cools. Serve warm!
Notes
For the best texture, use a mix of firm, tart apples like Granny Smith and a sweeter variety like Honeycrisp.
Don’t skip pre-mixing the cornstarch with the sugar. This is the key to a perfectly smooth, lump-free sauce.
Feel free to customize the spices! A pinch of nutmeg or allspice can add extra warmth and depth to the flavor.
Nutrition
Calories
Sugar
Fat
Carbs