The holiday season is all about making memories. And what better way to do that than by filling your kitchen with the sweet smell of baking? If you are looking for Fun Christmas Desserts Easy enough for the whole family to join in, you have come to the right place.
This recipe for classic sugar cookies is a holiday staple. It is simple, delicious, and the decorating part is where the real fun begins. Let’s get our aprons on and start baking some joy!
Jump To:
Why You’ll Love This Recipe
Honestly, what’s not to love? These cookies are the building blocks for some seriously Cute Christmas Treats Easy to make. The dough is straightforward and forgiving, making it a great project for new bakers. You do not need any fancy equipment at all.
The flavor is classic buttery vanilla with a hint of almond. It is a taste that just screams holidays. The texture is wonderful too, a little crisp on the edges but soft in the middle. They hold their shape so well during baking, so your Christmas trees will actually look like trees!
Plus, this recipe is perfect for making ahead. You can prepare the dough a couple of days in advance. This makes your holiday baking schedule so much more manageable. It is one of the best Easy Christmas Dessert Recipes Quick to whip up when you need something festive.
The best part is the decorating. You can let your creativity run wild with icing colors and sprinkles. It is a fantastic activity for kids and adults alike, creating not just cookies but also lasting memories. This is what makes them such Fun Christmas Desserts Easy to personalize.
Ingredients
Let’s gather everything we need. Most of these are probably already in your pantry, especially around the holidays. Simple ingredients are the key to many great Xmas Desserts Recipes.
For The Cookies
- 2 and 1/4 cups (281g) all purpose flour, plus more for rolling
- 1/2 teaspoon baking powder
- 1/4 teaspoon salt
- 3/4 cup (170g) unsalted butter, softened to room temperature
- 3/4 cup (150g) granulated sugar
- 1 large egg, at room temperature
- 2 teaspoons pure vanilla extract
- 1/4 or 1/2 teaspoon almond extract (optional)
For The Easy Icing
- 3 cups (360g) confectioners’ sugar
- 1/2 teaspoon pure vanilla extract
- 2 teaspoons light corn syrup
- 4.5 to 5 Tablespoons room temperature water
- Pinch of salt
- Optional: gel food coloring and sprinkles
Step By Step Instructions
Making these Fun Christmas Desserts Easy is a breeze. Just follow along. A little planning helps. The dough needs to chill and the icing needs time to set, so read through before you start.
Step 1: Make The Cookie Dough
First things first, let’s get our dry ingredients ready. In a medium bowl, whisk together the flour, baking powder, and salt. This helps distribute everything evenly. Set this bowl aside for now.
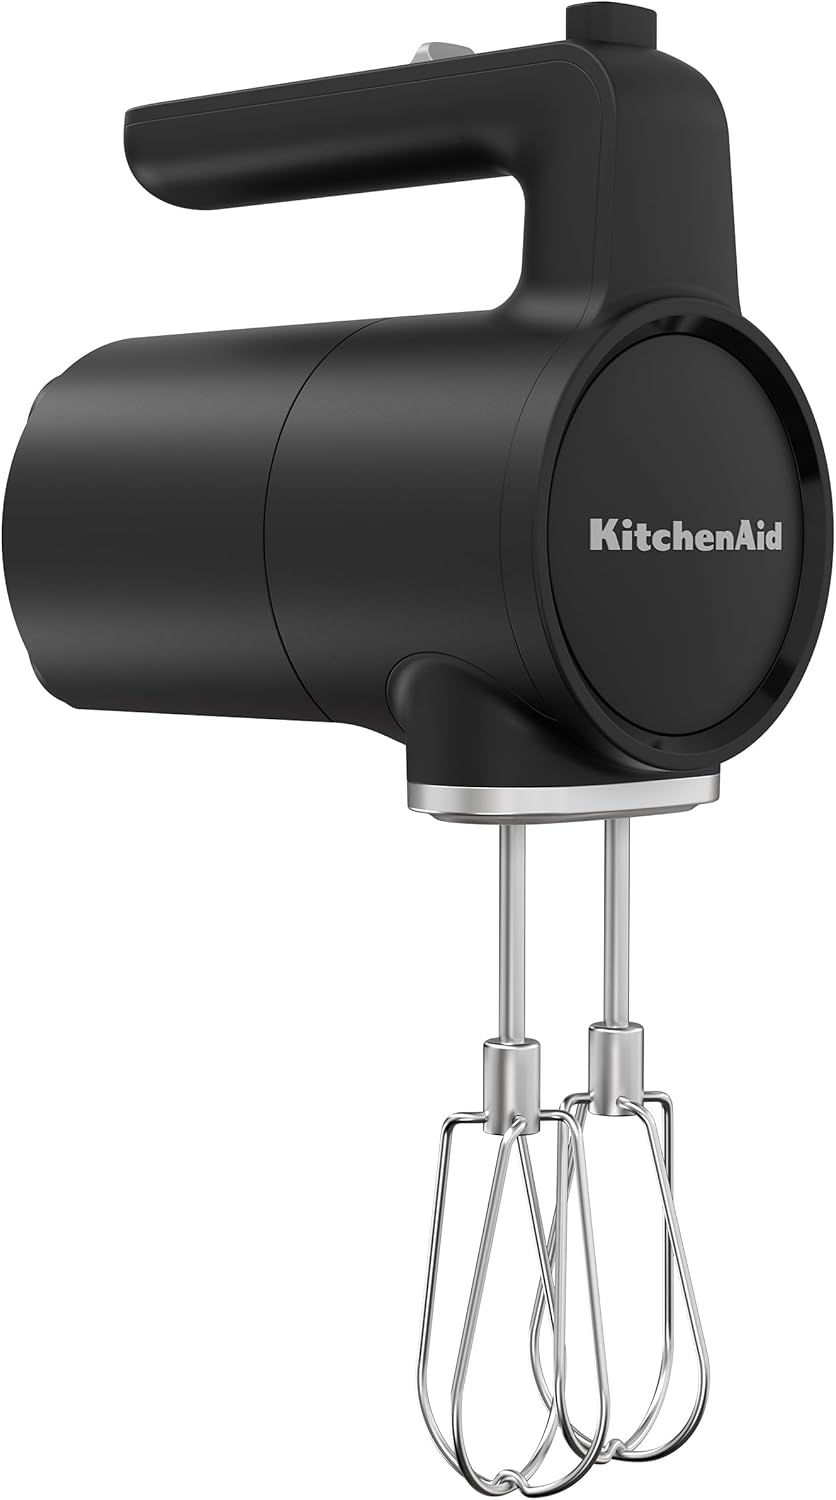
Next, in a large bowl, beat the softened butter and granulated sugar. Use a hand mixer or stand mixer on high speed. You want it to get really smooth and creamy, which takes about three minutes. This step is super important for the cookie texture.
Now add the egg, vanilla, and almond extract if you are using it. Beat again on high for about a minute until it is all combined. Do not forget to scrape the sides of the bowl to get everything mixed in.
Finally, add the dry ingredients to the wet ingredients. Mix on low speed just until everything comes together. The dough will be a little soft. If it feels too sticky, you can add one more tablespoon of flour.
Step 2: Chill The Dough
This is a crucial step for Christmas Dessert Recipes Baking. Chilling prevents the cookies from spreading too much. Divide your dough into two equal halves. Place each half on a lightly floured piece of parchment paper.
Roll each piece of dough to about one quarter inch thickness. Do not worry about the shape. Just aim for an even thickness. Lightly flour one of the rolled doughs and place another piece of parchment on top. Then, stack the second dough on top of that.
Cover the whole stack with plastic wrap and pop it in the refrigerator. Let it chill for at least one to two hours. You can even leave it in there for up to two days.
Step 3: Bake The Cookies
When you are ready to bake, preheat your oven to 350 degrees Fahrenheit. Line a couple of large baking sheets with parchment paper. This makes cleanup so much easier.
Take one piece of dough from the fridge. Use your favorite cookie cutters to cut out shapes. Stars, trees, and snowmen are all great choices for these Cute Christmas Treats Easy to make.
Gather the scraps, re roll the dough, and cut out more cookies. You will be surprised how many you can get. Repeat with the second piece of dough. Arrange the cookies on your prepared baking sheets, leaving some space between them.
Bake for about 11 to 12 minutes. The edges should be lightly browned. Let them cool on the baking sheet for five minutes before moving them to a wire rack to cool completely.
Step 4: Make The Icing
While the cookies cool, let’s make the icing. This is one of the most simple Easy Christmas Dessert Recipes Quick icings you can find. In a medium bowl, stir the confectioners’ sugar, vanilla, corn syrup, salt, and 4.5 tablespoons of water together with a fork.
It will be very thick at first. Switch to a whisk and add another half tablespoon of water. Whisk it well. The right consistency is when you can drizzle the icing and the ribbon holds its shape for a few seconds before melting back in.
If you want colored icing, now is the time to add gel food coloring. Divide the icing into separate bowls for different colors. A little coloring goes a long way. This is perfect for creating Fun Christmas Desserts Easy decorations.
Step 5: Decorate The Cookies
Here comes the best part! You can dip the tops of the cookies into the icing. Or, for more control, use squeeze bottles or piping bags. Outline the cookie first, then fill in the center. It is a fun process for creating amazing Xmas Desserts Recipes.
If you are adding sprinkles, do it right after you ice each cookie so they stick. Let your imagination go wild. Make each cookie a tiny work of art. This is what makes them such special Fun Christmas Desserts Easy treats.
Let the icing dry completely. This can take up to 24 hours. You can place the decorated cookies on a baking sheet in the fridge to help speed it up a bit. Once the icing is hard, the cookies are ready for gifting.
How To Store Leftovers
If you have any cookies left, storing them is simple. Once the icing is completely set, you can store the decorated cookies in an airtight container. They will stay fresh for up to five days at room temperature.
For longer storage, you can keep them in the refrigerator. In an airtight container, they will last for up to ten days. They are great for having on hand when guests drop by. This is a staple of good Christmas Dessert Recipes Baking.
Tips
Want to make your cookie experience even better? Here are a few tips. Make sure your butter and egg are at room temperature. This helps them mix together smoothly for a better dough texture.
Do not skip chilling the dough. It is so important for getting those clean, sharp shapes. Rushing this step will lead to cookies that spread out too much in the oven. Patience is key for these Fun Christmas Desserts Easy cookies.
When you are rolling the dough, try to work quickly. The warmth from your hands can make it sticky. Using a bit of flour on your rolling pin and work surface helps a lot. It is a small trick for great Cute Christmas Treats Easy results.
For the icing, gel food coloring works much better than liquid. It is more concentrated, so you do not have to add as much. This prevents the icing from becoming too thin.
Conclusion
Baking during the holidays is about more than just food. It is about creating warmth, joy, and memories with the people you love. This recipe for Fun Christmas Desserts Easy sugar cookies is a wonderful way to do just that.
From the simple dough to the creative decorating, every step is an opportunity for connection and fun. So, put on some festive music, gather your ingredients, and enjoy making these delicious treats. Happy holidays and happy baking!
FAQ
Can I Make The Dough Ahead of Time?
Yes, absolutely. You can prepare the cookie dough and refrigerate it for up to two days. This is a great way to break up the work and make your holiday baking less stressful. It is one of my favorite things about these Fun Christmas Desserts Easy to plan.
Why Is My Icing Too Thick or Too Thin?
Icing consistency can be tricky. If it is too thick, add a tiny bit more water, about half a teaspoon at a time, until it is right. If it is too thin, add more confectioners’ sugar until it thickens up. It is an adjustable recipe.
Can I Freeze These Cookies?
You can. You can freeze the baked, undecorated cookies for up to three months. Let them thaw completely before you decorate them. You can also freeze the decorated cookies, but the icing might not look as pristine after thawing.
What If I Do Not Have Almond Extract?
No problem at all. The almond extract is optional. It adds a lovely layer of flavor, but the cookies are still incredibly delicious with just vanilla extract. These Easy Christmas Dessert Recipes Quick are very flexible.
Classic Holiday Sugar Cookies
This recipe for classic sugar cookies is a holiday staple. It is simple, delicious, and the decorating part is where the real fun begins. With a crisp edge and soft center, these festive treats are easy to personalize and perfect for making lasting memories.
Requirements
Ingredients
Instructions
- **Make The Cookie Dough:** In a medium bowl, whisk together the flour, baking powder, and salt. Set aside. In a large bowl, beat the softened butter and granulated sugar with a hand mixer or stand mixer on high speed until smooth and creamy (about 3 minutes). Add the egg, vanilla, and almond extract (if using); beat on high for 1 minute, scraping bowl sides. Gradually add dry ingredients to wet, mixing on low speed until just combined. If too sticky, add 1 more tablespoon of flour.
- **Chill The Dough:** Divide dough into two equal halves. Place each half on lightly floured parchment paper. Roll each to about 1/4 inch thickness. Lightly flour one rolled dough, place another parchment piece on top, then stack the second dough. Cover with plastic wrap and refrigerate for 1-2 hours, or up to 2 days.
- **Bake The Cookies:** Preheat oven to 350°F (175°C). Line baking sheets with parchment paper. Take one dough piece from the fridge and use cookie cutters to cut shapes. Re-roll scraps and cut more cookies. Repeat with the second dough. Arrange cookies on baking sheets, leaving space. Bake for 11-12 minutes until edges are lightly browned. Cool on baking sheet for 5 minutes, then transfer to a wire rack to cool completely.
- **Make The Icing:** In a medium bowl, stir confectioners’ sugar, vanilla, corn syrup, salt, and 4.5 tablespoons water with a fork. It will be thick. Switch to a whisk and add another 0.5 tablespoon water, whisking until a drizzle holds its shape briefly. If coloring, divide icing into bowls and add gel food coloring.
- **Decorate The Cookies:** Dip cookie tops into icing, or use squeeze bottles/piping bags to outline and fill. Add sprinkles immediately if desired. Let icing dry completely (up to 24 hours), or refrigerate on a baking sheet to speed drying.
Notes
Make sure your butter and egg are at room temperature. This helps them mix together smoothly for a better dough texture.
Do not skip chilling the dough. It is so important for getting those clean, sharp shapes. Rushing this step will lead to cookies that spread out too much in the oven.
When you are rolling the dough, try to work quickly. The warmth from your hands can make it sticky. Using a bit of flour on your rolling pin and work surface helps a lot.
For the icing, gel food coloring works much better than liquid. It is more concentrated, so you do not have to add as much. This prevents the icing from becoming too thin.
If you have any cookies left, storing them is simple. Once the icing is completely set, you can store the decorated cookies in an airtight container. They will stay fresh for up to five days at room temperature.
For longer storage, you can keep them in the refrigerator. In an airtight container, they will last for up to ten days.
Nutrition
Calories
Sugar
Fat
Carbs


