When the holidays roll around, my kitchen turns into a whirlwind of flour, sugar, and festive cheer. I love creating treats for my family, but sometimes the complexity can be a bit much. That’s why I’m always on the lookout for truly Easy Christmas Sweets Recipes that deliver big on flavor without requiring hours of work.
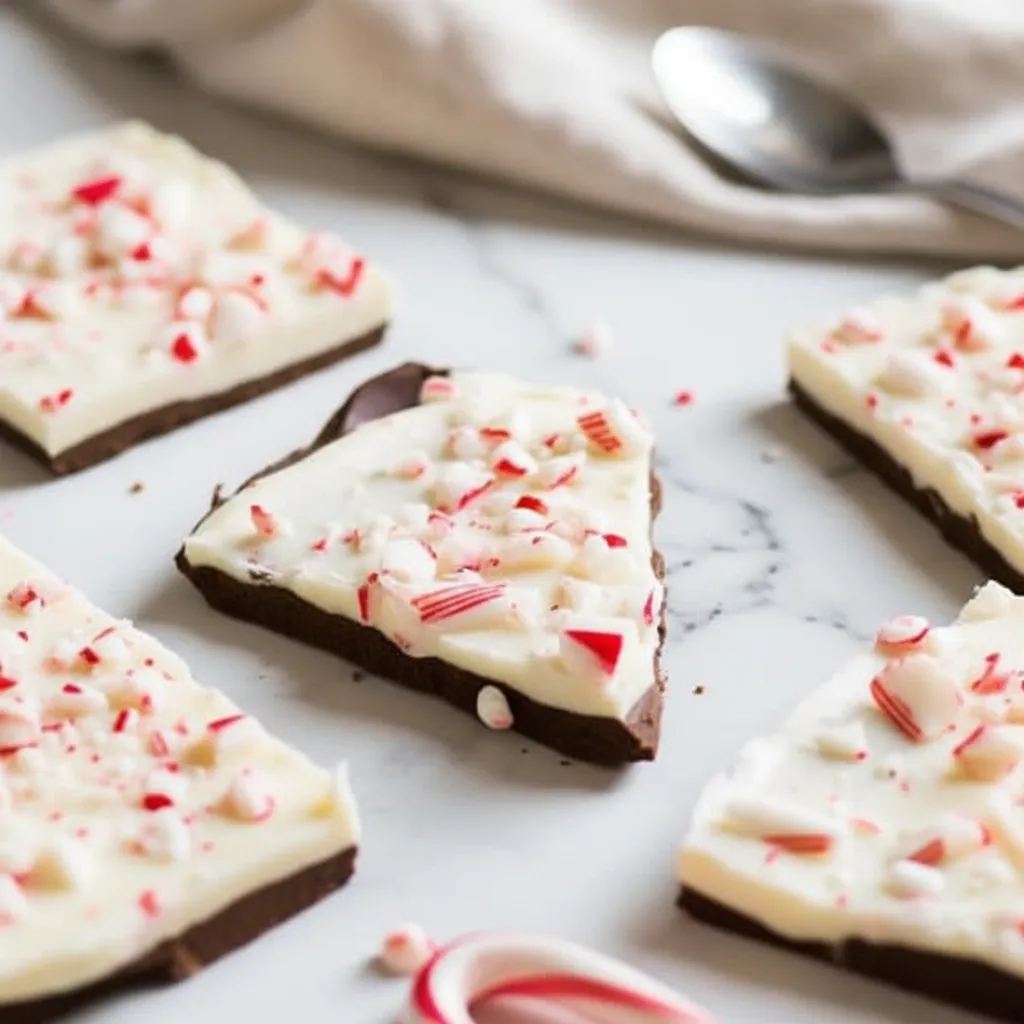
This peppermint bark is exactly that. It’s a beautiful, delicious, and incredibly simple treat that captures the taste of the season. It has become one of my favorite Christmas Food Ideas Dessert options because it looks so impressive, yet it’s almost foolproof. Let’s make some holiday magic together!
Jump To:
Why You’ll Love This Recipe
First off, it’s incredibly simple. You don’t need to be a professional baker to make this. It’s a no bake recipe, which is always a huge win during the busy holiday season. If you can melt chocolate, you can make this bark.
It’s also so festive. The beautiful layers of dark and white chocolate topped with crushed peppermint candies just scream holiday spirit. It looks stunning on a dessert platter and makes for wonderful homemade gifts.
This is one of those classic Christmas Day Desserts that everyone gets excited about. It’s sweet, minty, and has a satisfying snap. Plus, it’s a fun activity to do with kids. They absolutely love helping crush the candy canes and sprinkle them on top.
Honestly, it’s one of the most rewarding Easy Christmas Sweets Recipes because it offers so much joy for very little effort. It’s a real crowd pleaser.
Ingredients
- 12 ounces (340 g) chocolate chips or chopped chocolate chunks
- 12 ounces (340 g) white chocolate chips or chopped white chocolate chunks
- 1 teaspoon (5 ml) peppermint extract, divided
- 1 teaspoon (5 ml) vegetable oil or other neutral tasting oil, divided
- 1/2 cup (120 ml) crushed peppermint candy or candy canes
Step By Step Instructions
Step 1: Prep Your Peppermint
First things first, let’s get our peppermint ready. If you bought whole candy canes or candies, you’ll need to crush them. The easiest way to do this is to place them in a sturdy plastic bag, like a freezer bag.
Seal the bag, leaving a little air inside. Then, take a rolling pin, a meat mallet, or even the back of a big spoon and gently crush the candies. You’re looking for small, chunky pieces, not a fine powder. Set them aside for later.
Step 2: Melt The Dark Chocolate
Now for the chocolate layer. In a large microwave safe bowl, combine your regular chocolate chips, half a teaspoon of peppermint extract, and half a teaspoon of vegetable oil. The oil helps make the chocolate smooth and shiny.
Place the bowl in the microwave and heat it on High. The trick here is to go slowly. Heat it in 20 second intervals, taking it out to stir well after each one. This prevents the chocolate from burning.
Keep doing this until all the chips are melted and the mixture is completely smooth. Be patient, as stirring is what really helps everything melt evenly.
Step 3: Create The First Layer
Get a baking sheet and line it with parchment paper or wax paper. Here’s a neat little tip to stop the paper from sliding around. Dab a tiny bit of the melted chocolate in each corner of the baking sheet before laying the paper down. It acts like glue!
Pour your beautifully melted dark chocolate onto the prepared sheet. Use a spatula to spread it into an even layer. Aim for a rectangle about 9 by 12 inches. The thickness is up to you, so spread it as you like.
Pop the baking sheet into the fridge for about 10 minutes. You want the chocolate to be almost set, but still a little soft to the touch. If it gets too hard, the next layer might not stick properly.
Step 4: Melt The White Chocolate
Time for layer number two. In another clean, microwave safe bowl, combine the white chocolate chips with the remaining half teaspoon of peppermint extract and half teaspoon of vegetable oil.
We’re going to use the same melting process as before. Microwave in 20 second bursts, stirring very well in between. White chocolate can be a bit thicker and more temperamental than dark chocolate, so lots of stirring is key to get it smooth.
Avoid the temptation to just keep microwaving it. Stirring is your best friend here to get that creamy consistency we want for our Easy Christmas Sweets Recipes.
Step 5: Add The Second Layer And Toppings
Once your white chocolate is melted and smooth, take the dark chocolate layer out of the fridge. You’ll want to work fairly quickly now. Pour the melted white chocolate over the dark chocolate layer.
Gently spread it to cover the first layer completely. If your kitchen is cool, the white chocolate might start to set fast. If this happens, a quick blast with a hair dryer can gently warm the top to help you finish spreading. Just be careful not to melt the bottom layer!
Immediately sprinkle your crushed peppermint candies all over the top. Gently press them into the white chocolate with your hands to make sure they stick. This makes for one of the prettiest Christmas Sweets And Treats.
Step 6: Chill And Break
Return the pan to the fridge. Let it chill for about an hour, or until the bark is completely firm and solid all the way through.
Once it’s solid, here comes another important step. Let the bark sit at room temperature for at least 30 minutes before you try to break it. This helps the layers bond and prevents them from separating when you snap it into pieces.
After it has warmed up a bit, gently lift the bark off the parchment paper. You can then break it into large, rustic pieces with your hands or use a knife for cleaner cuts. And that’s it! Your delicious homemade peppermint bark is ready to enjoy.
How To Store Leftovers
If you have any peppermint bark left, storing it is simple. Place the pieces in an airtight container. You can store it at room temperature in a cool, dry place for up to a week. A pantry or cupboard is a great spot.
If your home is particularly warm, you might want to store it in the fridge to prevent the chocolate from getting too soft. Just be sure the container is sealed well to keep it fresh. When stored in the fridge, it can last for a couple of weeks.
Tips
For the best flavor, use good quality chocolate chips or chocolate bars. Since chocolate is the star of the show in this recipe, a better quality product will really make a difference in the final taste.
Don’t skip letting the bark rest at room temperature before breaking it. This is the key to preventing the two chocolate layers from separating. It allows them to bond together properly as they slowly warm up.
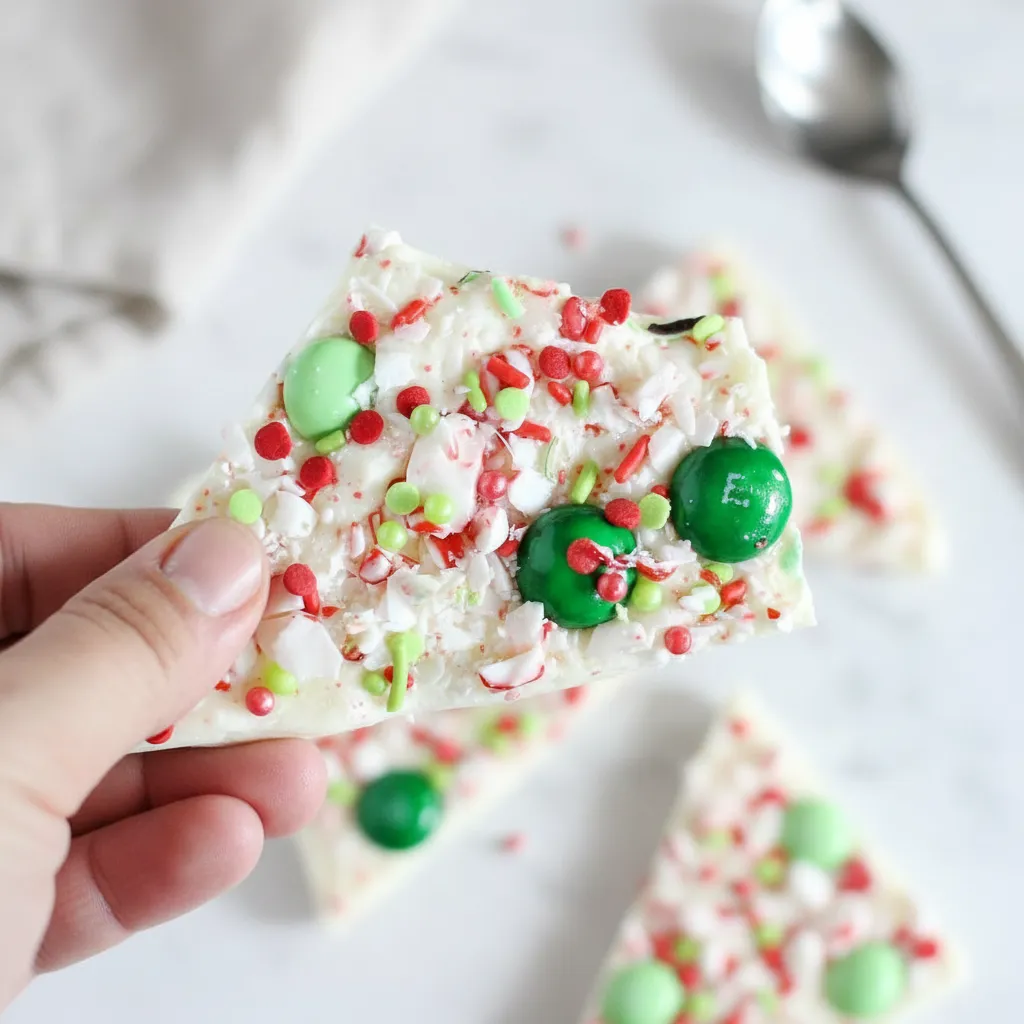
Feel free to get creative with toppings. While peppermint is classic, you could also add some festive sprinkles, a drizzle of a third type of chocolate, or even some chopped nuts for extra crunch. This is one of those Quick Christmas Desserts that is easy to customize.
When melting the chocolate, make sure your bowls and utensils are completely dry. Even a tiny drop of water can cause the chocolate to seize and become grainy. This is a crucial tip for many Easy Christmas Sweets Recipes.
Conclusion
And there you have it. A beautiful, festive, and incredibly simple treat that is sure to be a hit. This peppermint bark really is one of the best Easy Christmas Sweets Recipes you can make. It’s perfect for parties, for gifting, or for just enjoying with a cup of hot cocoa on a cold winter night.
I hope you have as much fun making this as I do. It’s a wonderful way to share a little homemade happiness during the holiday season. Happy holidays and happy treat making!
FAQ
Why Did My Chocolate Layers Separate?
This usually happens for two reasons. Either the bottom layer was chilled for too long and became too hard before adding the top layer, or the bark was broken while it was still very cold. Let it rest at room temperature for 30 minutes before breaking to help the layers stick together.
Can I Use Different Types Of Chocolate?
Absolutely! This is a great Christmas Food Ideas Dessert to experiment with. You can use milk chocolate, semi sweet, or dark chocolate for the bottom layer. You could even use two layers of different dark chocolates. Just be sure to use a good quality brand for the best results.
How Far In Advance Can I Make This?
This is one of the great make ahead Christmas Sweets And Treats. You can make it up to two weeks in advance. Just store it in an airtight container in the refrigerator. It’s a wonderful way to get a head start on your holiday prep. It’s a reliable choice among Easy Christmas Sweets Recipes.
Easy Peppermint Bark
This festive and easy peppermint bark is a no-bake holiday treat. With layers of rich dark and creamy white chocolate topped with crushed candy canes, it’s a simple yet impressive dessert perfect for parties and gifting.
Requirements
Ingredients
Instructions
- Line a baking sheet with parchment paper. Crush peppermint candies if needed and set aside.
- In a microwave-safe bowl, combine the dark chocolate chips, 1/2 teaspoon of peppermint extract, and 1/2 teaspoon of vegetable oil. Microwave in 20-second intervals, stirring well after each, until the chocolate is completely smooth.
- Pour the melted dark chocolate onto the prepared sheet and spread into an even layer. Refrigerate for about 10 minutes until almost set but still slightly soft to the touch.
- In a separate clean, microwave-safe bowl, melt the white chocolate chips with the remaining peppermint extract and vegetable oil using the same 20-second interval method until smooth.
- Quickly pour the melted white chocolate over the chilled dark chocolate layer and spread evenly. Immediately sprinkle the crushed peppermint candies over the top, gently pressing them into the white chocolate.
- Return the pan to the fridge and chill for at least 1 hour, or until the bark is completely firm.
- Let the bark sit at room temperature for at least 30 minutes before breaking it into pieces. This helps prevent the layers from separating. Enjoy!
Notes
For the best flavor, use good quality chocolate. Since it’s the main ingredient, its quality will really shine through in the final taste.
Don’t skip letting the bark rest at room temperature before breaking it. This is the key to preventing the two chocolate layers from separating.
When melting the chocolate, make sure your bowls and utensils are completely dry. Even a tiny drop of water can cause the chocolate to seize and become grainy.
Nutrition
Calories
Sugar
Fat
Carbs


