Graduation day is a huge deal, isn’t it? It’s a moment of triumph, a milestone that deserves all the fanfare. And what’s a celebration without a truly special cake? You might think baking a showstopping graduation cake is a job for the pros, but guess what? It doesn’t have to be!
We’re talking about creating beautiful, memorable, and most importantly, simple graduation cakes right in your own kitchen. Forget the stress and sky high bakery prices. With our easy to follow guide, you’ll whip up a delicious Graduation Cake that will have everyone cheering.
Jump To:
Why You’ll Love This Recipe
Honestly, who doesn’t love a good cake? Especially one that’s made with love. This recipe for simple graduation cakes is a game changer for a few reasons. First off, it’s incredibly forgiving, making it perfect for beginners. You don’t need any fancy equipment, just your trusty mixer and a few basic baking tools.
Secondly, it’s customizable! Whether you’re looking for vibrant Grad Cake Ideas, subtle Graduation Cake Designs, or a classic look, this recipe is a fantastic canvas. You can tailor it to fit any graduate’s style, making their big day even more personal.
Plus, let’s be real, baking at home saves a pretty penny. When you’re knee deep in Graduation Party Planning, every little bit helps, right? This recipe gives you a yummy result without breaking the bank. It’s a win win situation.
Ingredients
For the Cake
- 2 1/2 cups (325g) all purpose flour
- 2 1/2 tsp baking powder
- 1/2 tsp salt
- 3/4 cup (168g) unsalted butter, softened to room temperature
- 1/4 cup vegetable oil
- 1 1/2 cups (310g) sugar
- 1 tbsp vanilla extract
- 4 large eggs, room temperature
- 1 1/4 cups (300ml) milk, room temperature
For the Buttercream Frosting
- 1 cup (16 Tbsp; 226g) unsalted butter, softened to room temperature
- 4 1/2 cups (540g) confectioners’ sugar
- 1/4 cup (60ml) heavy cream, half and half, or whole milk, at room temperature
- 2 teaspoons pure vanilla extract
- salt, to taste
- Gel food coloring (optional, for pink frosting)
Step By Step Instructions
Step 1: Prep Your Pans and Dry Ingredients
First things first, let’s get that oven ready. Preheat it to 350F (175C). Then, grab three 8 inch cake pans. Line the bottoms with parchment paper circles and grease the sides well. This step is key for easy release, trust me.
In a medium bowl, whisk together your flour, baking powder, and salt. Set this aside for a moment. Having your dry ingredients pre mixed ensures everything is evenly distributed when it’s time to combine.
Step 2: Cream Wet Ingredients
Now for the good stuff. In a large mixer bowl, combine the softened butter, sugar, vegetable oil, and vanilla extract. Beat these together until the mixture is light in color and wonderfully fluffy. This usually takes about 2 to 3 minutes.
The vegetable oil is a little secret weapon here. It helps keep your simple graduation cakes extra moist and tender, a truly delightful touch for any Graduation Party Cake.
Step 3: Add Eggs Gradually
Add your eggs one at a time to the creamed mixture. Mix until each egg is mostly combined before adding the next. Don’t overmix here, just enough to bring it together. This gentle approach helps maintain the airy texture of your cake batter.
Step 4: Alternate Dry and Wet
It’s time to combine the dry and wet ingredients. Add half of your flour mixture to the batter and mix until it’s just mostly combined. Then, slowly pour in the room temperature milk and mix until everything is well incorporated.
Finally, add the remaining dry ingredients. Mix until the batter is smooth and well combined. Again, try not to overmix. Just enough to get rid of any streaks of flour will do the trick for perfect simple graduation cakes.
Step 5: Bake Your Cake Layers
Divide the batter evenly among your three prepared cake pans. Pop them into the preheated oven and bake for 25 to 30 minutes. You’ll know they’re done when a toothpick inserted into the center comes out clean.
Let the cakes cool in their pans for about 10 to 15 minutes. This cooling period is important. After that, invert them onto a wire rack to cool completely. Patience is a virtue here, especially if you’re eager to get to the frosting stage.
Step 6: Make the Buttercream Frosting
While your cakes are cooling, let’s tackle that luscious buttercream. In a stand mixer with a paddle attachment, or using a handheld mixer, beat the softened butter on medium speed until it’s creamy. This should take about 2 minutes.
Next, add the confectioners’ sugar, heavy cream (or milk), and vanilla extract. Start on low speed for 30 seconds to avoid a sugar cloud. Then, crank it up to medium high speed and beat for a full 2 minutes. This creates that fluffy, smooth consistency we all adore.
Step 7: Perfect the Frosting
Taste your frosting. If it’s a bit too sweet for your liking, a tiny pinch of salt can really balance it out. This is also the moment for gel food coloring if you want to add a pop of color to your simple graduation cakes. Mix until you reach your desired hue.
If the frosting feels too thin, add more confectioners’ sugar, a tablespoon at a time, until it reaches the right consistency. If it’s too thick, a splash of heavy cream or milk, a teaspoon at a time, will loosen it up. Getting the consistency just right is key for beautiful Graduation Cake Designs.
Step 8: Assemble and Decorate
Once your cakes are completely cool, level them if needed. A serrated knife works wonders for this. Then, it’s time to fill and frost your layers with that wonderful buttercream. Get creative with your decorations!
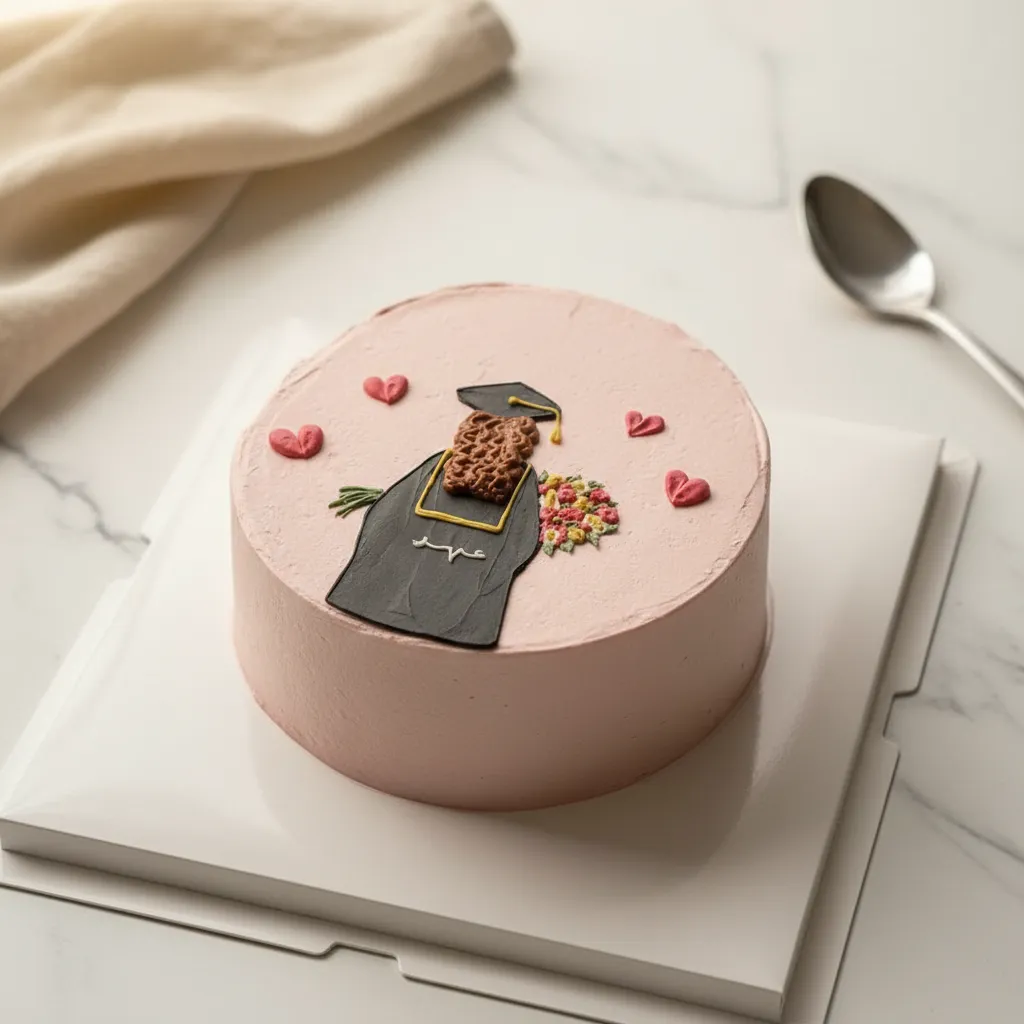
You can keep it truly simple with a smooth finish, or try some basic piping for a more elaborate look. Think about adding a cap and tassel design, or even the graduate’s initials. These little touches make for fantastic Graduation Cake Ideas.


How To Store Leftovers
Got some cake left over? Lucky you! To keep your simple graduation cakes fresh, store them in an airtight container at room temperature for up to 2 to 3 days. If your kitchen runs warm, or if your frosting contains ingredients that require refrigeration, pop it in the fridge.
If refrigerated, let the cake come to room temperature for about 30 minutes before serving. This brings out the best flavor and texture. You can also freeze individual slices for longer storage, up to a month. Just wrap them tightly in plastic wrap and then foil.
Tips
Baking is all about those little tricks that make a big difference. Here are a few to help you master these simple graduation cakes.
Always ensure your refrigerated ingredients, like butter, eggs, and milk, are at room temperature. This helps everything combine smoothly, giving your cake a much better texture. It’s a small step, but it truly impacts the final result.
Don’t skip the vegetable oil in the cake recipe. It’s not just for moisture, it also contributes to a tender crumb. This is one of the secrets to a really soft and delicious Graduation Cake.
For piping decorations, the consistency of your buttercream is key. If you want sharp lines or sturdy rosettes, you might need to add a bit more powdered sugar for a thicker frosting. For smoother glazes or writing, a splash more liquid will help.
Consider the graduate’s school colors when choosing your gel food coloring. This makes it a truly personalized Degree Cake. You could even do a fun surprise inside with colorful sprinkles baked into the batter!
Want to go for a trendy look? Think about a rustic, unfrosted “naked cake” style, or perhaps a vintage inspired design, drawing inspiration from popular Vintage Birthday Cakes. These looks are easy to achieve with this recipe and still feel very celebratory.
Conclusion
There you have it! Baking beautiful, delicious, and simple graduation cakes is totally within your reach. No need for professional baking skills or fancy equipment. Just a little time, a dash of love, and this foolproof recipe.
Imagine the look on your graduate’s face when they see a cake made just for them, by you. It’s more than just dessert, it’s a heartfelt symbol of their hard work and your pride. So go ahead, grab your apron, and get ready to bake some unforgettable Graduation Cake Ideas!
FAQ
Can I Make This Gluten Free?
Yes, you can! Substitute the all purpose flour with a good quality 1:1 gluten free baking flour blend. Make sure your blend already includes xanthan gum, or add 1/2 teaspoon per cup of flour. The baking time might vary slightly, so keep an eye on it.
How Can I Decorate My Graduation Cake Simply?
For truly simple graduation cakes, consider a smooth buttercream finish with a few sprinkles in school colors. You can also use stencils for a quick design, or simply top with a store bought graduation cap topper and a few fresh berries. Less is often more for elegant Graduation Cake Designs.
Can I Make the Cake Layers Ahead of Time?
Absolutely! You can bake the cake layers up to 2 days in advance. Once completely cooled, wrap each layer tightly in plastic wrap and store at room temperature. For longer storage, you can freeze them for up to 2 months. Thaw in the fridge overnight before frosting.
What If My Buttercream Is Too Sweet?
Don’t fret! A common concern with buttercream is its sweetness. A small pinch of salt can work wonders to cut through the sweetness and enhance the other flavors. You can also add a bit more vanilla extract or a touch of lemon zest for a brighter taste.
Can I Use Other Flavorings in the Cake or Frosting?
Definitely! Feel free to experiment with flavorings. For the cake, you could add almond extract alongside or instead of vanilla. For the buttercream, consider adding a little lemon zest, coffee extract, or even a fruit puree for a different twist. Just remember to adjust liquid content if using purees.
Simple Graduation Cake
Whip up a showstopping graduation cake without the bakery prices! This simple, family-friendly recipe is perfect for beginners and yields a moist, fluffy cake that everyone will love.
Requirements


Ingredients
Instructions
- Preheat your oven to 350F (175C). Line three 8-inch cake pans with parchment paper circles and grease the sides well for easy release.
- In a medium bowl, whisk together the flour, baking powder, and salt. Set aside.
- In a large bowl, use a mixer to beat the softened butter, sugar, vegetable oil, and vanilla until light and fluffy (about 2-3 minutes).
- Add the eggs one at a time, mixing until each is just combined to keep the texture airy.
- Alternate adding the flour mixture and milk to the batter, beginning and ending with the dry ingredients. Mix until just smooth.
- Divide batter evenly between pans and bake for 25-30 minutes. Cool in pans for 10 minutes, then move to a wire rack to cool completely.
- Prepare the frosting by beating butter until creamy. Add powdered sugar, cream, and vanilla, then beat on high for 2 minutes.
- Level the cakes if needed using a bread knife. Stack layers with frosting in between, then decorate with school colors!
Notes
Ensure your butter, eggs, and milk are at room temperature for a smooth, well-combined batter.
Don’t skip the vegetable oil; it’s the secret to a moist and tender cake crumb.
Wait until the cakes are completely cool before frosting to prevent the buttercream from melting.
Store leftovers in an airtight container at room temperature for 2-3 days, or refrigerate if your kitchen is warm.
Nutrition
Calories
Sugar
Fat
Carbs