You know that feeling when you scroll through your feed and stop at a photo of a perfectly scooped cone? That is the Ice Cream Aesthetic we all crave. It is more than just a sweet treat. It is a visual experience. The way the light hits the melting edges or how the toppings create texture makes all the difference.
We often think we need fancy equipment to get that look. But honestly, you can achieve that high end Ice Cream Aesthetic right at home. You just need a solid recipe and a little patience. This Rocky Road recipe is the perfect candidate. It is chunky, creamy, and undeniably photogenic.
This is not just about taste. Although, trust me, the taste is incredible. It is about creating Cute Ice Cream that brings joy before you even take a bite. We are going to walk through how to make a custard base that is smooth as silk. Then we will load it up with goodies.
Get your cameras ready. By the time we are done, you will have a dessert that demands to be shared. We are talking about serious Ice Cream Photography potential here. Let us dive into the delicious world of homemade frozen custard.
Jump To:
Why You’ll Love This Recipe
First off, the texture is unbelievable. The custard base uses egg yolks and heavy cream. This creates a richness you just cannot get from store bought tubs. It creates that smooth, dense ribbon effect that defines the Ice Cream Aesthetic.
Then there are the mix ins. We are using toasted almonds and plant based mini marshmallows. This adds a crunch and a chew that makes every bite interesting. It also makes for amazing Ice Cream Pictures because you can see all those delicious chunks peeking through.
It is also totally customizable. You can swap the chocolate shavings for dark chocolate chunks if you prefer. You have full control over the Ice Cream Design. You create the swirl and the balance of flavors exactly how you like it.
Finally, this recipe is surprisingly forgiving. Even if you have never made custard before, the steps are straightforward. You do not need a culinary degree to pull off this professional looking dessert. It is accessible luxury at its finest.
You will love how the dark chocolate contrasts with the white marshmallows. It creates a mood. It fits right into that dark, indulgent Ice Cream Aesthetic that is so popular right now. It is comfort food that looks like art.
Ingredients
To get that perfect Ice Cream Aesthetic, you need quality ingredients. Here is what you will need to gather up.
- 4 large egg yolks
- 1/2 cup granulated sugar
- 2 tablespoons unsweetened cocoa powder
- 1/2 teaspoon Morton kosher salt
- 1 1/2 cups whole milk, divided use
- 4 ounces semisweet chocolate, roughly chopped or chips
- 1 1/2 cups heavy cream
- 1 teaspoon pure vanilla extract
- 1/2 cup sliced, toasted almonds
- 1 cup plant based mini marshmallows
- 1/3 cup chocolate shavings
Step-By-Step Instructions
Making this treat is a process of love. Follow these steps to ensure your final product has that flawless Ice Cream Aesthetic.
Step 1: Prep The Equipment
Start by chilling your machine bowl. Follow the manufacturer instructions closely. It usually needs to be very well frozen. This is crucial for a smooth texture later on.
Step 2: Whisk The Base
Grab a heatproof medium sized bowl. Whisk together the egg yolks, granulated sugar, cocoa powder, and salt. Add 1/4 cup of the whole milk. Whisk it until it is very well combined and smooth.
Step 3: Heat The Milk
Pour the remaining 1 1/4 cups of milk into a medium saucepan. Place it over heat until it is just steaming. Do not let it come to a rolling boil. You want it hot but not scalding.
Step 4: Temper The Eggs
This is the most important part for your Ice Cream Design structure. Carefully and slowly drizzle the warm milk into the egg yolk mixture. You must whisk constantly while doing this. This tempers the eggs so they do not scramble.
Step 5: Thicken The Custard
Pour the tempered mixture back into the saucepan. Stir over medium low heat. You want it to thicken into a custard. It should coat the back of a wooden spoon. This takes about 5 minutes. Keep a close eye on it.
Step 6: Add Chocolate And Chill
Pour the custard through a fine mesh sieve into a clean bowl. This ensures a smooth base for your Ice Cream Photography closeups. Add the chopped chocolate and whisk to melt. Whisk in the heavy cream and vanilla.
Step 7: The Long Chill
Place plastic wrap directly on the surface of the base. This prevents a skin from forming. Place it in the fridge to chill until very cold. Aim for at least 4 hours, but overnight is best.
Step 8: Churn And Mix
Churn the base according to your machine instructions. It should reach a soft serve consistency in about 20 minutes. Gently fold in the almonds, plant based mini marshmallows, and chocolate shavings.
Step 9: Final Freeze
Transfer the mixture to a large loaf pan. Wrap it tightly with plastic wrap. Freeze for 4 hours or until it is firm to your liking. Now you are ready to scoop.


How To Store Leftovers
Preserving that Ice Cream Aesthetic means storing it right. You do not want ice crystals ruining the look. Keep the ice cream in an airtight container. A loaf pan works if wrapped well, but a dedicated tub is better.
Press a piece of parchment paper or plastic wrap against the surface of the ice cream before putting the lid on. This minimizes air contact. It keeps the texture creamy and fresh for your next round of Ice Cream Pictures.
Store it in the coldest part of your freezer. The back is usually best. Avoid the door where temperatures fluctuate. It should stay fresh for about two weeks, though it rarely lasts that long!
Tips
Let us talk about achieving the ultimate Ice Cream Aesthetic. When you scoop, dip your scooper in warm water first. This creates those perfect, smooth round spheres that look amazing in Ice Cream Photography.
Don’t rush the chilling process. If the base is not cold enough, the ice cream will not churn properly. You will end up with an icy texture rather than a creamy one. Creaminess is key to the Ice Cream Design.
For the best Cute Ice Cream shots, toppings matter. Save a few extra marshmallows and almonds to sprinkle on top right before serving. It adds dimension and lets people know exactly what is inside.
Be careful when tempering the eggs. If you pour the hot milk too fast, you will get cooked egg bits. If that happens, the sieve will save you, but it is better to go slow. A smooth base reflects light better for photos.
Lighting is everything for your Ice Cream Aesthetic. Shoot in natural daylight if you can. Avoid harsh overhead kitchen lights. Place your bowl near a window for that soft, dreamy glow.
If you want extra contrast, use a white bowl. The dark chocolate color pops against white ceramic. It creates a clean, modern look that screams Ice Cream Aesthetic.
Finally, work fast! Ice cream melts quickly. Have your camera settings ready before you scoop. Capturing that first little drip can actually enhance the vibe of your Ice Cream Pictures.
Conclusion
Creating the perfect Ice Cream Aesthetic is a fun journey. It combines the science of baking with the art of styling. This Rocky Road recipe gives you the best of both worlds. It is visually stunning and absolutely delicious.
Whether you are making this for a family movie night or just to spice up your social feed, it delivers. The rich chocolate, the fluffy marshmallows, and the crunch of almonds create a symphony of textures.
So go ahead and give it a try. Do not forget to snap a few Ice Cream Pictures before you dig in. Sharing your creation is half the fun. You might just inspire someone else to try their hand at Ice Cream Design.
Enjoy the process and the sweet reward. There is nothing quite like a bowl of homemade ice cream that looks as good as it tastes. That is the true power of the Ice Cream Aesthetic.
FAQ
Can I use regular marshmallows instead of plant based ones?
Yes, you can use regular mini marshmallows. We used plant based ones here to keep the recipe gelatin free. Just make sure they are mini size so they integrate well into the Ice Cream Design.
What if I do not have an ice cream maker?
You can use a no churn method, but the texture will differ. The churned method gives you that classic Ice Cream Aesthetic with a lighter mouthfeel. If you must, whip the heavy cream separately and fold it in.
Can I make this dairy free?
This recipe relies on heavy cream and whole milk for its structure. Substituting coconut milk or almond milk will change the texture significantly. It might be icier and less like the creamy Cute Ice Cream you expect.
Why did my custard curdle?
The heat was likely too high or you stopped stirring. Custard is delicate. Keep the heat medium low and keep that spoon moving. If it curdles slightly, blending it might save the smooth Ice Cream Aesthetic.
How long does it take to freeze?
After churning, it needs about 4 hours in the freezer to firm up. If you try to scoop it right away, it will be too soft for good Ice Cream Photography. Patience yields the best scoop.
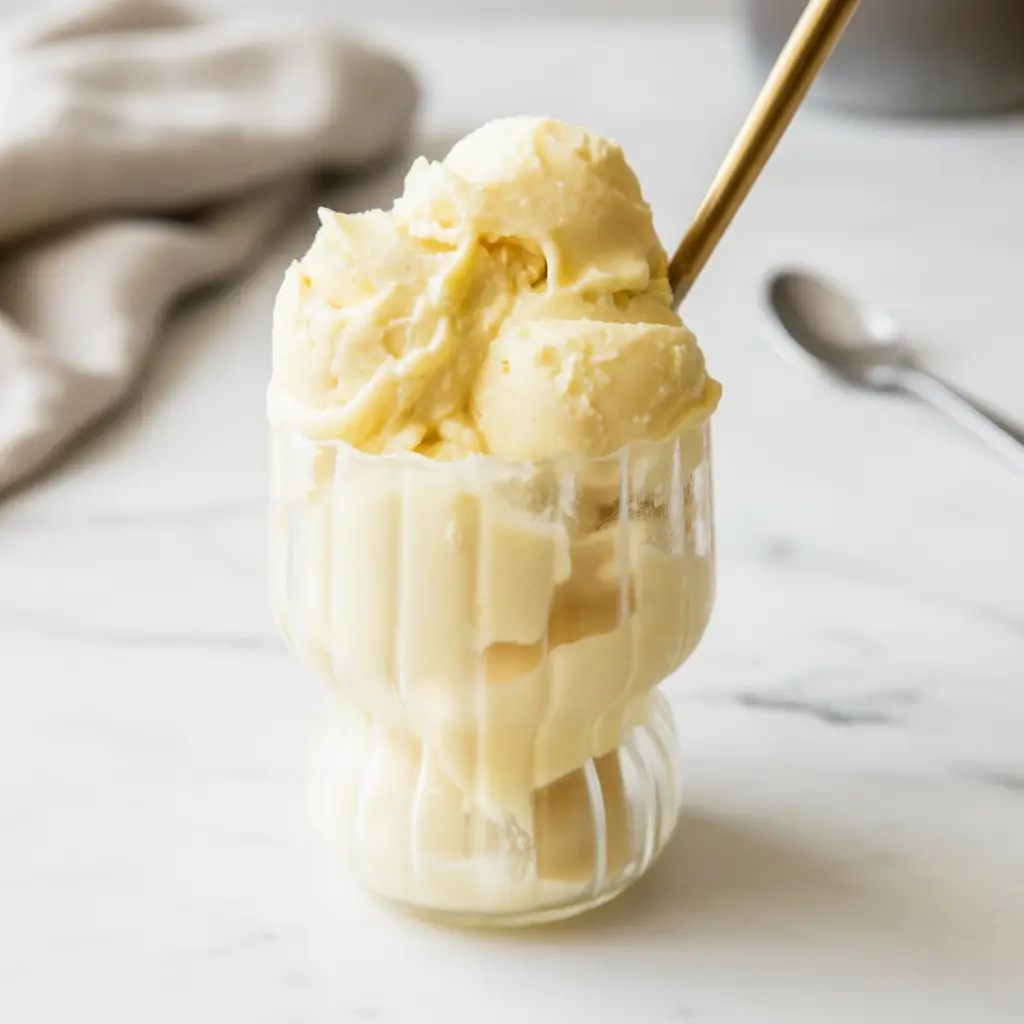
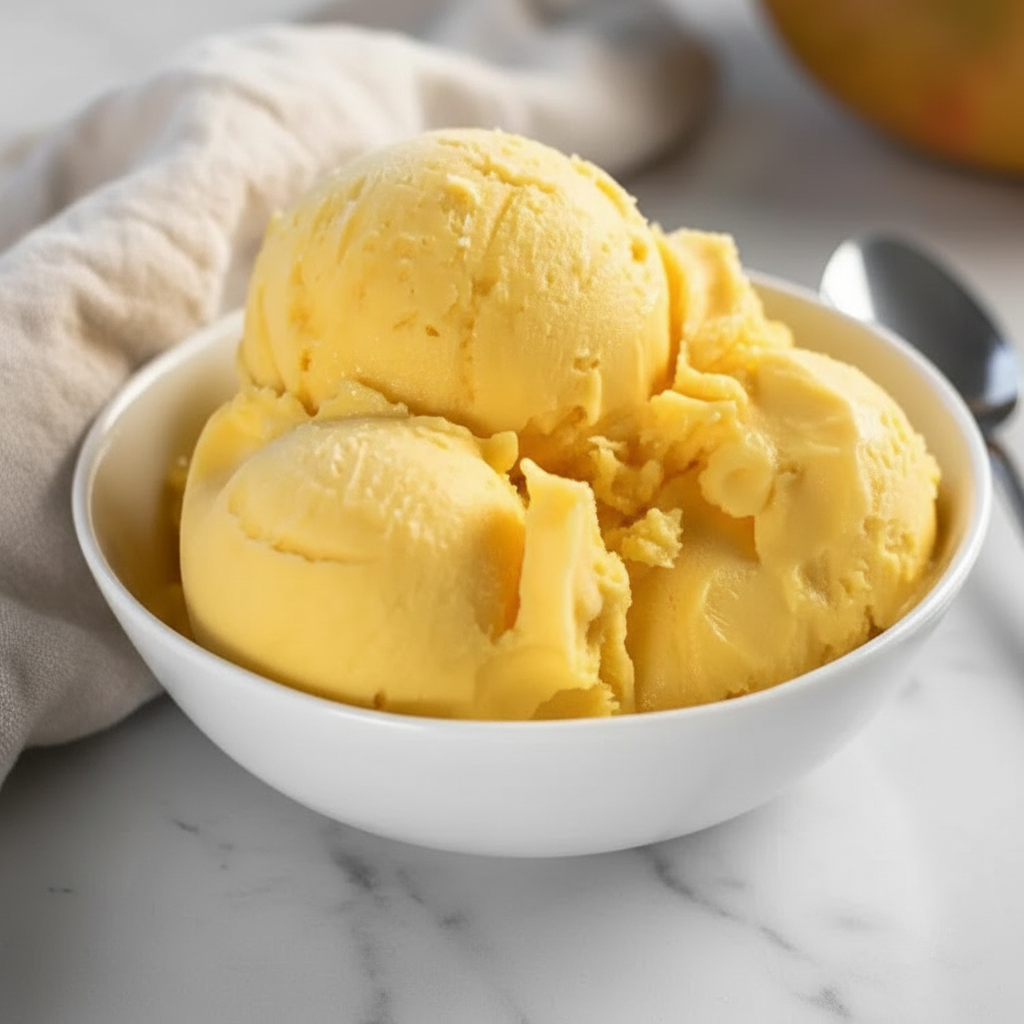
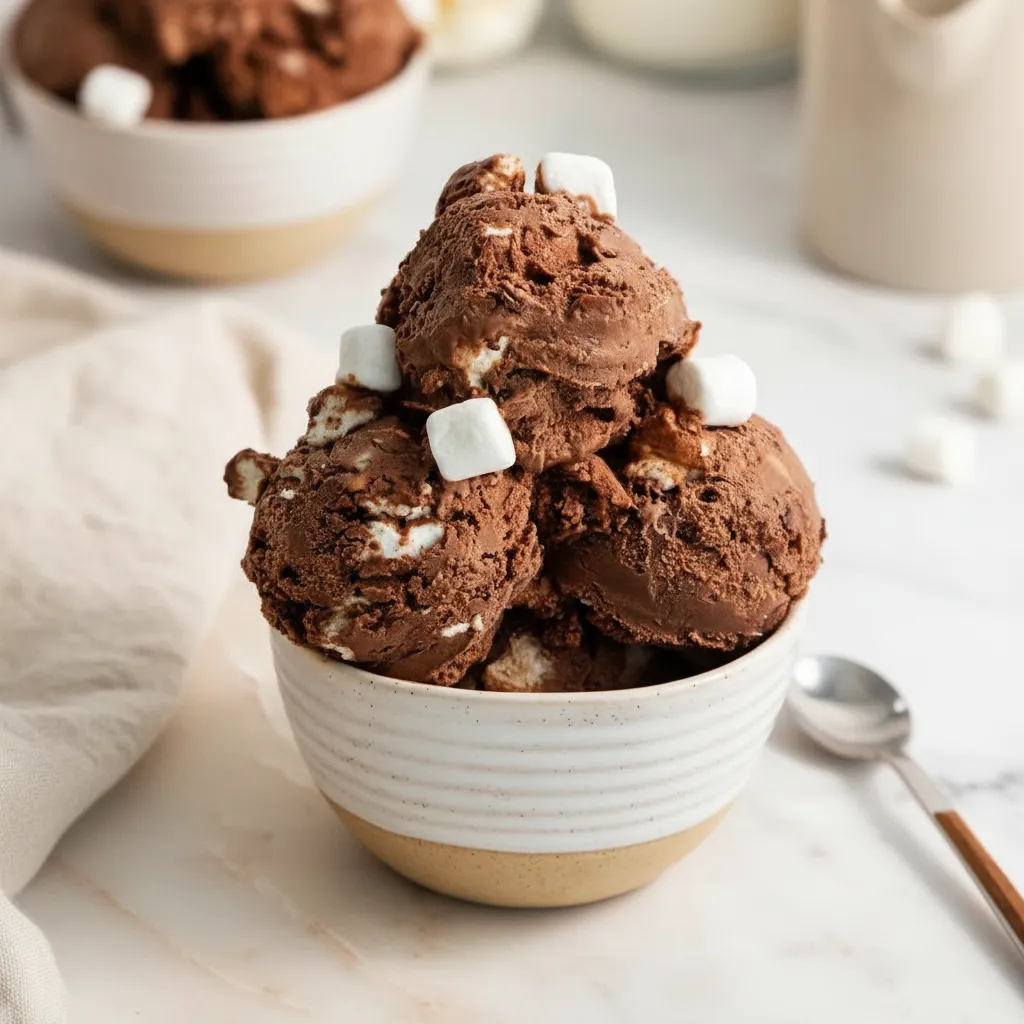
Homemade Rocky Road Ice Cream
This no-fuss homemade Rocky Road ice cream is incredibly tasty and photogenic. A rich, creamy chocolate custard base loaded with toasted almonds, soft marshmallows, and chocolate shavings makes for a comforting family-friendly dessert.
Requirements


Ingredients
Instructions
- Start by chilling your ice cream machine bowl according to the manufacturer’s instructions until it is very well frozen.
- In a heatproof medium sized bowl, whisk together the egg yolks, granulated sugar, cocoa powder, and salt. Add 1/4 cup of the whole milk and whisk until the mixture is well combined and smooth.
- Pour the remaining 1 1/4 cups of milk into a medium saucepan and place it over medium heat until it is just steaming. Do not let it boil.
- Slowly drizzle the warm milk into the egg yolk mixture, whisking constantly. This tempers the eggs to prevent them from scrambling.
- Pour the tempered mixture back into the saucepan. Stir constantly over medium-low heat for about 5 minutes, until it thickens into a custard that coats the back of a wooden spoon.
- Pour the custard through a fine mesh sieve into a clean bowl. Add the chopped chocolate and whisk until it’s fully melted and smooth. Whisk in the heavy cream and vanilla.
- Place plastic wrap directly on the surface of the custard base to prevent a skin from forming. Chill in the refrigerator for at least 4 hours, or overnight, until very cold.
- Churn the cold custard base in your ice cream maker according to its instructions, typically for about 20 minutes, until it reaches a soft-serve consistency. Gently fold in the almonds, mini marshmallows, and chocolate shavings.
- Transfer the ice cream to a large loaf pan or airtight container. Wrap tightly with plastic wrap and freeze for at least 4 hours, or until firm. Scoop and enjoy!
Notes
For perfect scoops, dip your ice cream scooper in warm water before each scoop. This helps create smooth, round spheres.
Do not rush the chilling process for the custard base. A very cold base is essential for a creamy, non-icy texture.
Store leftovers in an airtight container with a piece of parchment paper pressed directly onto the surface of the ice cream to prevent ice crystals.
Save a few extra almonds and marshmallows to sprinkle on top just before serving for a great look and extra texture.
Nutrition
Calories
Sugar
Fat
Carbs