Breakfast is often called the most important meal of the day. It sets the rhythm for everything that follows. Whether you have a busy morning or a lazy Sunday, you need a go to meal. Nothing beats a plate of classic Fried Eggs. They are simple, comforting, and incredibly satisfying. You might think frying an egg is basic cooking. It is, but doing it perfectly requires a little know how.
Many people struggle with rubbery whites or broken yolks. Others burn the bottom before the top is cooked. We have all been there. But today, we are going to change that. This guide focuses on a foolproof method. It uses steam to cook the top of the egg gently. This ensures you get that beautiful, glossy look every time.
You do not need to be a professional chef to master this. You just need a few minutes and the right technique. Once you learn How To Make A Fried Egg the right way, you will never look back. It is a skill that serves you for life. Let us dive into the details of making this delicious breakfast staple.
Jump To:
Why You’ll Love This Recipe
There are countless reasons to add this recipe to your morning rotation. First and foremost is the speed. You can go from a cold pan to a hot meal in less than ten minutes. This makes it perfect for busy weeknights too. Sometimes you just need dinner on the table fast. Fried Eggs are a lifesaver in those moments.
Another reason is the texture. This method creates a delightful contrast. You get the savory richness of the butter on the bottom. Then you get the tender, barely set whites on top. And of course, there is the yolk. A perfectly runny yolk creates its own sauce. It is rich and creamy. It pairs perfectly with a slice of crusty toast.
This recipe is also incredibly budget friendly. Eggs are one of the most affordable sources of protein available. You can feed a whole family without breaking the bank. Plus, you likely already have the ingredients in your kitchen. There is no need for a special grocery run. It is the definition of convenience.
Finally, this dish is versatile. It stands alone beautifully. But it also elevates other dishes. Top a burger with it. Slide one onto a bowl of ramen. Serve it over leftover rice. Egg Dishes are famous for being adaptable. This specific preparation works well with almost anything savory. It adds richness and flavor instantly.
Ingredients
You do not need a long list of items for this recipe. The beauty lies in its simplicity. Using high quality ingredients helps, but standard pantry staples work great too.
- 1 tablespoon (15g) unsalted butter
- 2 large eggs
- Kosher salt (to taste)
- Freshly ground black pepper (optional)
Step-By-Step Instructions
Step 1: Melt The Butter
Start by choosing the right pan. A cast iron skillet is a fantastic choice for heat retention. A carbon steel pan works well too. If you want to ensure nothing sticks, grab your trusty nonstick skillet. Place the pan on the stove over medium heat. You want the pan to get hot but not smoking.
Add the tablespoon of unsalted butter to the pan. Watch it closely as it melts. You want it to foam lightly. This foaming indicates the water in the butter is evaporating. It means the pan is ready for the eggs. Tilt the pan gently in a circular motion. This helps distribute the melted butter evenly across the surface.
Step 2: Crack The Eggs
Now it is time for the main event. Carefully crack the eggs. You can crack them into a small bowl first if you prefer. This helps you avoid shells. Or you can crack them directly into the skillet. Just be gentle. You want to keep those yolks intact.
Once the eggs are in the pan, season them immediately. Sprinkle a pinch of kosher salt over the whites and yolks. Add some freshly ground black pepper if you like a bit of spice. Seasoning now helps the flavor meld with the egg as it cooks.
Step 3: Cover And Cook
This is the crucial step for the Perfect Fried Egg. Grab a glass lid that fits your skillet. Place the lid over the pan. This traps the heat and steam inside. The steam will cook the top of the whites without you needing to flip the egg.
Let the eggs cook covered for about one minute and 30 seconds. Keep an eye on them through the glass. You are looking for the whites to turn from clear to opaque. They should look just set. The steam cooks them gently and evenly. This prevents that raw egg white texture that nobody likes.
Step 4: Finish And Serve
After the initial steam, remove the lid. Be careful of the escaping steam. Continue to cook the eggs uncovered. You want to cook them for another one minute and 30 seconds. This finishes cooking the whites completely. It also allows the edges to firm up slightly.
Check the yolks. They should still be runny and vibrant. If you prefer a firmer yolk, you can cook them a little longer. Once they are done to your liking, remove the pan from the heat. Transfer the Fried Eggs to a plate immediately. Season with a little more salt and pepper if desired. Serve them while they are hot and fresh.


How To Store Leftovers
Honestly, Fried Eggs are best enjoyed right away. The magic is in the texture. The contrast between the warm runny yolk and the tender white fades quickly. However, sometimes you cook one too many. If you have leftovers, you can save them.
Place the cooked egg in an airtight container. Store it in the refrigerator. It will stay safe to eat for up to two days. Just know that the texture will change. The yolk will likely firm up when cold. It will not be the same as a fresh egg.
To reheat, go gently. You can use a microwave on low power for short bursts. Be very careful as eggs can pop in the microwave. Alternatively, warm it briefly in a skillet over low heat. This is a better way to preserve the texture. But for the best taste, always cook them fresh.
Tips
Freshness matters when it comes to eggs. Fresh eggs have a thicker white that holds its shape. Older eggs tend to spread out thinly in the pan. If you want a nice, tall yolk and a compact white, check the dates on your carton. Using fresh ingredients makes a big visual difference.
Control your heat carefully. Medium heat is the sweet spot. If the heat is too high, the butter will burn. Burnt butter tastes bitter and ruins the dish. If the heat is too low, the eggs might stick or get greasy. Listen for that gentle sizzle when the egg hits the pan.
The lid technique is a game changer. It essentially bastes the egg in steam. This means you do not have to spoon hot fat over the yolk. It is safer and easier. Plus, it cooks the white that surrounds the yolk perfectly. No more slimy uncooked bits near the yellow center.
Do not skip the butter. While you can use oil, butter adds a specific flavor profile. It adds a milky sweetness that complements the savory egg. If you are dairy free, olive oil is a good substitute. But for the classic diner taste, butter is the way to go.
Serve with good sides. A slice of sourdough toast is classic for dipping. Avocado slices add creaminess. A side of crispy bacon provides crunch. Fried Eggs are the anchor of the plate, but the sides make the meal complete. Experiment with what you have in your pantry.
Conclusion
Mastering the simple art of Fried Eggs is a small victory in the kitchen. It transforms a basic ingredient into a meal that feels special. With this method, you avoid all the common pitfalls. No more burnt edges. No more raw whites. Just pure, delicious comfort food.
We hope this guide helps you feel more confident at breakfast time. Whether you are cooking for yourself or a crowd, these tips will serve you well. Remember that good food does not have to be complicated. Sometimes, the simplest recipes are the most satisfying. So grab your skillet and some butter. It is time to make the best breakfast of your life.
FAQ
Can I Use Oil Instead Of Butter?
Yes, absolutely. Olive oil, vegetable oil, or even bacon grease work well. Oil will often give you slightly crispier edges on the whites. Butter provides a richer, creamier flavor. It really comes down to your personal preference. You can even use a mix of both.
How Do I Prevent The Eggs From Sticking?
The key is a hot pan and enough fat. Make sure the butter is melted and foaming before adding the eggs. Also, using a nonstick skillet is the easiest way to ensure they slide right off. If using cast iron, ensure it is well seasoned.
Is This Recipe Gluten Free?
Yes, eggs and butter are naturally free of gluten. Just be sure to check your salt and pepper for any additives if you are very sensitive. Serve with gluten free toast or over potatoes to keep the entire meal safe for those with dietary restrictions.
What Is The Difference Between Sunny Side Up And This Method?
Sunny side up eggs are usually cooked without a lid. This means the yolk stays very bright yellow, but the whites can sometimes be runny on top. This method uses a lid to steam the top. It creates a thin white film over the yolk, which ensures the whites are fully cooked while keeping the yolk runny.
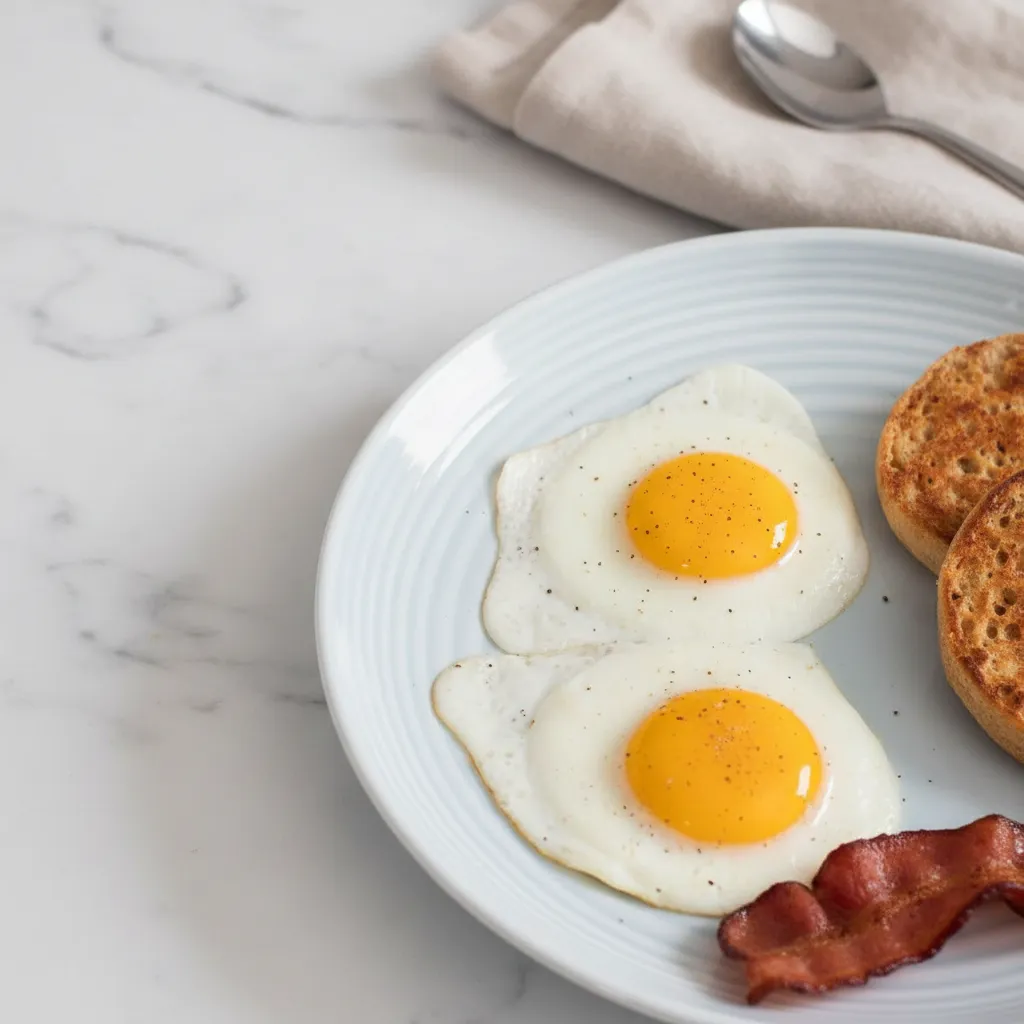
Perfect Fried Eggs
Learn the foolproof method for making perfect fried eggs every time! This quick and easy recipe uses a steam technique for tender whites and a perfectly runny yolk, ready in under 10 minutes.
Requirements


Ingredients
Instructions
- Melt butter in a nonstick or cast iron skillet over medium heat until it foams.
- Gently crack the eggs into the skillet. Season with salt and pepper.
- Cover with a lid and cook for 1 minute and 30 seconds, until the tops of the whites are just set.
- Remove the lid and cook for another 1 minute and 30 seconds for a runny yolk.
- Serve immediately while hot and fresh.
Notes
Freshness matters! Fresher eggs hold their shape better for a picture-perfect result.
Keep the heat on medium. Too high and the butter will burn; too low and the eggs will get greasy.
The lid is the secret! It steams the top of the egg, so you don’t have to flip it or baste it.
Nutrition
Calories
Sugar
Fat
Carbs