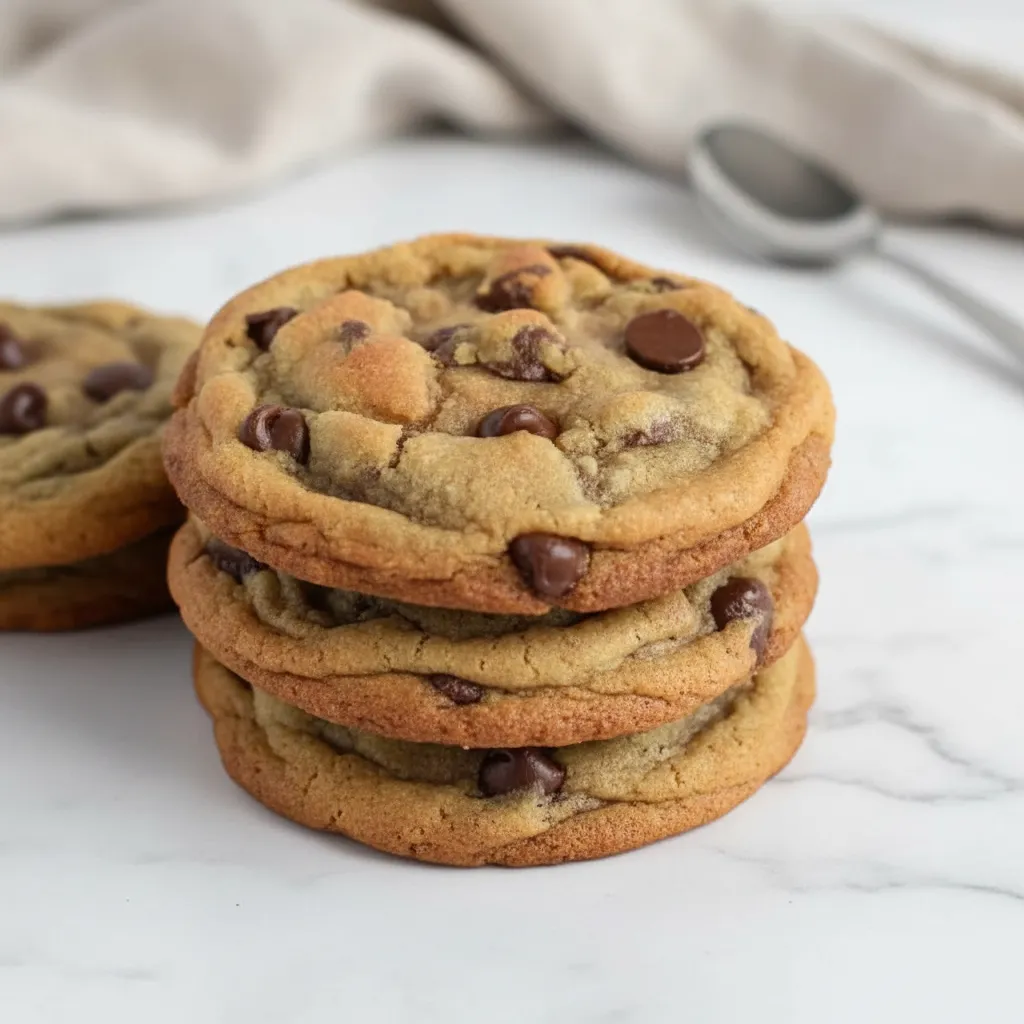
There is something incredibly nostalgic about the holidays and the treats that define them. For many of us, the season does not officially start until a batch of fudge is cooling on the counter. If you grew up waiting for that specific, creamy square of chocolate goodness, you are likely looking for the fantasy fudge recipe original. It is the classic recipe that used to appear on the back of the marshmallow creme jar, and it has been a family favorite for decades.
This recipe is famous for being practically foolproof. Unlike traditional fudge that requires precise crystallization and can turn grainy if you look at it the wrong way, this Original Fantasy Fudge Recipe relies on marshmallow fluff to ensure a smooth texture every single time. It is rich, dense, and melts in your mouth exactly the way you remember.
I am going to walk you through exactly how to recreate this Best Fudge Recipe at home. Whether you are making it for a holiday party, a gift exchange, or just a Tuesday night treat, this Marshmallow Fudge delivers consistent results without the stress. Let us dive into the details of this beloved classic.
Jump To:
Why You’ll Love This Recipe
You might be wondering what makes this specific fantasy fudge recipe original stand out from the thousands of other chocolate recipes out there. Honestly, it comes down to reliability and texture. Here is why this recipe earns a permanent spot in recipe boxes across the country.
First, it is incredibly forgiving. Traditional fudge making can be a bit of a science experiment where humidity and temperature changes can ruin the batch. Because this recipe uses marshmallow creme, it stabilizes the sugar mixture. This means you get a silky smooth bite every time without worrying about sugar crystals ruining the texture.
Second, it is fast. You do not need hours of beating or cooling before you can pour it into the pan. The active cooking time is short, making it perfect for busy schedules. You can whip up a batch in about fifteen to twenty minutes, leaving plenty of time for other holiday preparations.
Finally, the flavor is customizable but perfect in its base form. The fantasy fudge recipe original has a deep, sweet chocolate profile that is cut perfectly by the walnuts and the slight tang of the marshmallow. It is the definition of comfort food.
Ingredients
To make the Original Fantasy Fudge Recipe, you need a handful of pantry staples. The beauty here is in the simplicity. You do not need any fancy liqueurs or hard to find chocolates. Just basic, quality ingredients will do the trick.
- 3 cups granulated sugar
- 3/4 cup salted butter (see notes below regarding margarine vs butter)
- 2/3 cup evaporated milk (do not use sweetened condensed milk)
- 2 cups chocolate chips (semi sweet is recommended for the classic taste)
- 1 jar marshmallow fluff (7 ounces) (or 10 ounces of mini marshmallows)
- 1 cup chopped walnuts
- 1 teaspoon vanilla extract
A quick note on the butter: The very old school version of the fantasy fudge recipe original often called for margarine. However, most modern home cooks prefer the taste of salted butter. It adds a richness that margarine simply cannot match. If you only have unsalted butter, just toss in a pinch of salt to balance the sweetness.
Step-By-Step Instructions
Making this Fantasy Fudge Recipe is straightforward, but moving quickly once the sugar is boiled is key. Have all your ingredients measured and ready to go before you turn on the stove.
Step 1: Prep Your Pan
Start by lining a 9×9 square pan with parchment paper. This is a crucial step for easy removal later. You can also use aluminum foil sprayed with non stick spray, but parchment paper usually releases the cleanest. Make sure the paper hangs over the edges slightly so you have handles to lift the fudge out later.
Step 2: Boil the Mixture
In a large heavy bottomed saucepan, combine the 3 cups of sugar, 3/4 cup of butter, and 2/3 cup of evaporated milk. Turn the heat to medium. You want to bring this mixture to a full rolling boil. A rolling boil means the bubbles do not stop when you stir it.
Once it is boiling, cook it until it reaches 233°F on a candy thermometer. This usually takes about 5 minutes. Keep stirring occasionally to ensure the bottom does not scorch. If you do not have a thermometer, you are looking for the “soft ball” stage, but a thermometer ensures the Best Fudge Recipe texture.
Step 3: Melt the Chocolate
As soon as you hit the temperature, remove the saucepan from the heat immediately. Dump in the 2 cups of semi sweet chocolate chips. Stir vigorously. The residual heat from the sugar mixture will melt the chips quickly. Keep stirring until the mixture is glossy and smooth.
Step 4: Add Remaining Ingredients
Now, add the jar of marshmallow fluff, the 1 cup of chopped walnuts, and the teaspoon of vanilla extract. This is where the magic happens. Stir until everything is completely combined and you see ribbons of white marshmallow disappearing into the chocolate. The mixture will start to thicken, so use some muscle here.
Step 5: Pour and Set
Pour the hot fudge mixture into your prepared 9×9 pan. Use a rubber spatula to smooth out the top. If you like a rustic look or want to hint at what is inside, you can sprinkle a few extra walnut pieces on top right now while it is still sticky. Place the pan in the refrigerator for at least 2 hours to let it set completely.
Step 6: Cut and Serve
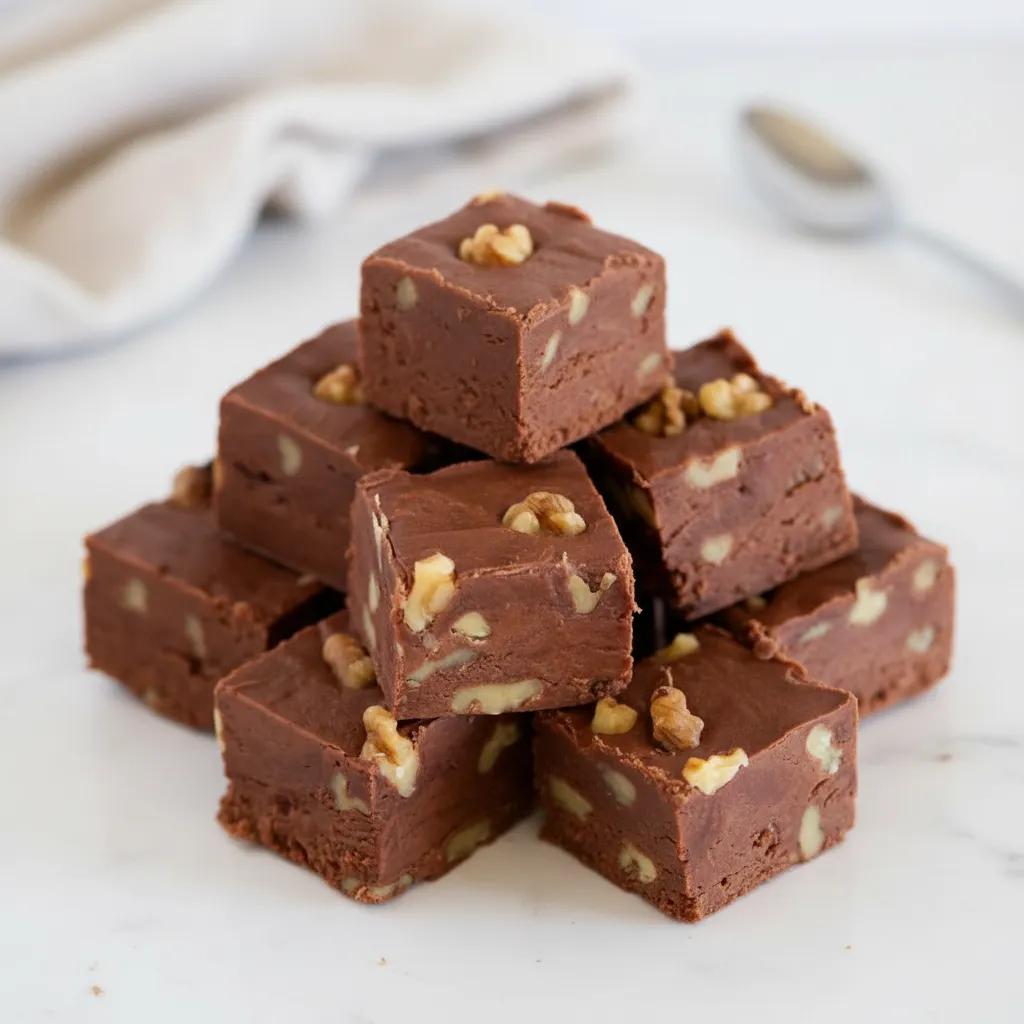
Once the fudge is firm, lift it out of the pan using the parchment paper edges. Place it on a cutting board. It helps to score the top into 5×5 squares with a sharp knife before pressing down all the way. This gives you nice, clean lines. Cut into squares and get ready to enjoy the best Marshmallow Fudge you have ever tasted.


How To Store Leftovers
If you manage not to eat the entire batch in one sitting, storing this fantasy fudge recipe original is very easy. Proper storage ensures it stays moist and does not absorb odors from your fridge.
For short term storage, keep the fudge in an airtight container at room temperature. It will stay fresh for up to one week. If you live in a particularly warm or humid climate, it is safer to store it in the refrigerator to prevent it from getting too soft or sticky. Just remember to place a sheet of wax paper or parchment paper between the layers so the squares do not fuse together.
You can also freeze this fudge for longer storage, which is great for getting a head start on holiday baking. Wrap the block of fudge or individual squares in wax paper, then wrap that tightly in aluminum foil. Place the wrapped fudge in a freezer safe plastic bag. It can be frozen for up to 3 months. When you are ready to eat it, let it thaw in the refrigerator while still wrapped to prevent condensation from forming on the chocolate.
Tips
Even though this fantasy fudge recipe original is known for being easy, a few tips can ensure you get that perfect bakery quality result every time.
Calibrate Your Thermometer: Before you start, test your candy thermometer in a pot of boiling water. It should read 212°F. If it reads higher or lower, adjust your target cooking temperature for the fudge accordingly. Cooking the sugar to the exact right stage is the only technical part of this recipe.
Prep Is Key: Once the sugar mixture reaches temperature, you have to move fast. If you stop to measure walnuts or open the marshmallow jar after the boiling stops, the sugar might cool down too much, making it hard to mix. Have everything measured in bowls next to the stove.
Evaporated Milk Matter: Make sure you buy evaporated milk, not sweetened condensed milk. They are sold right next to each other and look very similar, but they are completely different products. Sweetened condensed milk has added sugar and is much thicker, which will throw off the ratios in this Original Fantasy Fudge Recipe.
Stirring Technique: When boiling the sugar, butter, and milk, stir constantly or at least very frequently. Milk solids can settle at the bottom of the pan and burn easily, creating black specks in your beautiful fudge. A silicone spatula or a wooden spoon works best for scraping the bottom of the pot.
Conclusion
Recreating the fantasy fudge recipe original is about more than just making a dessert. It is about bringing back a piece of culinary history that has graced holiday tables for generations. The combination of simple ingredients and the foolproof marshmallow method makes this the Best Fudge Recipe for beginners and experts alike.
Whether you stick to the classic walnut version or experiment with pecans or different chocolate chips, the result is always a decadent, creamy treat. It wraps up beautifully for gifts and looks stunning on a dessert platter. So grab that jar of marshmallow fluff and start a tradition that your family will look forward to every year.
FAQ
Can I Make This Gluten Free?
Yes, the ingredients in the fantasy fudge recipe original are naturally gluten free. However, always check the labels on your specific brands of marshmallow fluff, chocolate chips, and flavorings to ensure they were processed in a gluten free facility if you are cooking for someone with a severe allergy.
Can I Use Marshmallows Instead of Cream?
Yes, you can. If you cannot find the jar of marshmallow creme or fluff, you can substitute it with one bag (about 10 ounces) of mini marshmallows. The texture might be slightly different, but it still works very well for this Marshmallow Fudge.
Why Is My Fudge Grainy?
Grainy fudge usually happens if the sugar crystals did not dissolve completely or if the mixture was overcooked. In this recipe, the marshmallow fluff helps prevent graininess. To be safe, make sure you bring the mixture to a full boil and do not scrape down the sides of the saucepan too aggressively once the boiling starts, as this can reintroduce dry sugar crystals into the wet mix.
Can I Omit the Nuts?
Absolutely. While walnuts are traditional in the Original Fantasy Fudge Recipe, you can leave them out entirely for a nut free version. You could also swap them for pecans, almonds, or even crushed peppermint candies for a festive twist.
Classic Fantasy Fudge
This classic Original Fantasy Fudge recipe, famous for its foolproof marshmallow creme method, ensures a smooth, rich, and dense chocolate fudge every time. It’s fast, customizable, and a beloved holiday tradition.
Requirements


Ingredients
Instructions
- Start by lining a 9×9 square pan with parchment paper. This is a crucial step for easy removal later. You can also use aluminum foil sprayed with non stick spray, but parchment paper usually releases the cleanest. Make sure the paper hangs over the edges slightly so you have handles to lift the fudge out later.
- In a large heavy bottomed saucepan, combine the 3 cups of sugar, 3/4 cup of butter, and 2/3 cup of evaporated milk. Turn the heat to medium. You want to bring this mixture to a full rolling boil. A rolling boil means the bubbles do not stop when you stir it. Once it is boiling, cook it until it reaches 233°F on a candy thermometer. This usually takes about 5 minutes. Keep stirring occasionally to ensure the bottom does not scorch. If you do not have a thermometer, you are looking for the “soft ball” stage, but a thermometer ensures the Best Fudge Recipe texture.
- As soon as you hit the temperature, remove the saucepan from the heat immediately. Dump in the 2 cups of semi sweet chocolate chips. Stir vigorously. The residual heat from the sugar mixture will melt the chips quickly. Keep stirring until the mixture is glossy and smooth.
- Now, add the jar of marshmallow fluff, the 1 cup of chopped walnuts, and the teaspoon of vanilla extract. This is where the magic happens. Stir until everything is completely combined and you see ribbons of white marshmallow disappearing into the chocolate. The mixture will start to thicken, so use some muscle here.
- Pour the hot fudge mixture into your prepared 9×9 pan. Use a rubber spatula to smooth out the top. If you like a rustic look or want to hint at what is inside, you can sprinkle a few extra walnut pieces on top right now while it is still sticky. Place the pan in the refrigerator for at least 2 hours to let it set completely.
- Once the fudge is firm, lift it out of the pan using the parchment paper edges. Place it on a cutting board. It helps to score the top into 5×5 squares with a sharp knife before pressing down all the way. This gives you nice, clean lines. Cut into squares and get ready to enjoy the best Marshmallow Fudge you have ever tasted.
Notes
Calibrate Your Thermometer: Before you start, test your candy thermometer in a pot of boiling water. It should read 212°F. If it reads higher or lower, adjust your target cooking temperature for the fudge accordingly. Cooking the sugar to the exact right stage is the only technical part of this recipe.
Prep Is Key: Once the sugar mixture reaches temperature, you have to move fast. If you stop to measure walnuts or open the marshmallow jar after the boiling stops, the sugar might cool down too much, making it hard to mix. Have everything measured in bowls next to the stove.
Evaporated Milk Matter: Make sure you buy evaporated milk, not sweetened condensed milk. They are sold right next to each other and look very similar, but they are completely different products. Sweetened condensed milk has added sugar and is much thicker, which will throw off the ratios in this Original Fantasy Fudge Recipe.
Stirring Technique: When boiling the sugar, butter, and milk, stir constantly or at least very frequently. Milk solids can settle at the bottom of the pan and burn easily, creating black specks in your beautiful fudge. A silicone spatula or a wooden spoon works best for scraping the bottom of the pot.
Nutrition
Calories
Sugar
Fat
Carbs