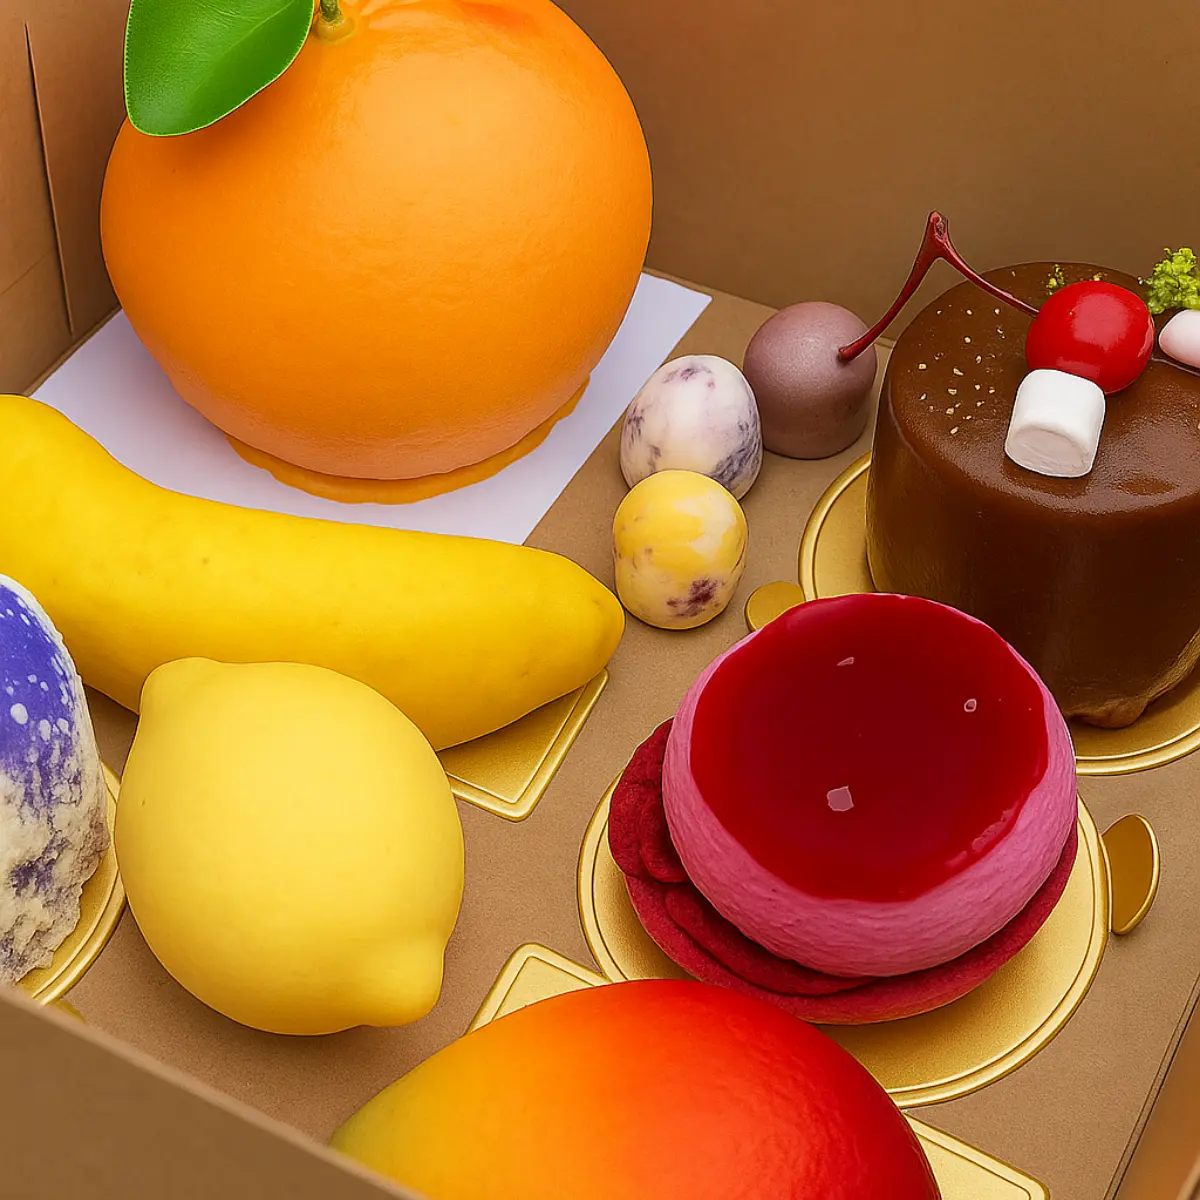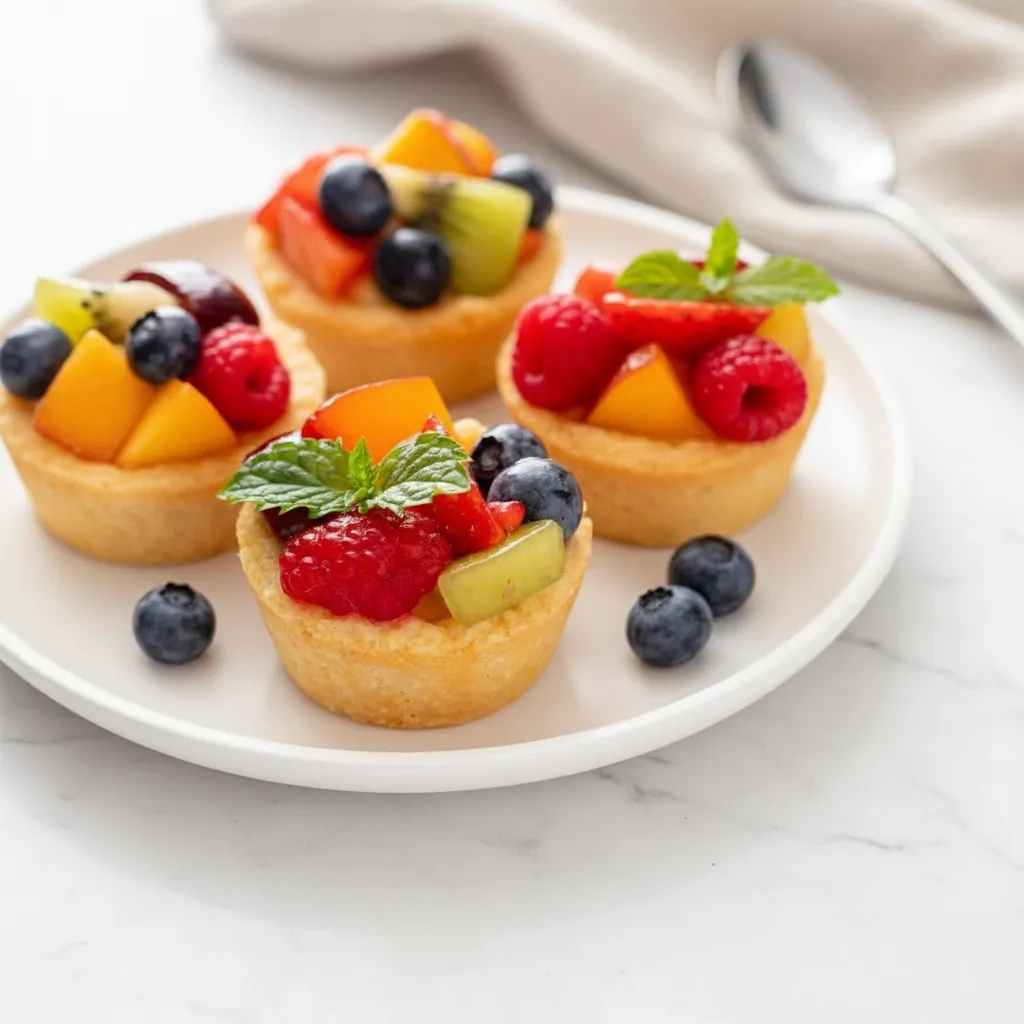
Picture this: a dessert that’s not just a treat for your taste buds but also a feast for your eyes. That’s exactly what we’re whipping up today. If you’ve ever dreamt of serving beautiful desserts that look like they came straight from a fancy patisserie but are totally doable at home, you’re in the right place. We’re talking about elegant, individual mini fruit tarts, bursting with fresh flavors and vibrant colors.
These little beauties are perfect for anyone who wants to add a touch of pizzazz to their home baking without a ton of fuss or needing specialized gear. Whether you’re a seasoned home cook or just starting your baking adventure, this recipe for a beautiful desserts recipe will have you feeling like a culinary artist. It’s all about making something delightful, something that says “I care,” and something that tastes absolutely amazing. Let’s get baking, shall we? You’ll be surprised how easy it is to create fancy desserts to impress your friends and family with these beautiful desserts recipes.
Jump To:
Why You’ll Love This Recipe
Honestly, what’s not to love about these mini fruit tarts? First off, they’re super customizable. Think about it: you can swap out the fruit depending on what’s in season or what you’re craving. Got a bunch of berries? Great! Peaches looking good at the market? Even better! It’s an adventure in flavor every time you make them.
Plus, these tarts are a real showstopper. They look incredibly elegant and delicate, making them ideal for everything from a casual get together to a more formal dinner party. Your guests will be asking for the recipe, I promise you that. And the best part? They’re surprisingly simple to make. No need for complicated techniques or expensive equipment. Just good old fashioned baking with a touch of finesse. It’s a beautiful desserts recipe that truly delivers on both looks and taste.
Ingredients
Gathering your ingredients is the first step to creating these delightful little tarts. Make sure everything is at hand before you start; it just makes the whole process smoother, you know?
For the tart dough:
- 1 ½ cups all purpose flour
- 4 tablespoons granulated sugar
- ½ teaspoon fine sea salt
- 12 tablespoons unsalted butter cold, cut into pieces
- 3 tablespoons milk
For the filling:
- Generous ½ cup homemade vanilla pudding
- 2 cups diced assorted fresh fruit such as berries, kiwi, grapes, cherries, peaches, etc (see notes)
- 2 tablespoons apricot preserves optional
Step By Step Instructions
Alright, let’s get down to business. Making these beautiful desserts is a breeze when you take it one step at a time. No need to rush, just enjoy the process.
Crafting the Tart Dough
First things first, let’s make that lovely, flaky tart dough. Grab your food processor. Into its bowl, toss in the flour, sugar, salt, and those cold, cut up pieces of unsalted butter. Now, give it a few pulses. What you’re looking for here is a mixture that looks kind of like coarse meal. Think small crumbles, not a smooth paste.
Next, pour in about half of the milk. Pulse again until the dough starts to come together in a ball. If it’s still looking a bit crumbly and not forming a cohesive mass, no worries. Add more milk, just a splash at a time, pulsing after each addition until the dough holds together. It should feel pliable and cooperative, but definitely not wet or sticky. You might not even need all the milk, so add it cautiously.
Chilling and Shaping the Shells
Once your dough is ready, it’s time to get those mini tart shells shaped. We’re using a 24 well mini muffin tin for this. Take a small cookie scoop and dole out 1 tablespoon portions of dough into each well. Then, with gentle but firm pressure, press that dough evenly across the bottoms and up the edges of each well. You want a nice, consistent thickness all around.
After they’re shaped, pop that muffin tin into the refrigerator. Let those shells chill for at least 30 minutes. This step is super important, it helps keep the tarts from shrinking too much in the oven. Trust me on this one.
Baking the Tart Shells
While your tart shells are getting nice and cool in the fridge, go ahead and preheat your oven to 350°F. Once the chilling time is up, pull out your muffin tin. Before baking, grab a fork and prick the bottoms of each shell a few times. This helps prevent them from puffing up like crazy.
Now, into the oven they go! Bake them for about 13 to 16 minutes. You’ll know they’re done when the edges turn a beautiful golden color. Once baked, set the pan on a cooling rack and let those shells cool down completely. Patience is a virtue here, my friend.
Assembling Your Mini Masterpieces
With your tart shells completely cooled, it’s time for the fun part: assembly! Use a small offset spatula to carefully lift each tart shell out of the pan. Gently place them on a platter or another wire rack.
Now for the filling. Spoon a generous teaspoon of your homemade vanilla pudding into each shell. Don’t be shy here; that pudding is part of what makes these a beautiful desserts recipe. Finally, top each tart with your assorted fresh fruit. Remember those notes about cutting fruit? Small berries can stay whole, larger ones should be halved, quartered, or diced. Get creative with your arrangement; it’s all about making beautiful desserts fruit look appealing!
The Optional Glaze
If you really want to make these fancy desserts to impress, consider adding a glaze. It gives them a lovely shine and helps preserve the fruit’s freshness. In a small microwave safe bowl, mix the apricot preserves with 1 teaspoon of water. Microwave this mixture for 15 to 30 seconds, just until the preserves are melted and smooth.
Then, using a pastry brush, gently brush this glaze over the fruit on each tart. It’s a small step that makes a big difference in the presentation of these beautiful desserts recipes.
Serving and Enjoying
And there you have it! Your beautiful desserts are ready to serve. They’re best enjoyed immediately, but you can certainly store them in the refrigerator until you’re ready to present them. Enjoy your culinary creation!


How To Store Leftovers
So, you’ve made these gorgeous mini fruit tarts, and maybe you have a few left over. Happens to the best of us! The key to keeping them tasty is proper storage. If you’ve already assembled the tarts with pudding and fruit, they are best enjoyed the same day. The moisture from the fruit can sometimes make the tart shells a bit soft over time.
However, if you’ve made the components ahead of time, that’s a different story. Baked and cooled tart shells can hang out in an airtight container at room temperature for up to two days. Your homemade vanilla pudding can be stored in an airtight container in the refrigerator for up to three days. And your diced fruit? That can go into an airtight container in the refrigerator for up to a day. Just keep in mind that some cut fruits might release a little juice during their stay in the fridge. This recipe makes some really beautiful desserts recipes, and storing them right ensures they stay good for as long as possible.
Tips
- Fruit Selection is Key: When it comes to making beautiful desserts fruit, variety is the spice of life! Think about contrasting colors and textures. Strawberries and blueberries always look amazing together. Kiwi adds a lovely green pop, and a few raspberries can really make things sing. It’s all about creating an appealing visual.
- Chill Time Matters: Don’t skip chilling the dough. Seriously, it’s not just a suggestion. It helps the dough firm up, making it easier to handle and preventing it from shrinking too much in the oven. A well chilled dough makes for a crispier, flakier tart.
- Don’t Overfill: While a generous teaspoon of pudding sounds good, resist the urge to pile it sky high. You want enough room for a pretty arrangement of fruit on top without everything spilling over. Less is often more when it comes to delicate presentations of beautiful desserts.
- Glaze for Shine: That apricot preserve glaze? It’s optional, but it truly takes these from pretty to fancy desserts to impress. It gives a lovely sheen to the fruit and protects it a bit from drying out. Plus, it just makes the colors pop even more! It’s a small step for a big impact on your beautiful desserts.
- Make Ahead Components: If you’re planning for a party or just want to save time, bake the tart shells and make the pudding a day or two in advance. Store them separately as suggested above. Then, on the day of, all you have to do is assemble and glaze. Talk about making life easy!
Conclusion
Well, there you have it, folks! We’ve journeyed through the creation of these absolutely stunning mini fruit tarts, a truly beautiful desserts recipe. From humble ingredients to a display of colorful elegance, these tarts are a testament that creating fancy desserts to impress doesn’t have to be a daunting task. They’re not just a treat for your palate, but a feast for your eyes, making them the perfect centerpiece for any gathering or just a lovely treat for yourself.
Remember, the beauty of this recipe lies in its simplicity and versatility. Feel free to play around with the fruits, perhaps even try a different pudding flavor if you’re feeling adventurous. The goal is to have fun in the kitchen and create something that brings joy. So go ahead, give this beautiful desserts recipe a whirl. You might just surprise yourself with the culinary artist hiding within!
FAQ
Can I make the tart dough from scratch without a food processor?
Absolutely! You can make the tart dough by hand. Just make sure your butter is very cold and cut into small pieces. You’ll rub the butter into the flour, sugar, and salt mixture using your fingertips until it resembles coarse meal, then gradually add the milk. It takes a little more elbow grease but works just fine.
What if I don’t have vanilla pudding?
No problem! While homemade vanilla pudding is fantastic, you can certainly use a good quality store bought vanilla pudding. Just make sure it’s thick enough to hold its shape in the tart shells. You could also try other flavors like lemon curd or chocolate pudding for a different twist on these beautiful desserts recipes.
How can I prevent my tart shells from getting soggy?
The best way to prevent soggy tart shells is to ensure they are fully baked and cooled before filling. The chilling step for the dough also helps. If you’re really worried, a thin layer of melted white chocolate brushed inside the cooled shells can act as a barrier between the pudding and the crust, adding a nice touch to your beautiful desserts.
Can I use frozen fruit for these tarts?
It’s generally not recommended to use frozen fruit for these tarts, especially as a topping. Frozen fruit tends to release a lot of water as it thaws, which can make your tarts soggy and less visually appealing. Fresh fruit is truly key for that vibrant look and taste for beautiful desserts fruit.
How long do these mini fruit tarts last?
These mini fruit tarts are truly at their best when served the same day they are assembled. While they can be stored in the refrigerator, the tart shells may soften over time due to the moisture from the pudding and fruit. For fancy desserts to impress, assemble them close to serving time.
Recipe Title Here
A short, enticing description of the recipe to draw the reader in. Explain what makes this dish special.
Recipe Shop


Ingredients
Instructions
- In a Ninja Creami pint, combine the protein shake, protein powder, cocoa powder, sweetener, and salt. Add optional guar gum or pudding mix for extra creaminess.
- Mix with a frother or whisk until the base is completely smooth with no clumps.
- Secure the lid and freeze on a level surface for at least 24 hours until solid.
- Place the frozen pint into the machine and process using the ‘Lite Ice Cream’ setting.
- If the texture is crumbly, add a tablespoon of milk or shake and use the ‘Re-Spin’ function.
- If desired, create a well in the center, add mix-ins, and use the ‘Mix-In’ function to combine. Enjoy immediately!
Notes
Taste the base before freezing and adjust sweetener if needed. Frozen desserts tastes less sweet, so aim for slightly sweeter than you prefer.
Do not fill the pint past the max fill line, as the mixture will expand during freezing and processing.
A full 24-hour freeze is essential for the best, creamiest texture. Rushing this step can result in an icy or soupy consistency.
Feel free to experiment with other flavors like vanilla protein with frozen berries or adding mint extract for a mint-chip version.
Nutrition
Calories
Sugar
Fat
Carbs